|
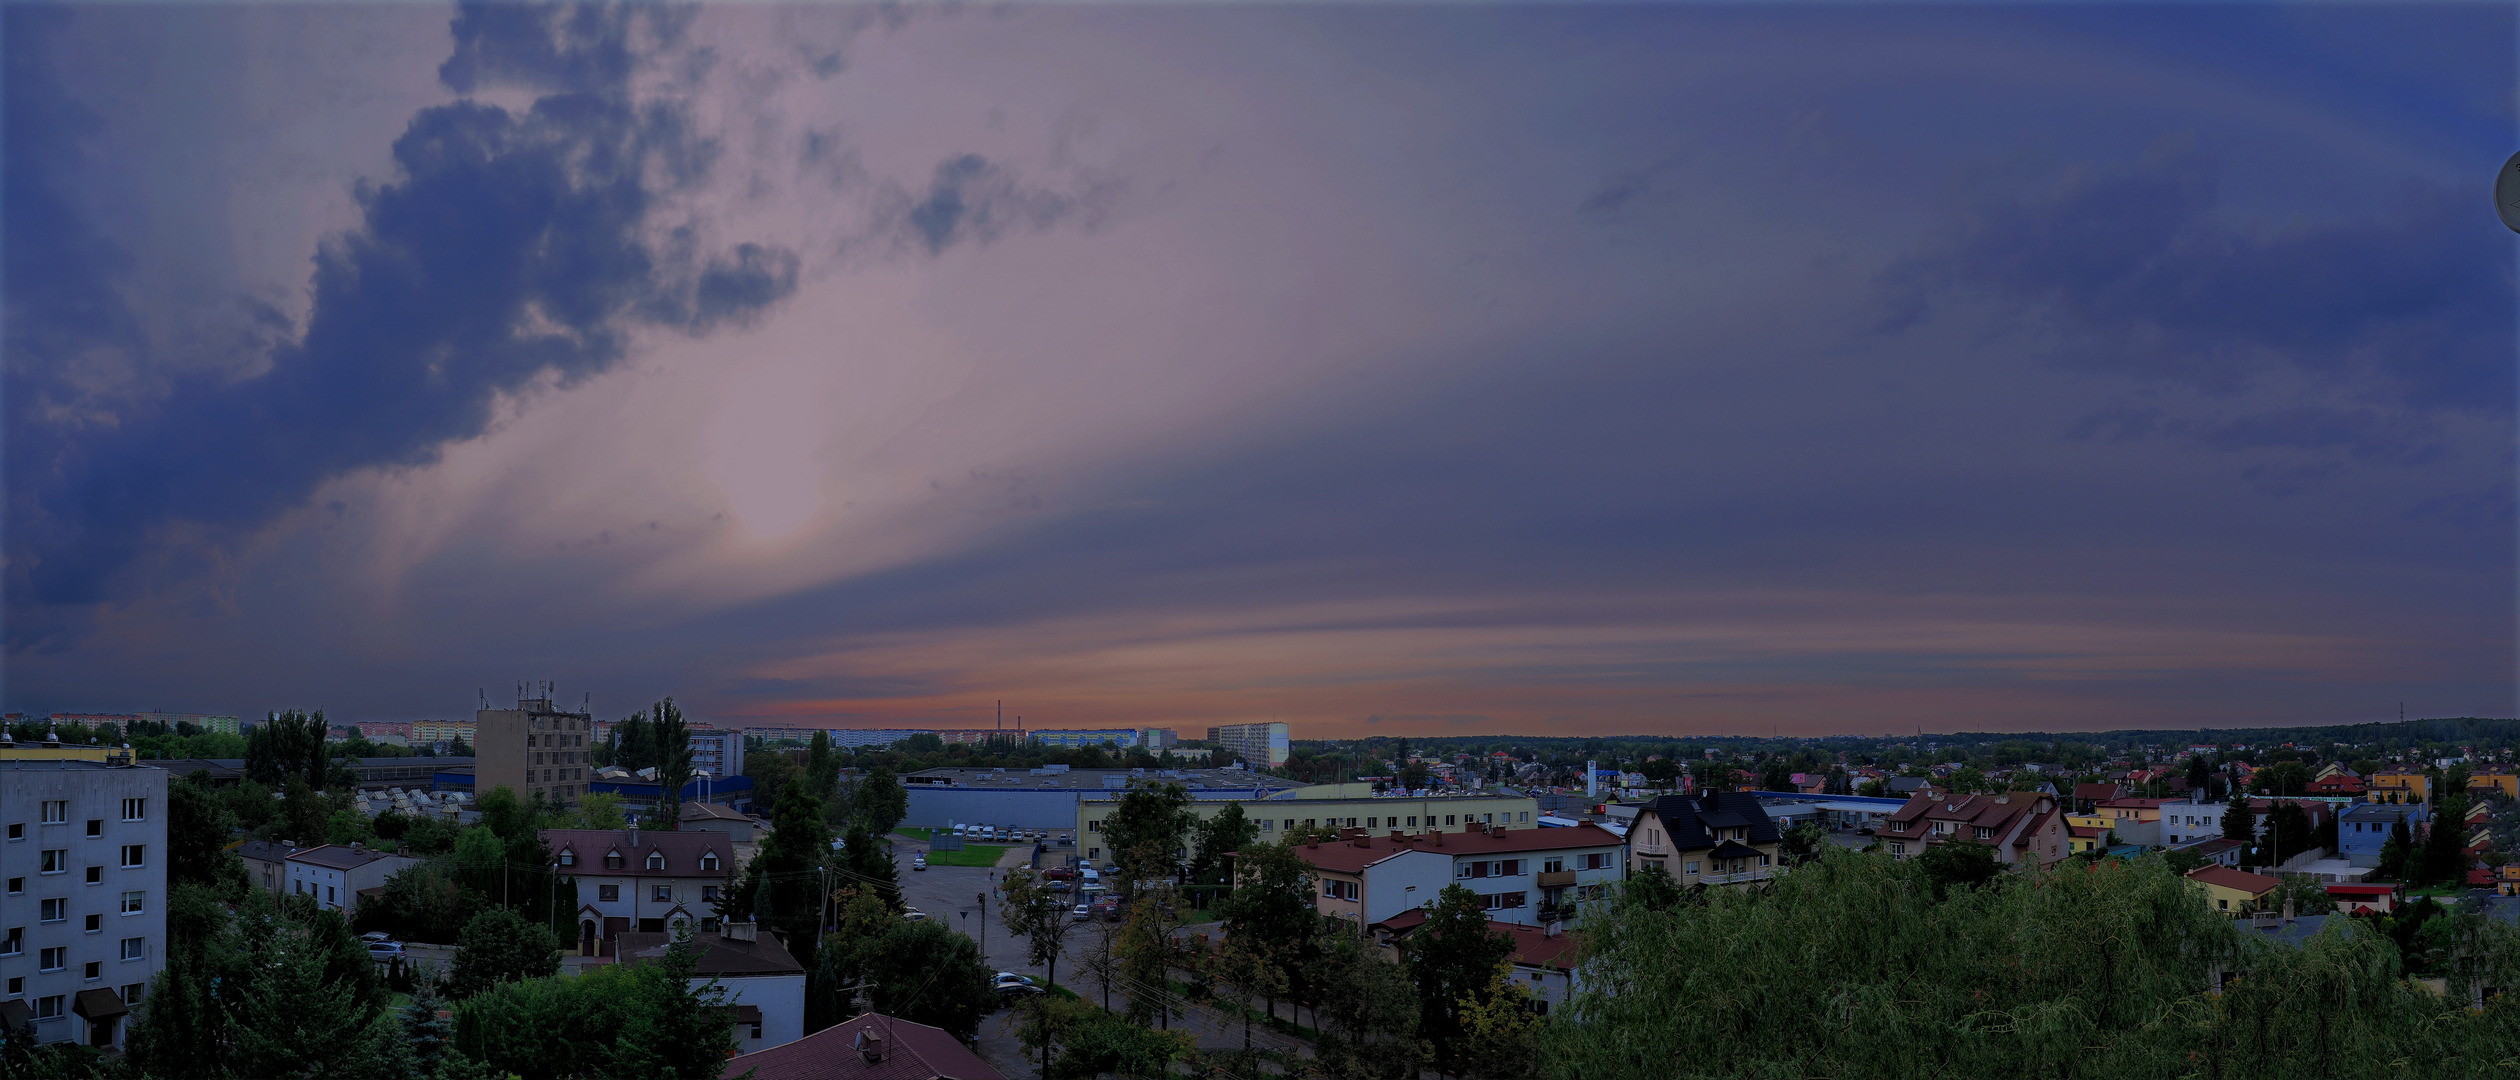
Sunset Panoramas with the E-M1 II HDR, stitching, and more |
|
|
My other articles related to the |
|
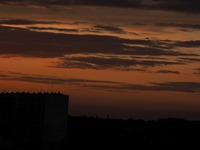
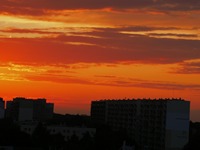
Sunsets are obvious, if somewhat kitschy, subjects for panorama shooting. They also are quite easy to photograph, if you know and observe a few simple rules.
Panorama stitching, or combining individual frames into one large image, is done off-camera. For a number of reasons I chose the free Image Composite Editor (ICE) by Microsoft. Sunsets usually have a wider tonal range than most other pictures, and sunset panoramas — even more so. Consider using the High Dynamic Range (HDR) mode, if your camera supports it. Remember that HDR works best with a tripod. When used for sunsets, HDR is very helpful in extracting the detail from foreground shadows. In non-HDR pictures these are usually pitch black, unless opened by some quite intrusive and tedious postprocessing. Some HDR implementations may affect the same part of the scene differently in different, partially overlapping frames. This may lead to stitching artifacts: vertical, brighter or darker, bars in transition areas. Olympus cameras seem to be free of this problem; I wasn't able to see this effect (even a slight one) in the few HDR panoramas I have shot so far, stitched with Microsoft ICE. Non-HDR sunsets are one of the few applications for which I use the raw (ORF) format. This is just for one reason: for some pictures I may want to open the shadows, making some foreground detail visible. Doing it on an RGB image with just 8 bits (or 256 brightness values) per color channel inevitably leads to some adverse effects (pixelization is just one). If, however, we can perform this operation as a part of raw-to-RGB conversion, we will be working with 12 bits (4096 levels) per color, so the level granularity will be more acceptable. Most of the recent Olympus cameras (including Pen and OM-D models) allow you to access four parameters which can be used to open the shadows: Gradation, Shadows, Midtones and Highlights. Of these, the first two seem to be most important. All four can be applied in-camera or, if an ORF file is available, in Olympus Viewer. The second approach allows you to tweak the process for a particular picture, a huge advantage. Another parameter is accessible only in postprocessing: exposure compensation. This is different than exposure compensation used in the camera. I usually set this between +0.3 and +1.7, but this, obviously, depends on how your frames are exposed. Raw files can be used concurrently with the HDR mode: saving images as Raw+JPEG results in two files: an HDR JPEG (if frames are merged in-camera) and a plain ORF (the first frame, no exposure offset). For any given shot, results of both approaches can be compared, and the better one chosen. The conversion parameters which give me best results (or close) for sunsets are:
Opening the foreground shadows Before we go to panorama stitching, let us have a closer look at the preliminary stage: raw-to-RGB (or raw-to-JPEG) conversion. Using the Raw+JPEG save mode, and with help of Olympus Viewer, all three versions of converted JPEG can be created from one exposed frame, as described above. In this presentation, each picture is shown as three rows of images:
In each row there are three pictures:
The captions contain links to full-resolution, 3:2 image files, in case you need a closer scrutiny. Each of those files is around 5 MB in size; consider yourself warned. | |||||||||||||||
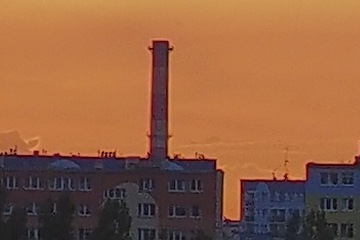
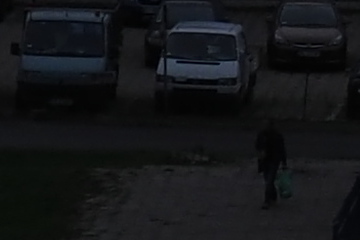
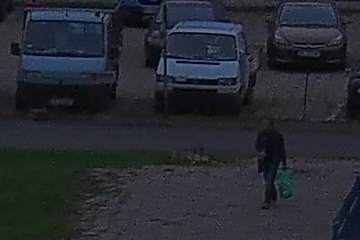
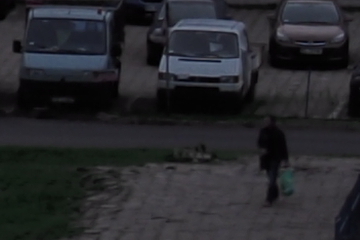
| ORF JPEG "as shot" (full frame) | ORF JPEG tweaked (full frame) | HDR in-camera (Mode 1) (full frame) | ||
|
|

| ||
|
|

| ||
|
|
| ||
| Olympus E-M1 Mk. II, MZD 12-100/4,0 @28 mm — AP (0 EV): 1/200 s at F/6.3, ISO 200, 5300K | ||||
|
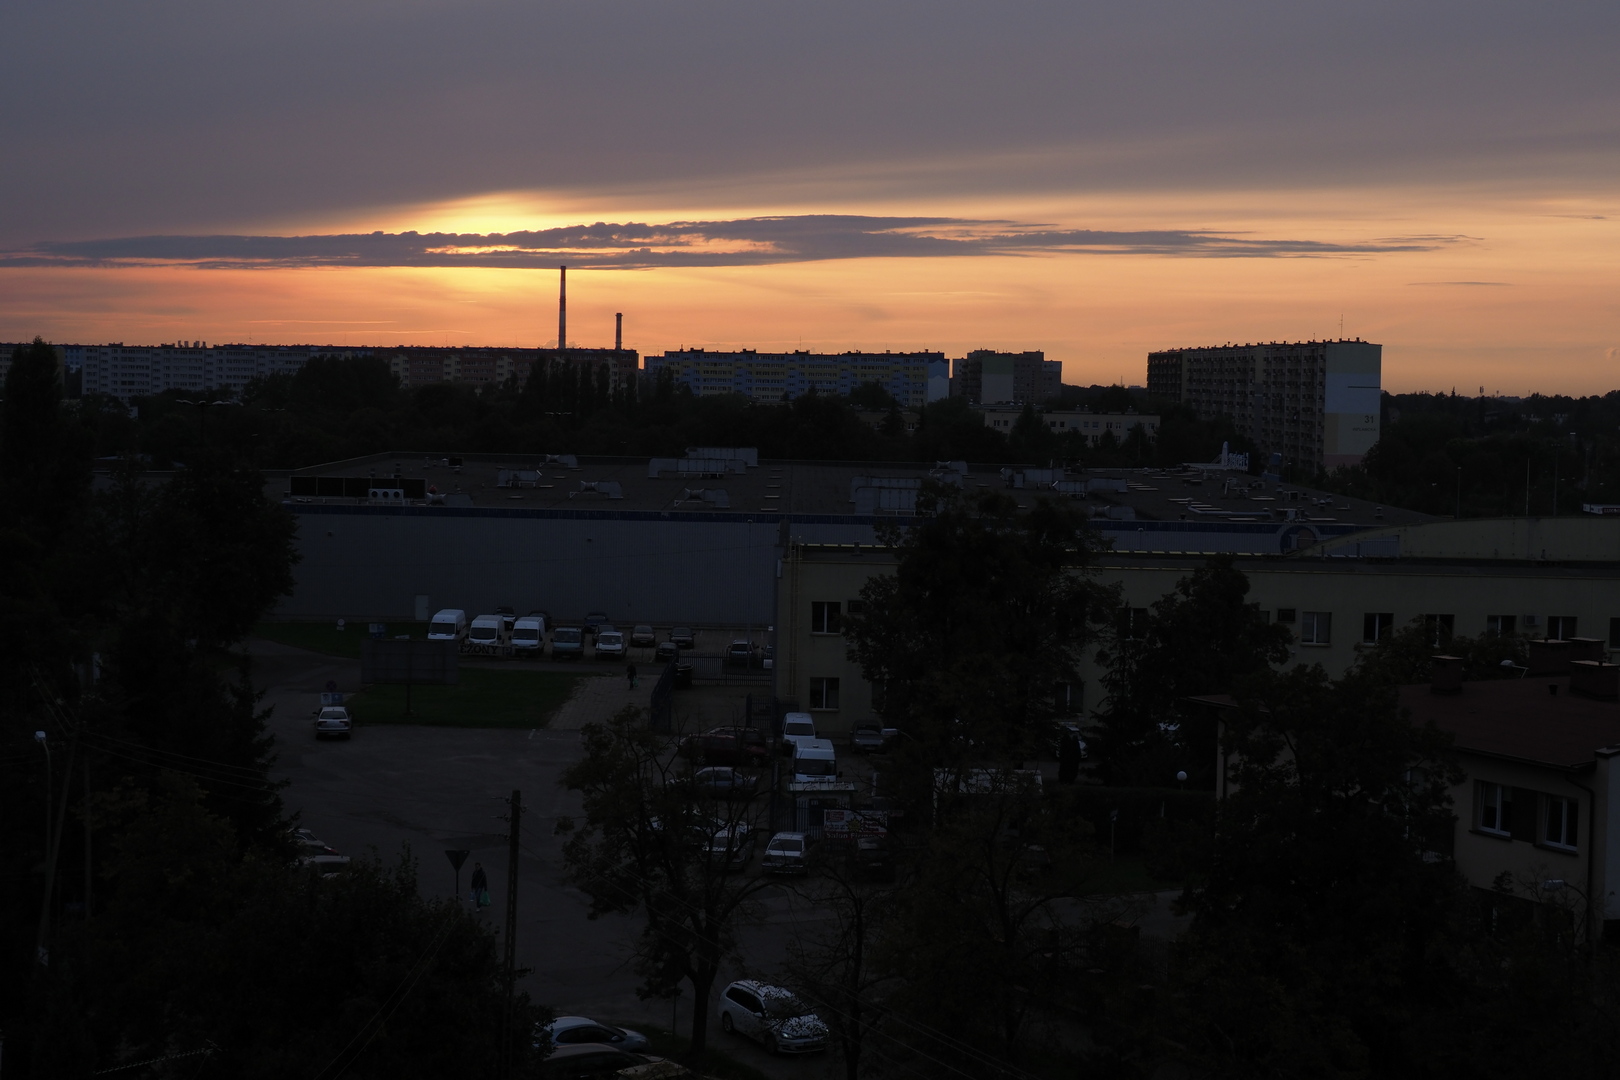
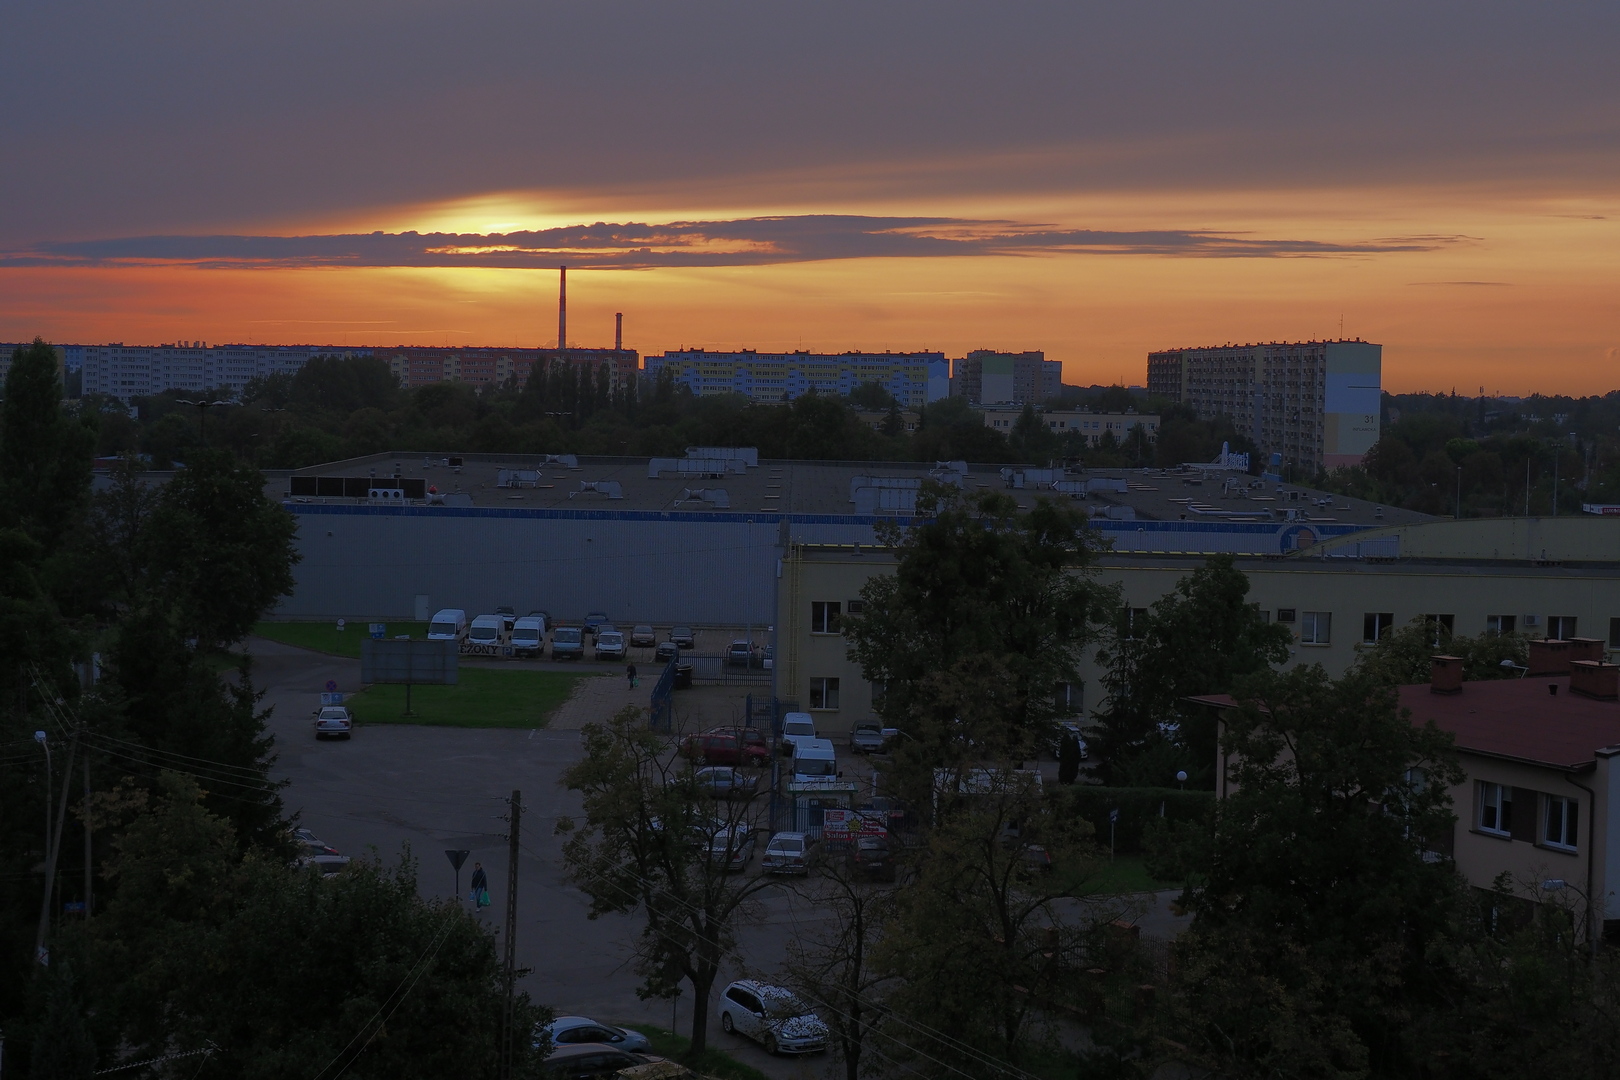
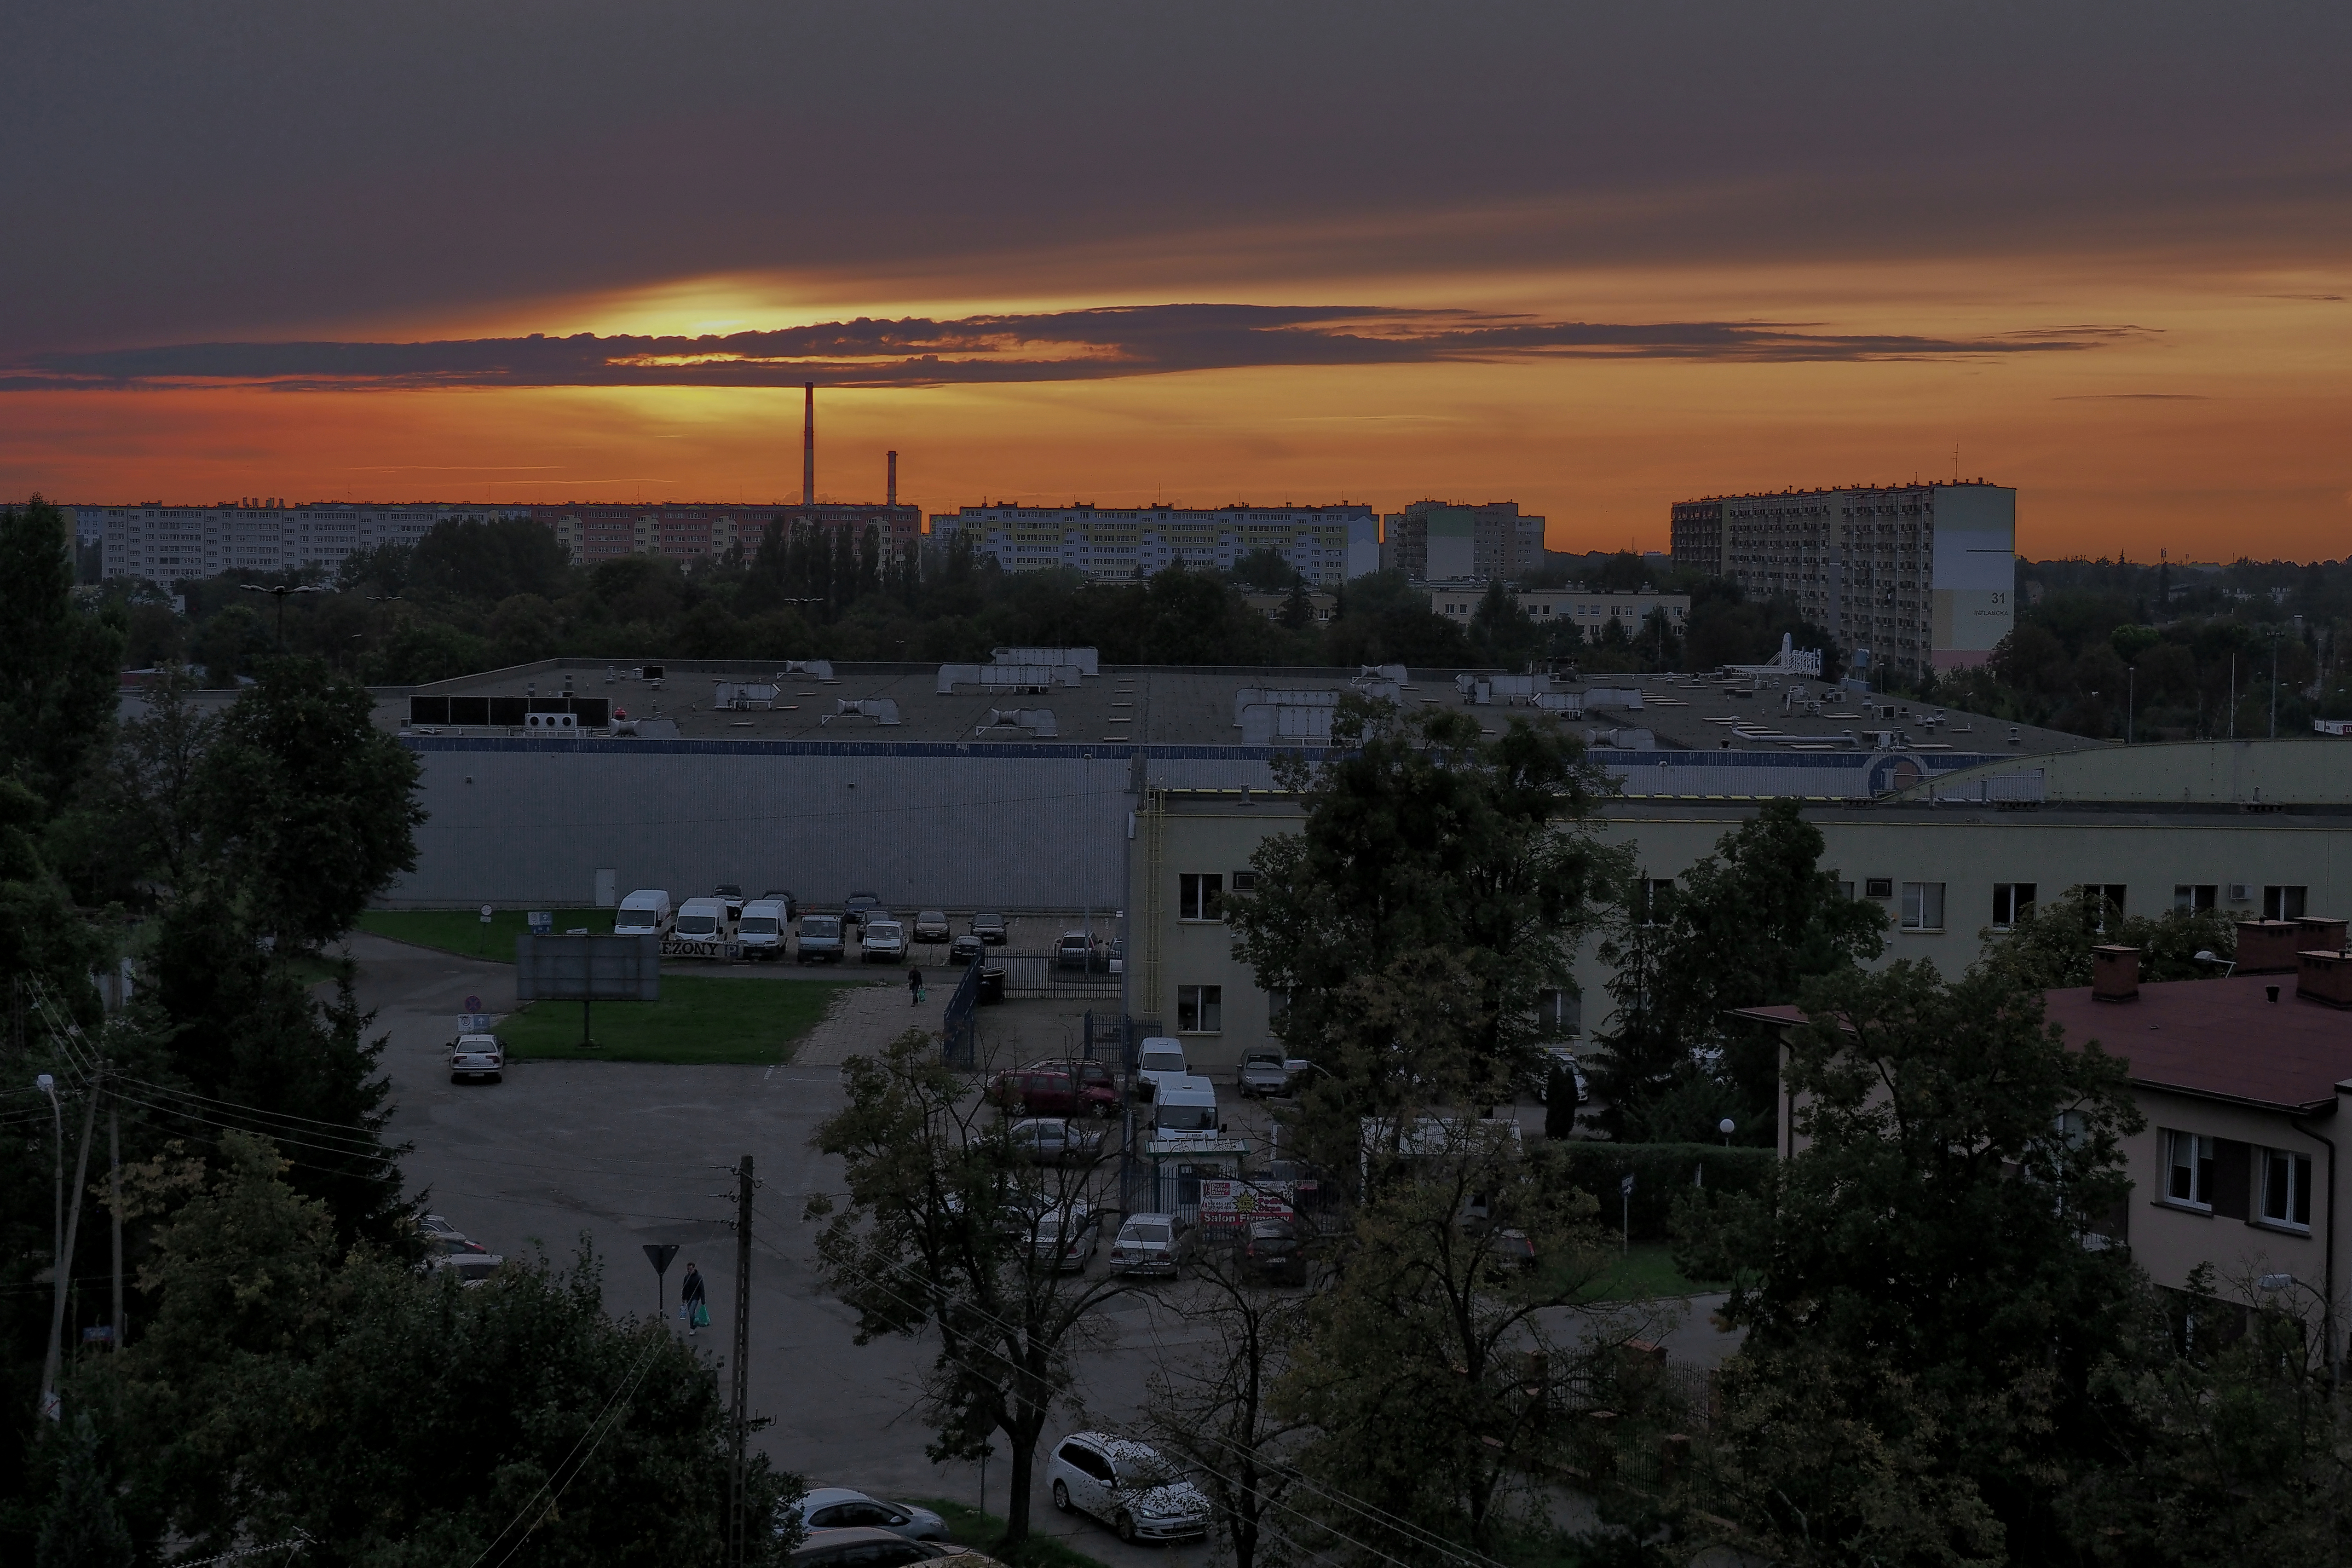
While the "as shot" image is not very usable, the "tweaked" version is not far behind the HDR one. Not far, but still behind; that's why I chose the latter for the final postprocessing.
The principal advantage of HDR over "tweaked" lies in cleaner shadows: less noise, no posterization, and generally better tonality. On the other hand, moving objects are sharper in the non-HDR version — try to spot the person walking with a green shopping bag. And look at the cars: aren't they just a tad sharper in the "tweaked" frame? It's a close call, and that's why I like to keep both options open by saving both ORF and HDR JPEG files.
| The final processing was done in Paint Shop Pro v20 (or PSP 2018); almost any image editor will do the job. To minimize compression artifacts, the intermediate JPEG (saved by Olympus Viewer) used the highest possible quality setting, and only the PSP output was set to whatever I'm normally using. Some tonal adjustment was applied separately to masked-off areas above and below the horizon, followed by a tedious, mostly manual, process of removing the transition artifacts along the division line. As the final step, I used the Neat Image plugin to clean up the noise (which could be done separately in both masked areas, but I did not bother).
| 
In-camera HDR, postprocessed
| Just for the sake of curiosity, I also processed the "tweaked" JPEG in a similar fashion, trying to get a similar result. It wasn't difficult at all; if the results are not identical, that's largely because I was improvising, having no record of how I did it the first time. Surprisingly, it turns out that HDR (at least in the Olympus' HDR1 version) does not bring a visible improvement to sunset shooting. I'm still going to use this technique when working with stationary subjects from a tripod, in case I discover some advantages to it, but I remain somewhat skeptical.
|
"Tweaked" JPEG conversion, postprocessed | ||||
|
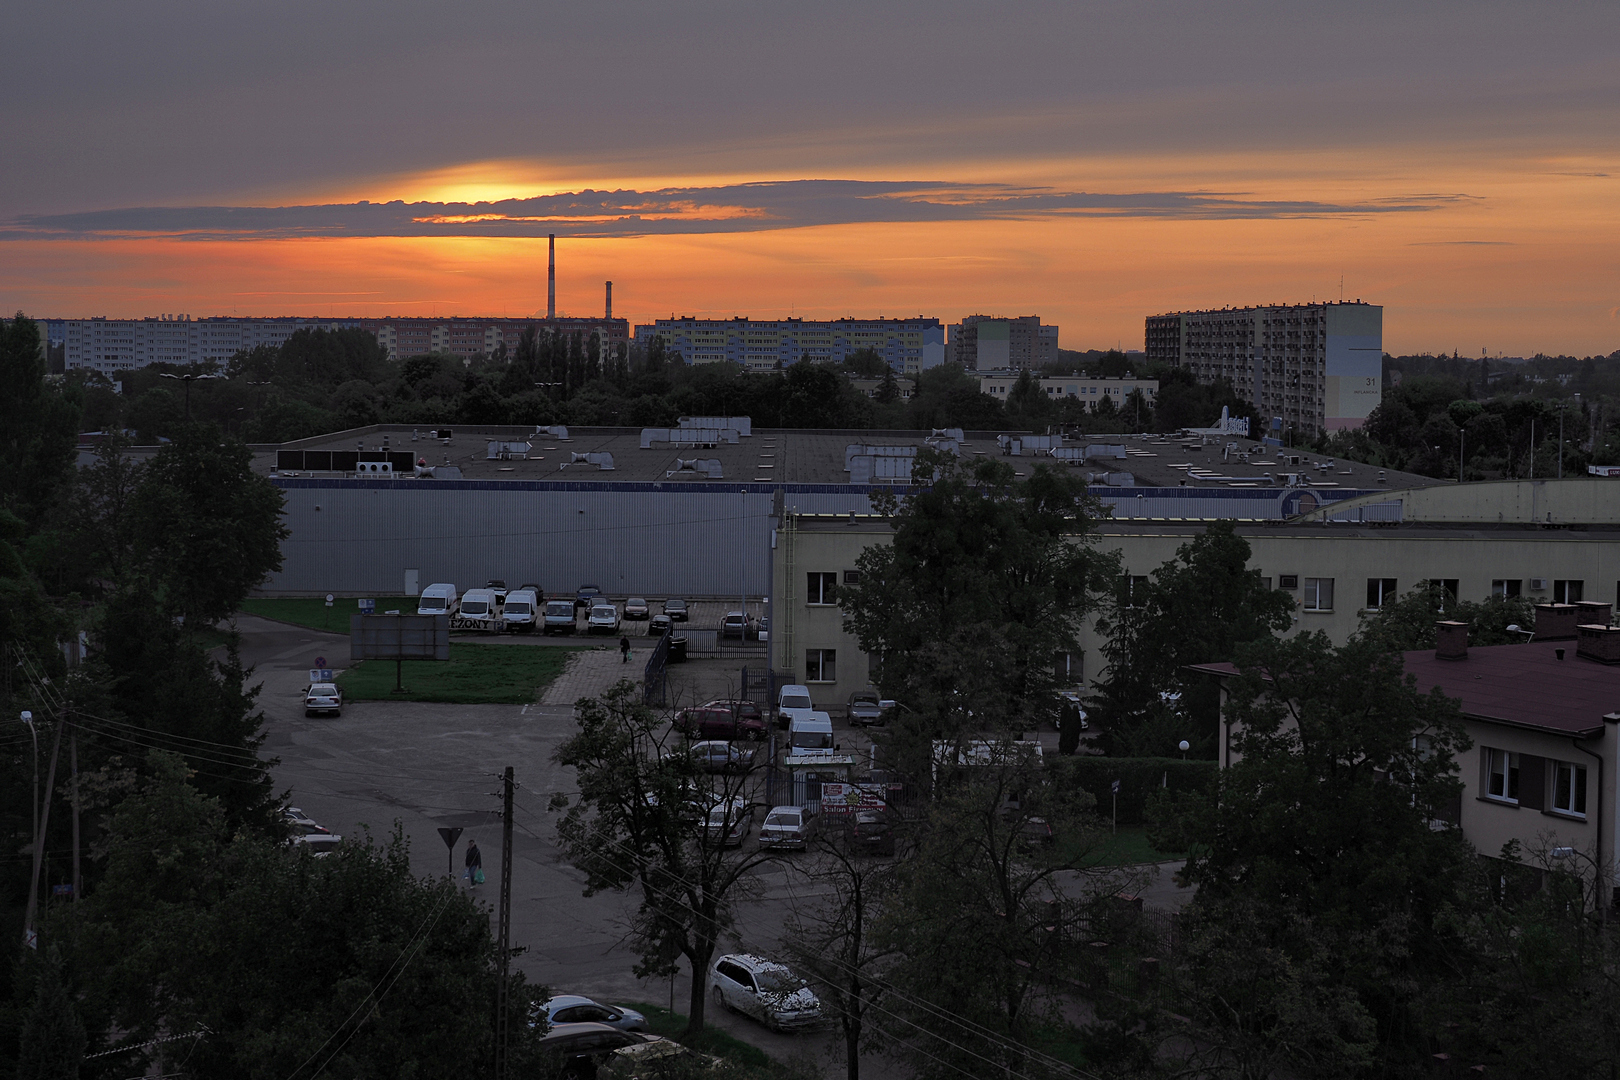
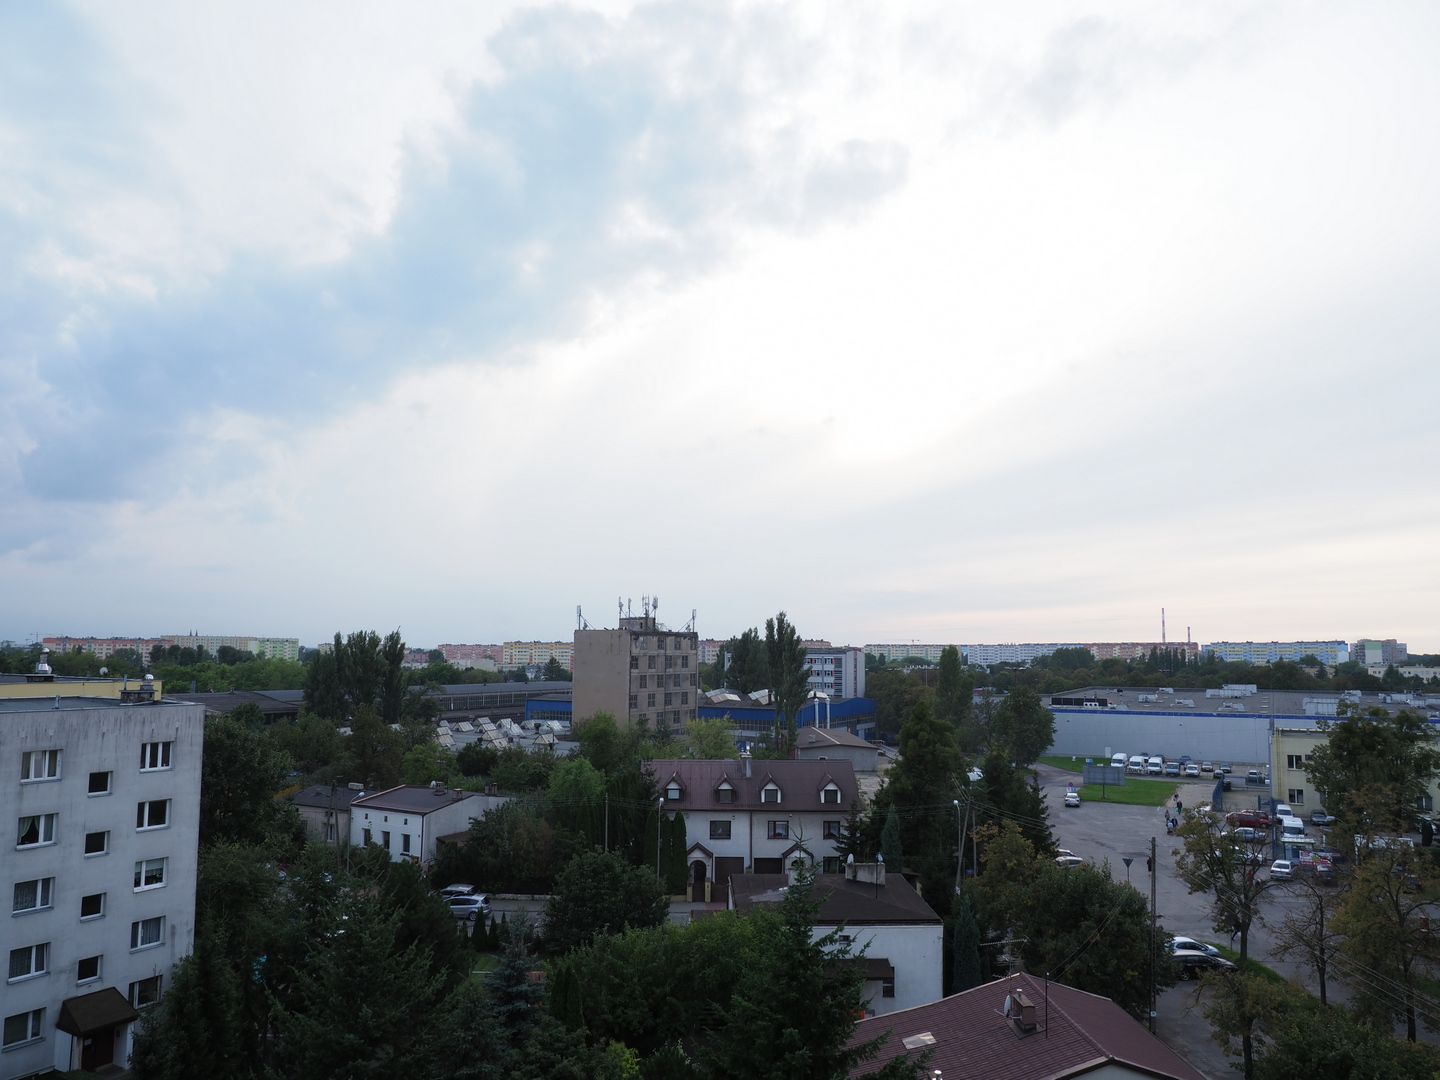
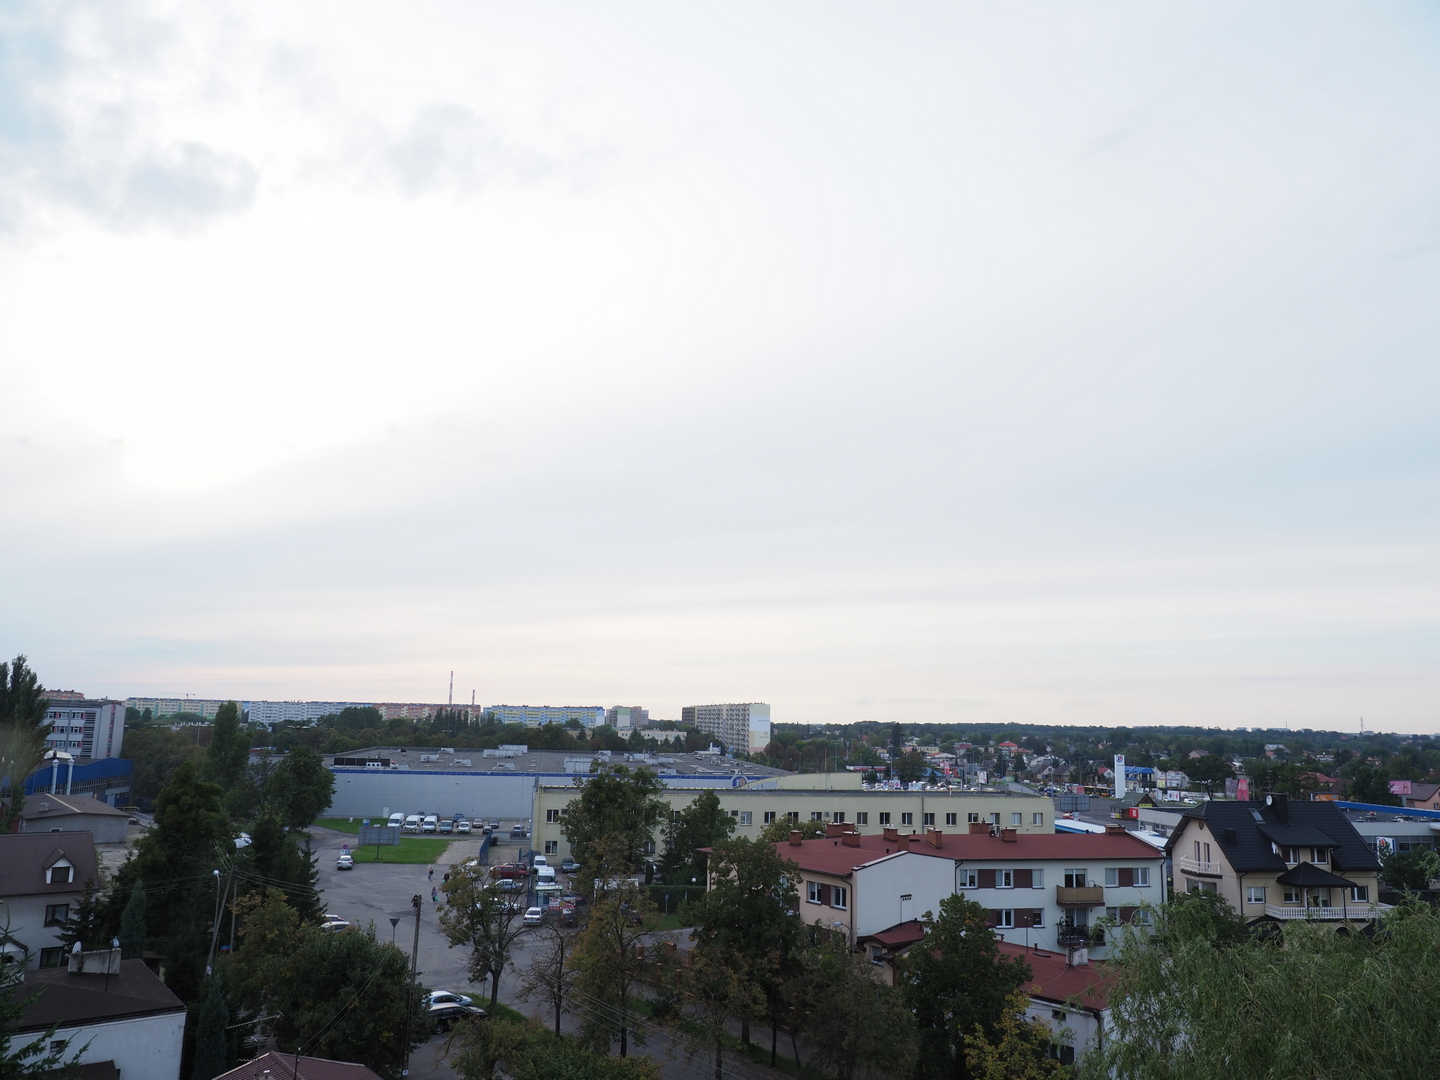
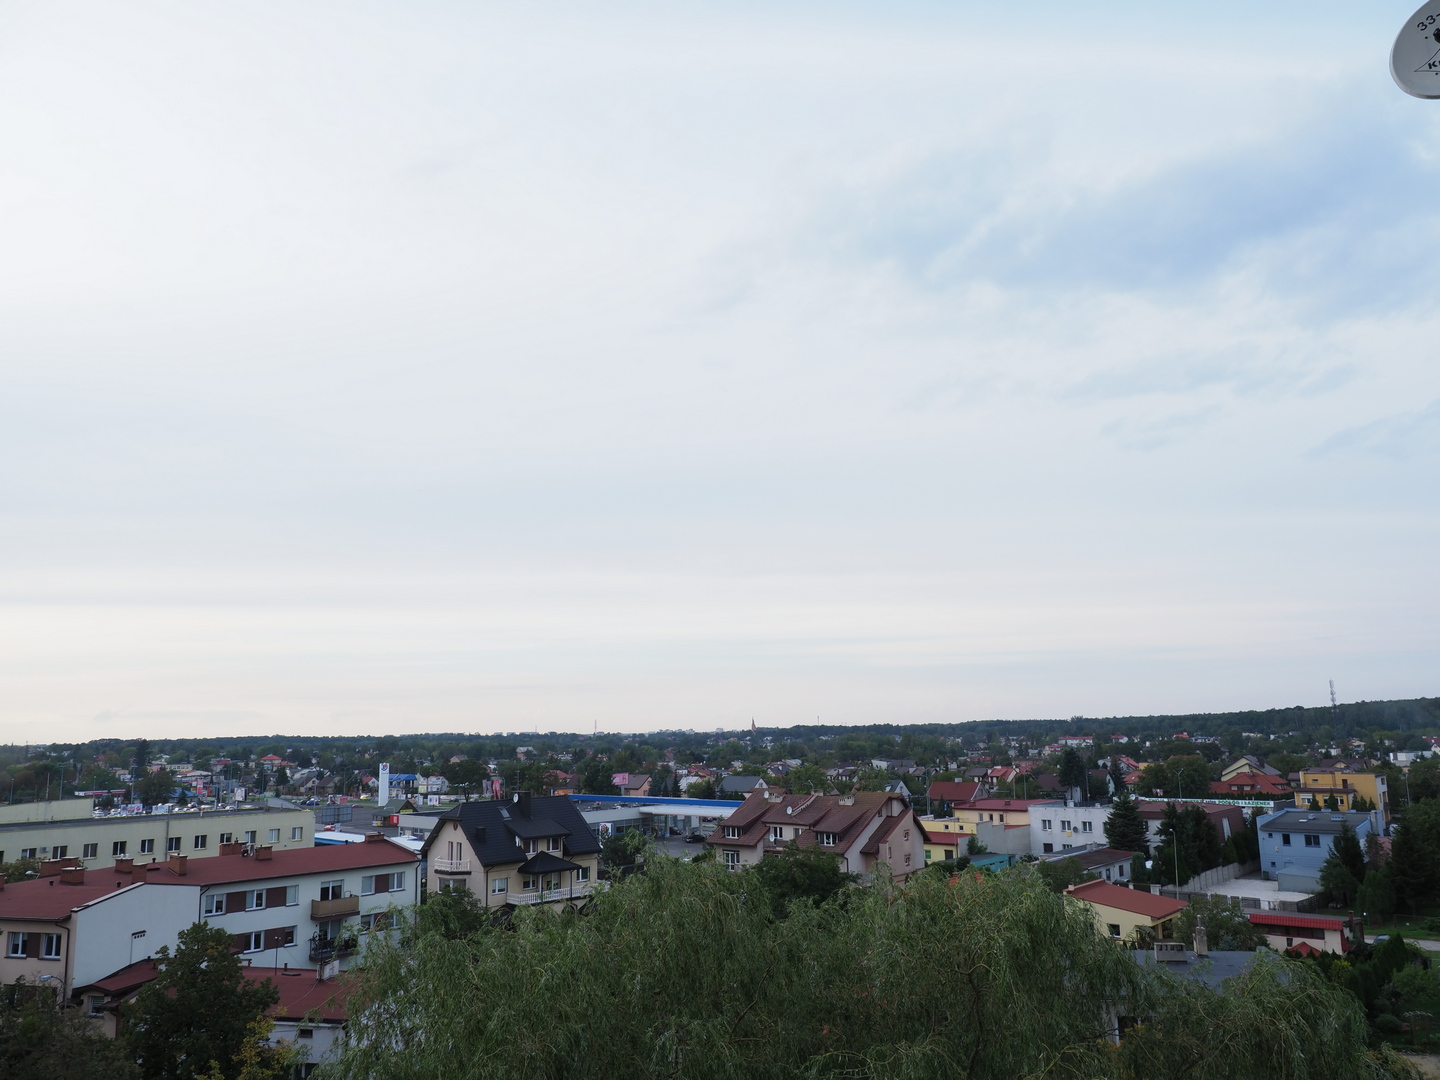
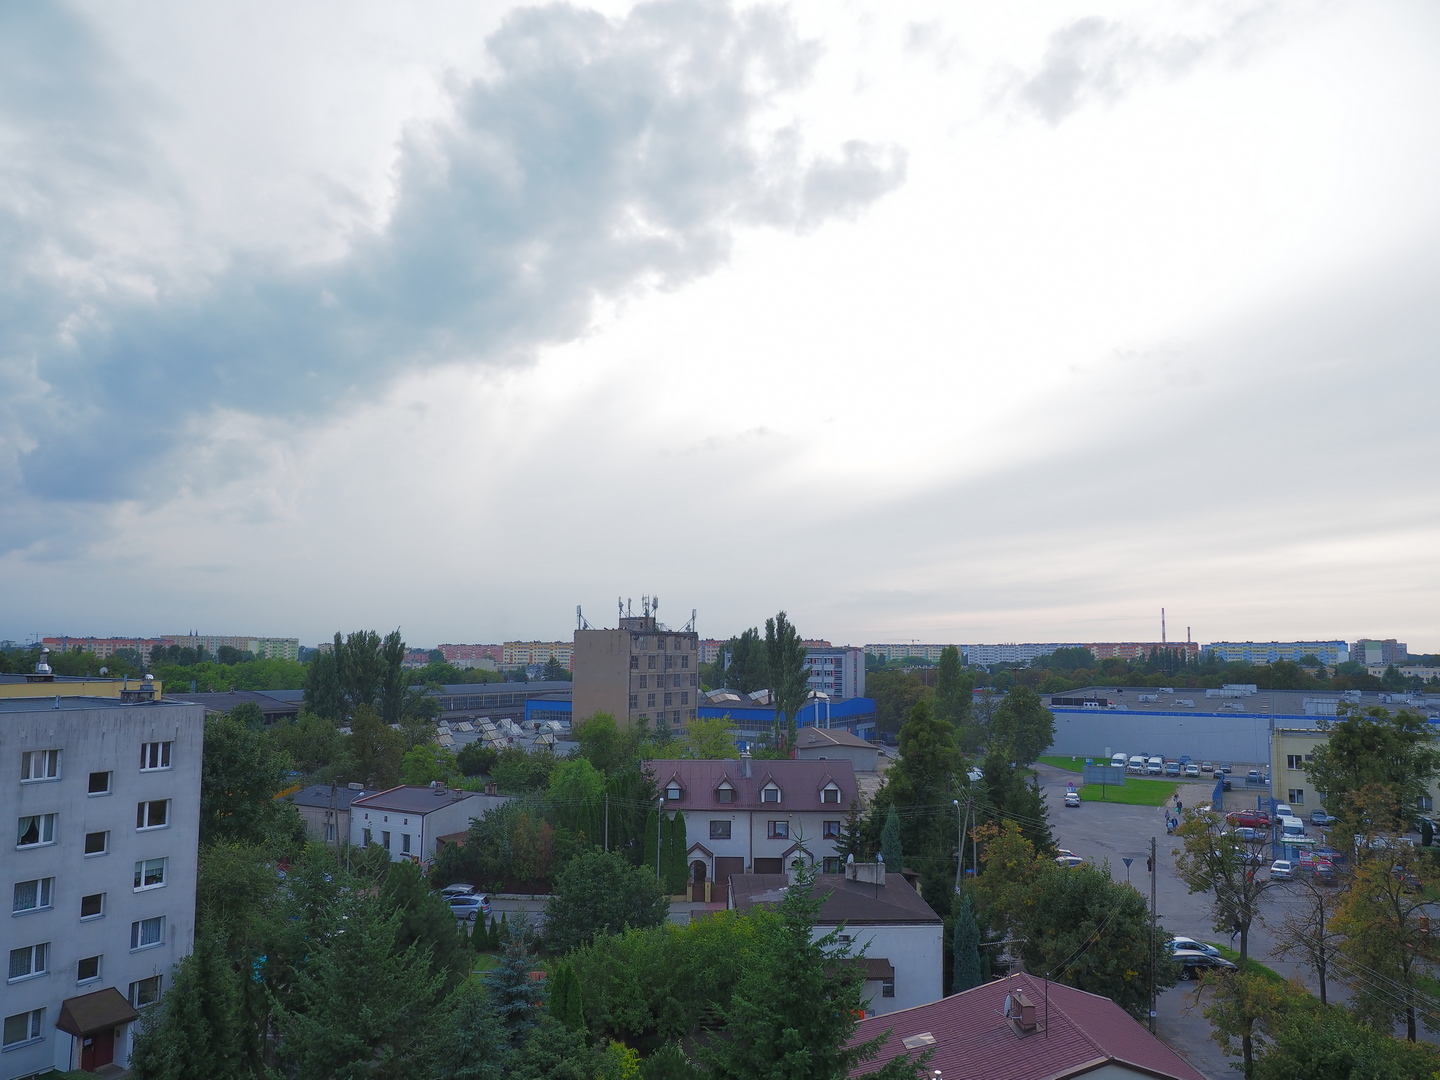
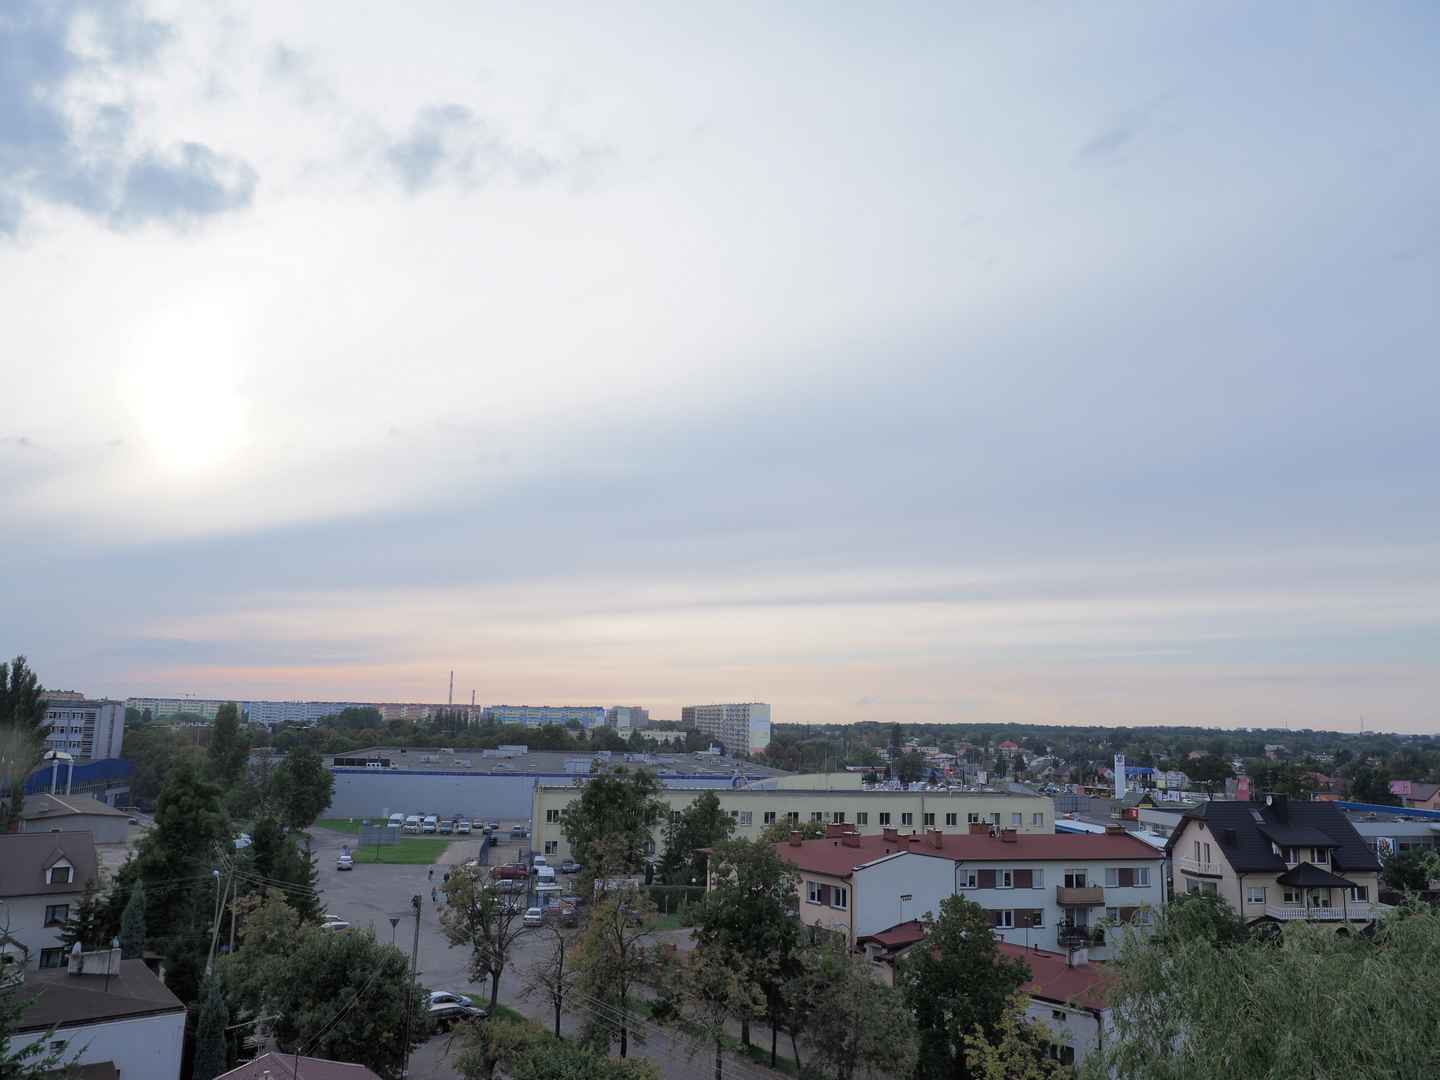
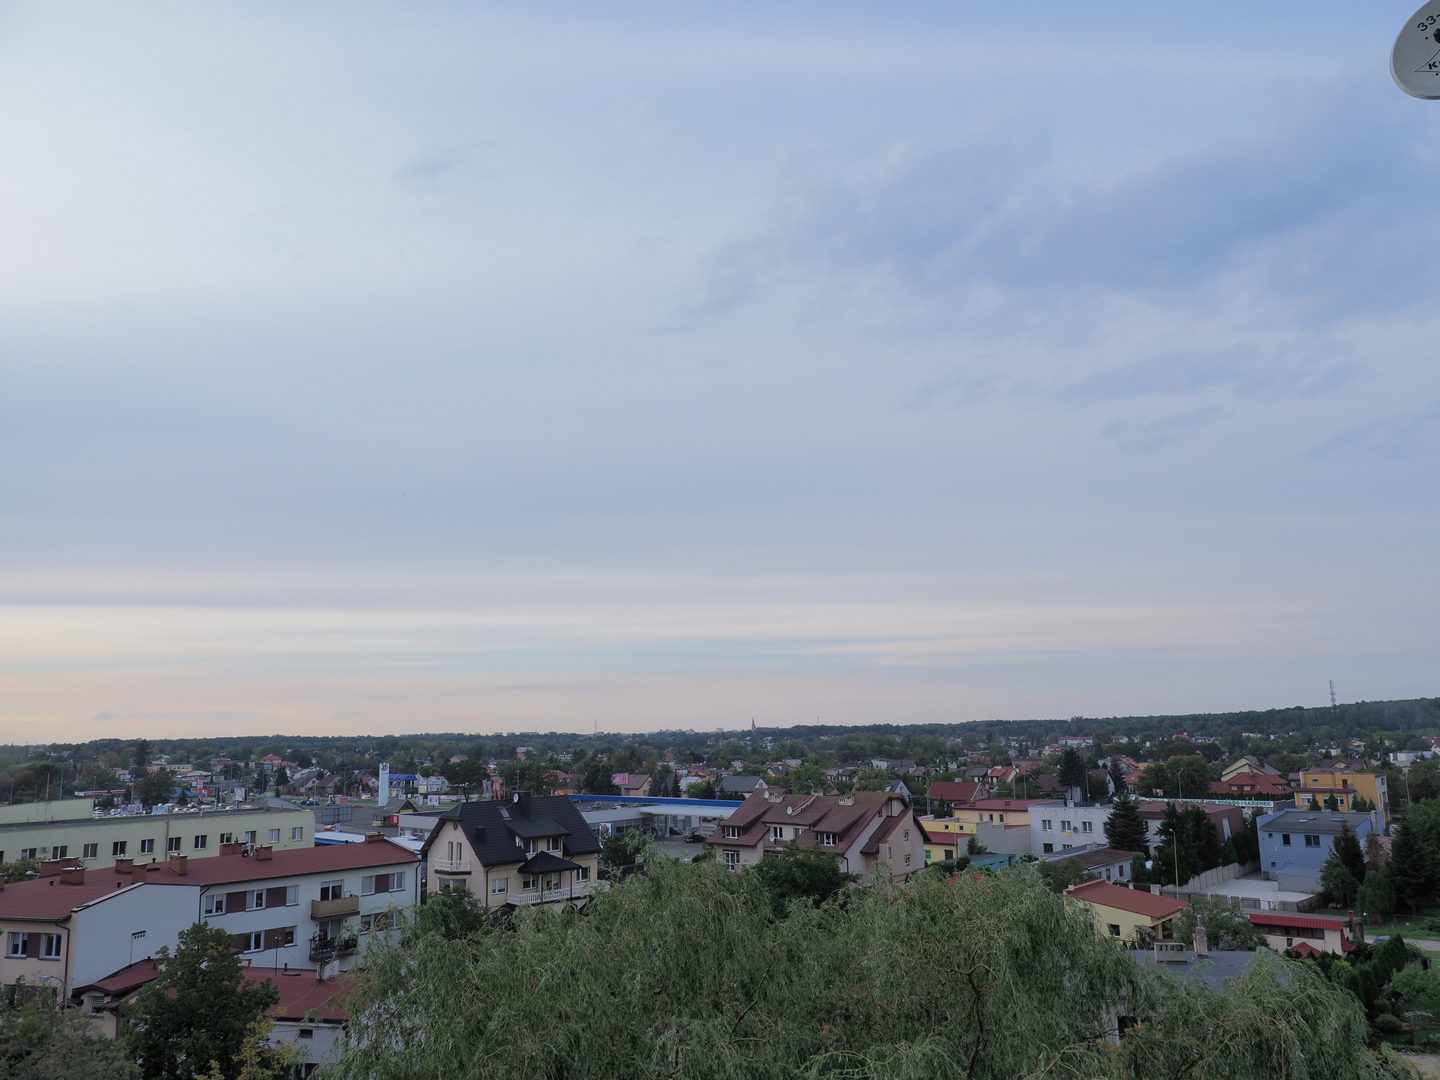
A case study: 180° in three frames Actually, if I tried really hard, I would have a chance to wrap this 180° panorama in just two frames, as the Leica 8-18/2.8-4.0 lens has a horizontal view angle of 94°. I'm not sure, however, if this provides enough frame overlap for ICE to do the stitching, and I was too lazy to check it the hard way. Also, note that, technically, this is not yet the sunset. There is still more than one hour left until that happens (more exactly 1 hr 28 min). First, the three component frames; each in three versions, exactly as described above. |
|
|
|
| ORF JPEG "as shot" | ||
|
|
|
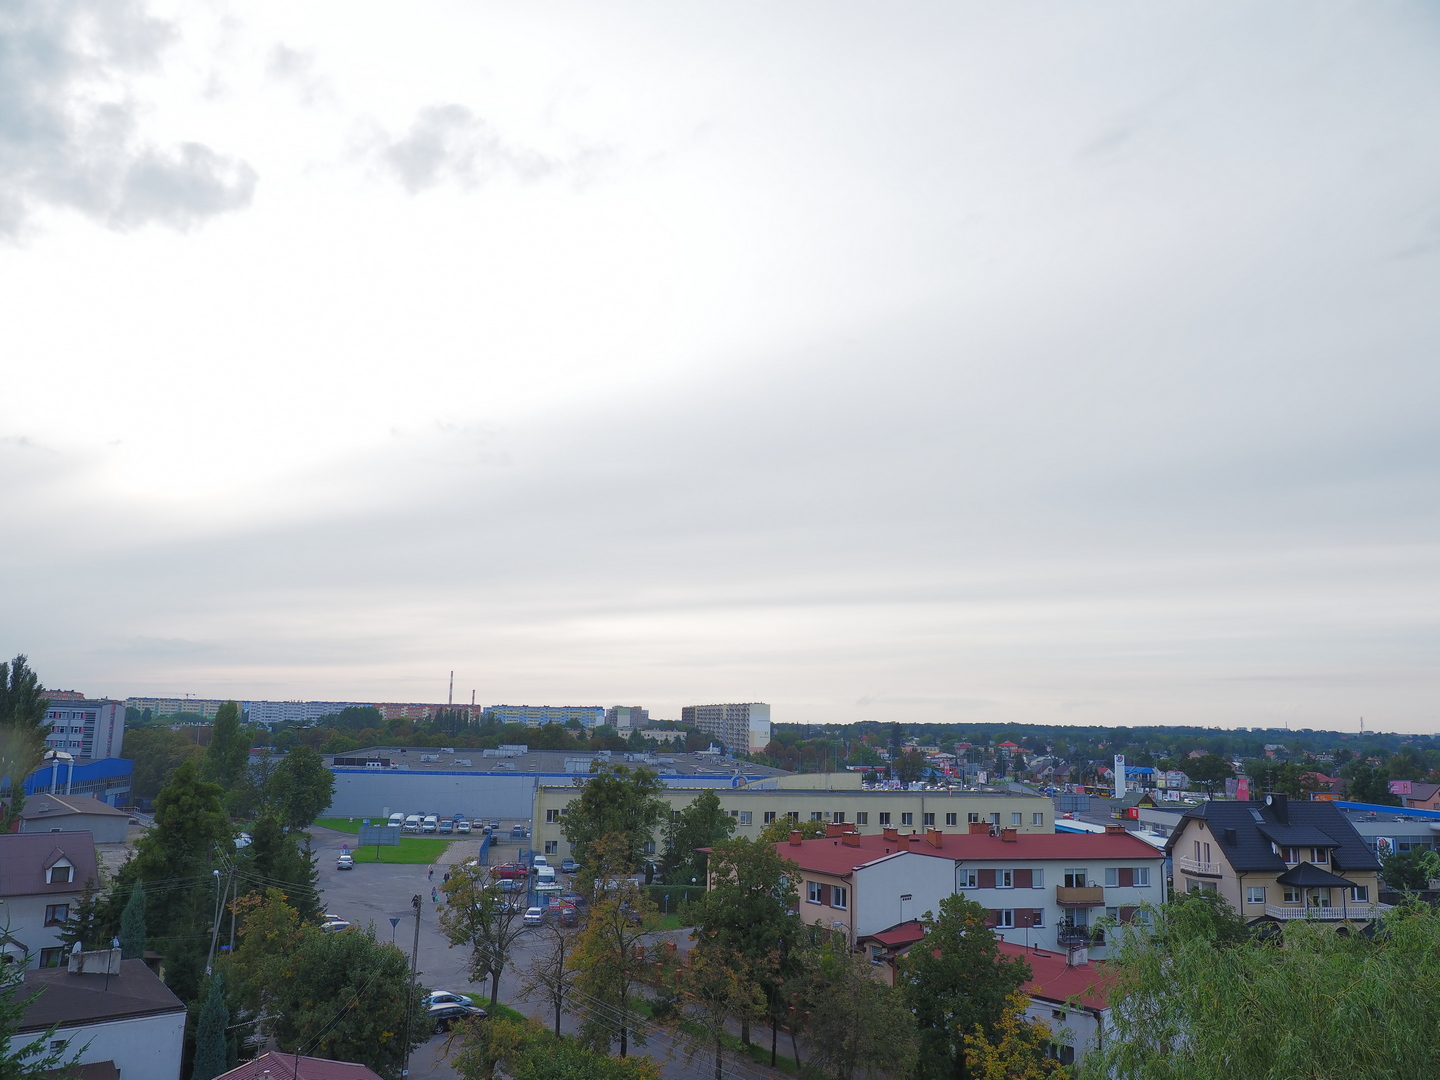
| "Tweaked" ORF JPEG | ||
|
|
|
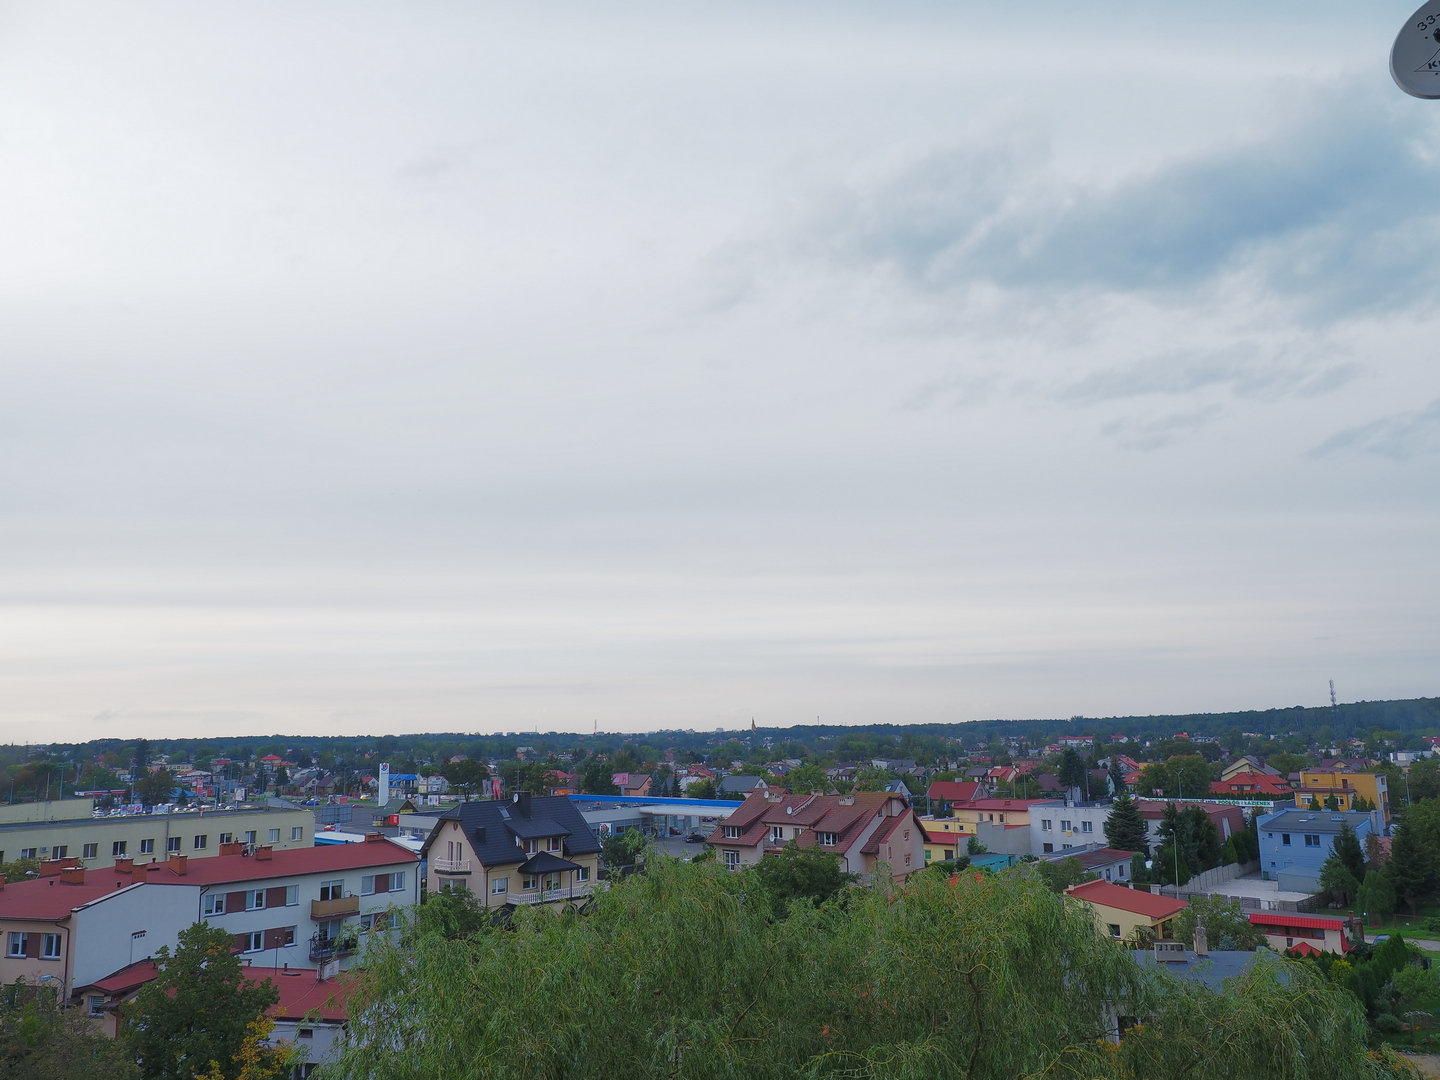
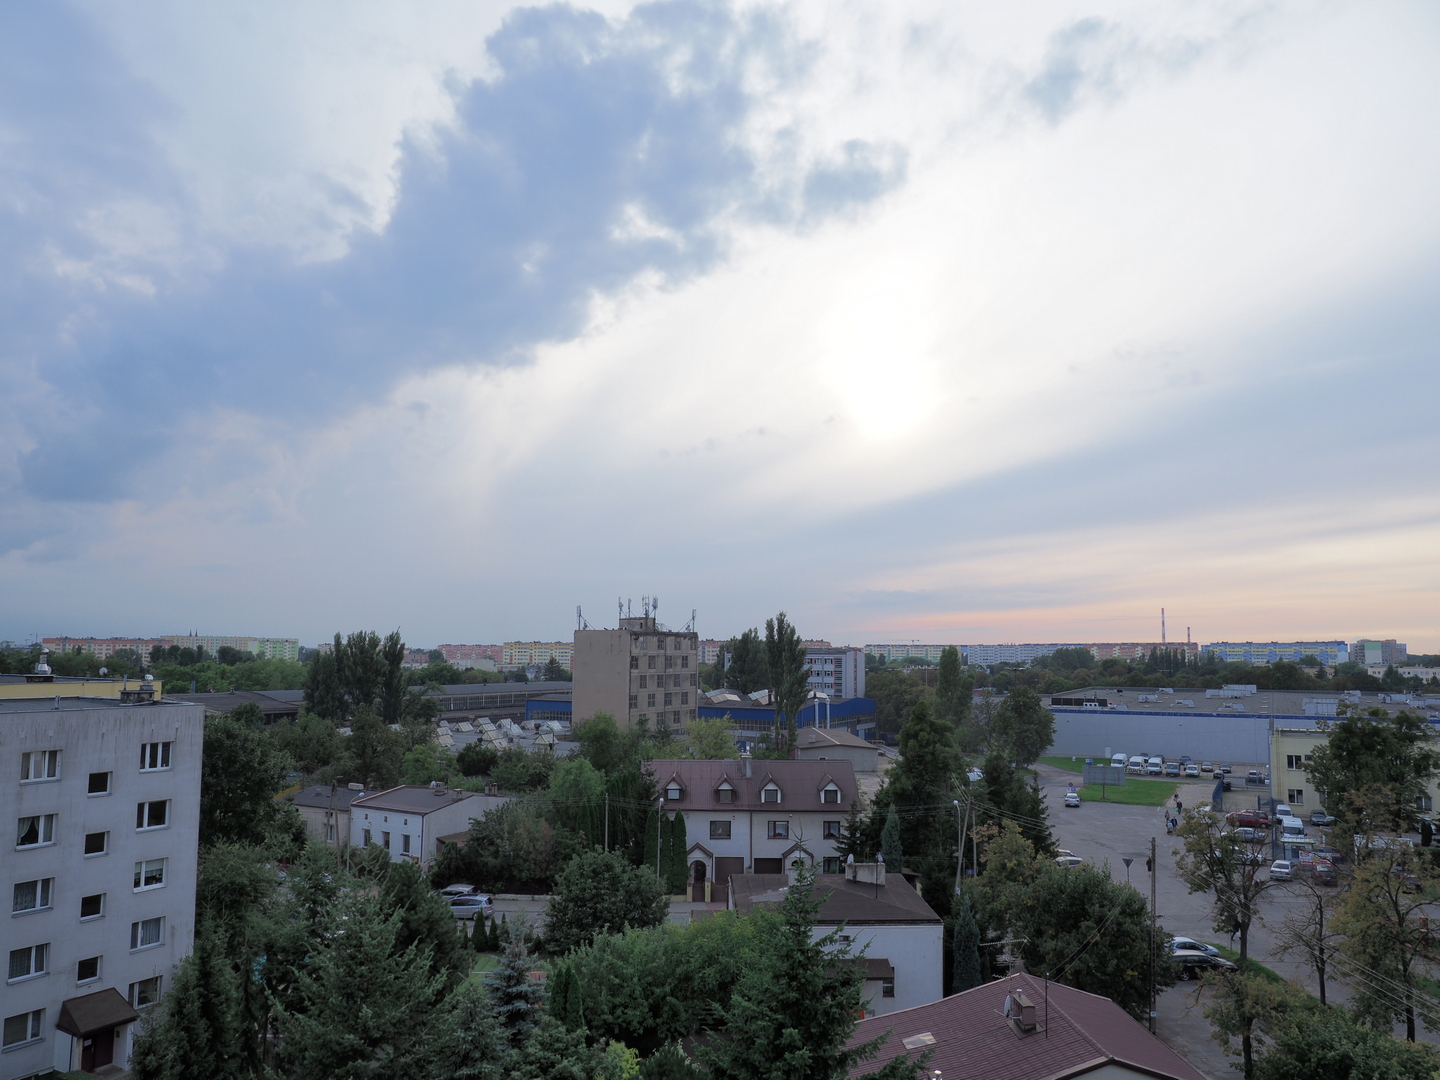
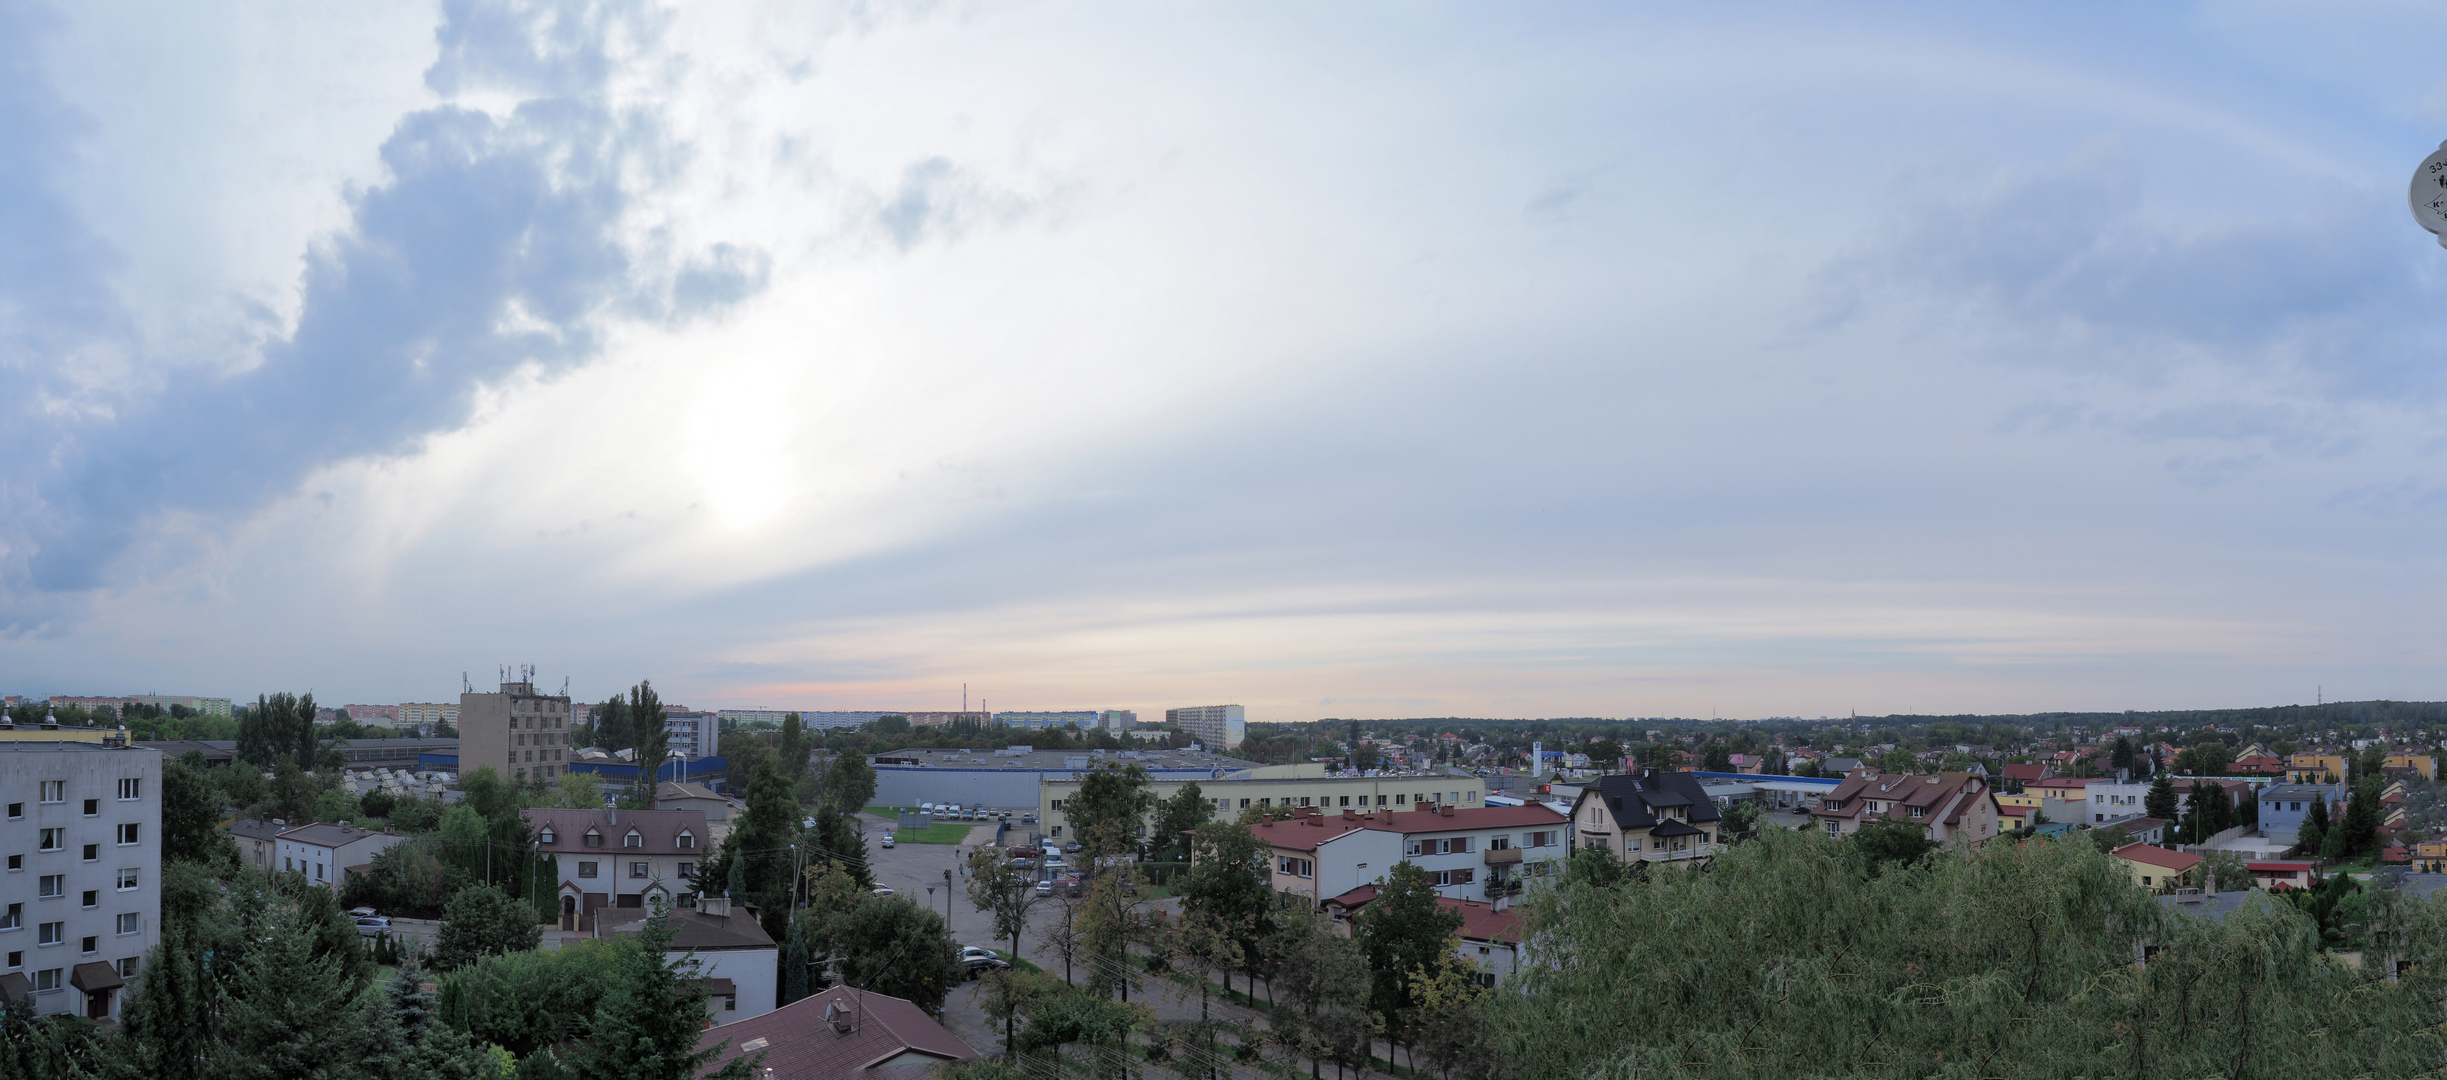
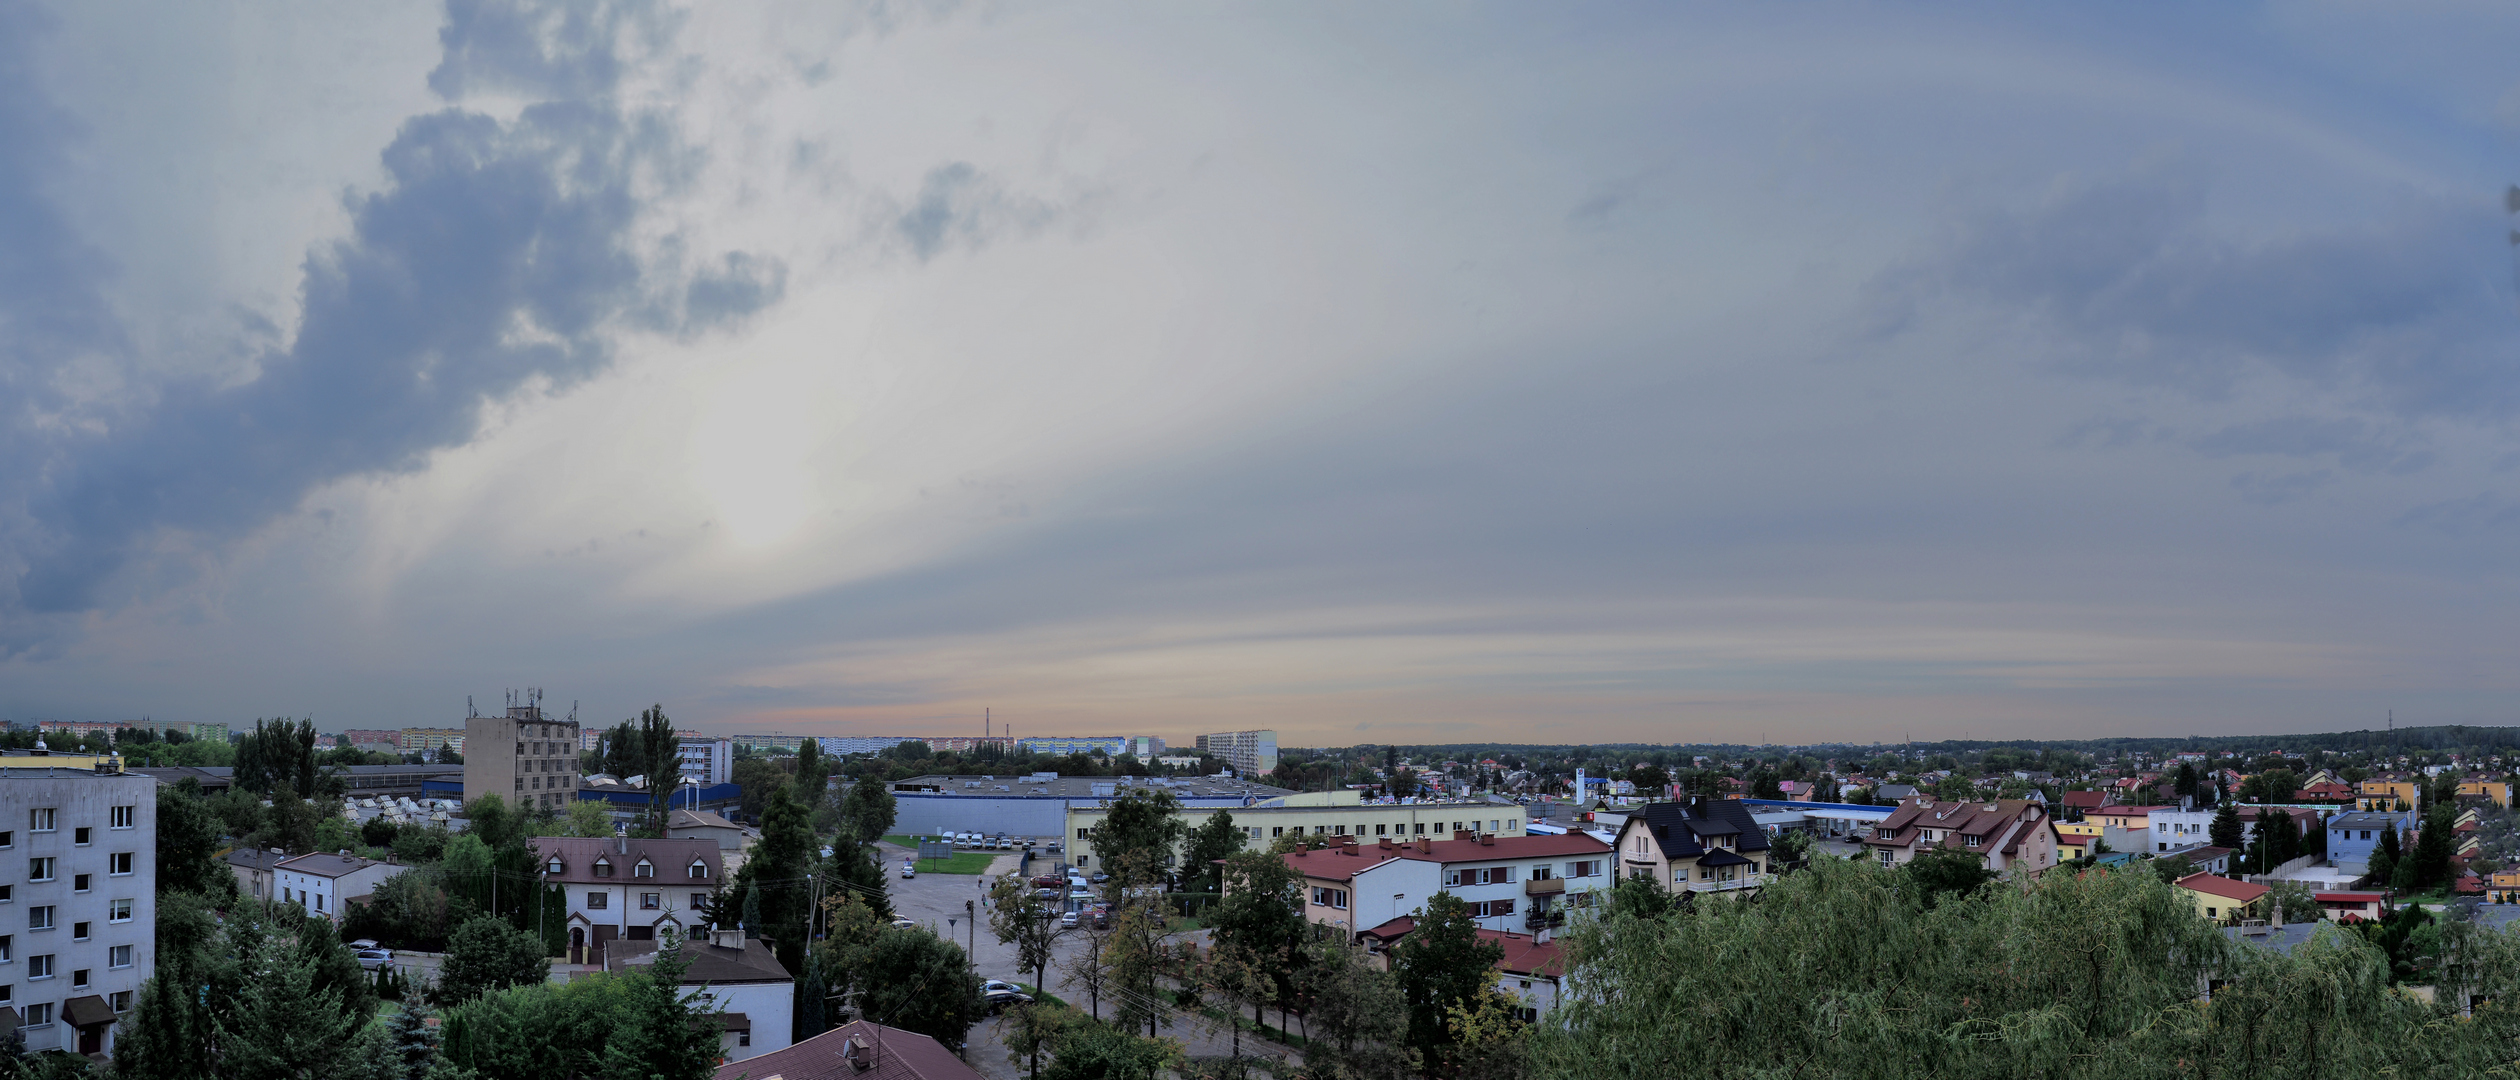
| HDR1 JPEG | ||
|
At this early hour the foreground seems to be adequately (if not interestingly) lit in all three versions. The sky, however, is more to my liking in the HDR version: not only is it darker, more dramatic, but the process was able to extract some gold out of it, and the less of that we do in postprocessing, the better.
This is why I decided to work with HDR frames here. Now, most people do not realize how highly non-trivial the stitching process is. It is not limited just to merging the frames like a jigsaw puzzle; before that each piece must undergo a geometric transformation. Imagine a puzzle with pieces made of rubber (or perhaps Play-Doh), where every piece must be properly stretched/squeezed before being put in place (which also depends where that place is), and for every two pieces sharing a boundary, the stretch/squeeze along it must be properly matched for both. Let us go through the stages of the stitching process, as implemented in Microsoft's Image Composite Editor. For the user, each stage is just one mouse click; under the hood there is some heavy math and numerical methods. |
|
First comes matching and ordering of the pieces and stitching them together. The result is shown at the right. Note that each original, rectangular frame is mapped into a barrel-shaped (negative) distortion pattern.
I was shooting this from hand; misalignments in camera orientation or motion resulted in the irregularities of coverage you can see here. Note the absence of any frame transition effects in the sky or elsewhere. | 
Original stitch by ICE, limited to the actual image |
|
This is how ICE will make the sausage-like pattern as above into a panorama rectangle, using the simple approach: find the largest rectangle fully fitting into the pattern.
As reasonable as this method is, we are losing quite a lot of image information — just because that information is missing somewhere else. |

ICE stitch, cropped to the fully-rendered rectangle |
|
This is why ICE offers an option to "reconstruct" the missing areas. As a result, we get the image rectangle covering the black box in the first screen above: the smallest box including any image area from the original stitch. And here it is.
Mind it, you cannot make something out of nothing, but this process comes quite close; see for yourself. The clouds at the top are very realistic. But even at the bottom, cropping off maybe a third of the filled-in area, and cloning one window at far left, will make this work. Looks like real. |
ICE stitch, extended to the binding rectangle |
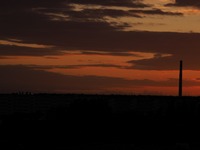
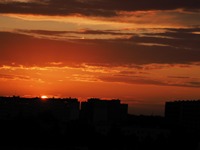
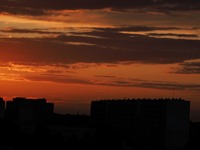
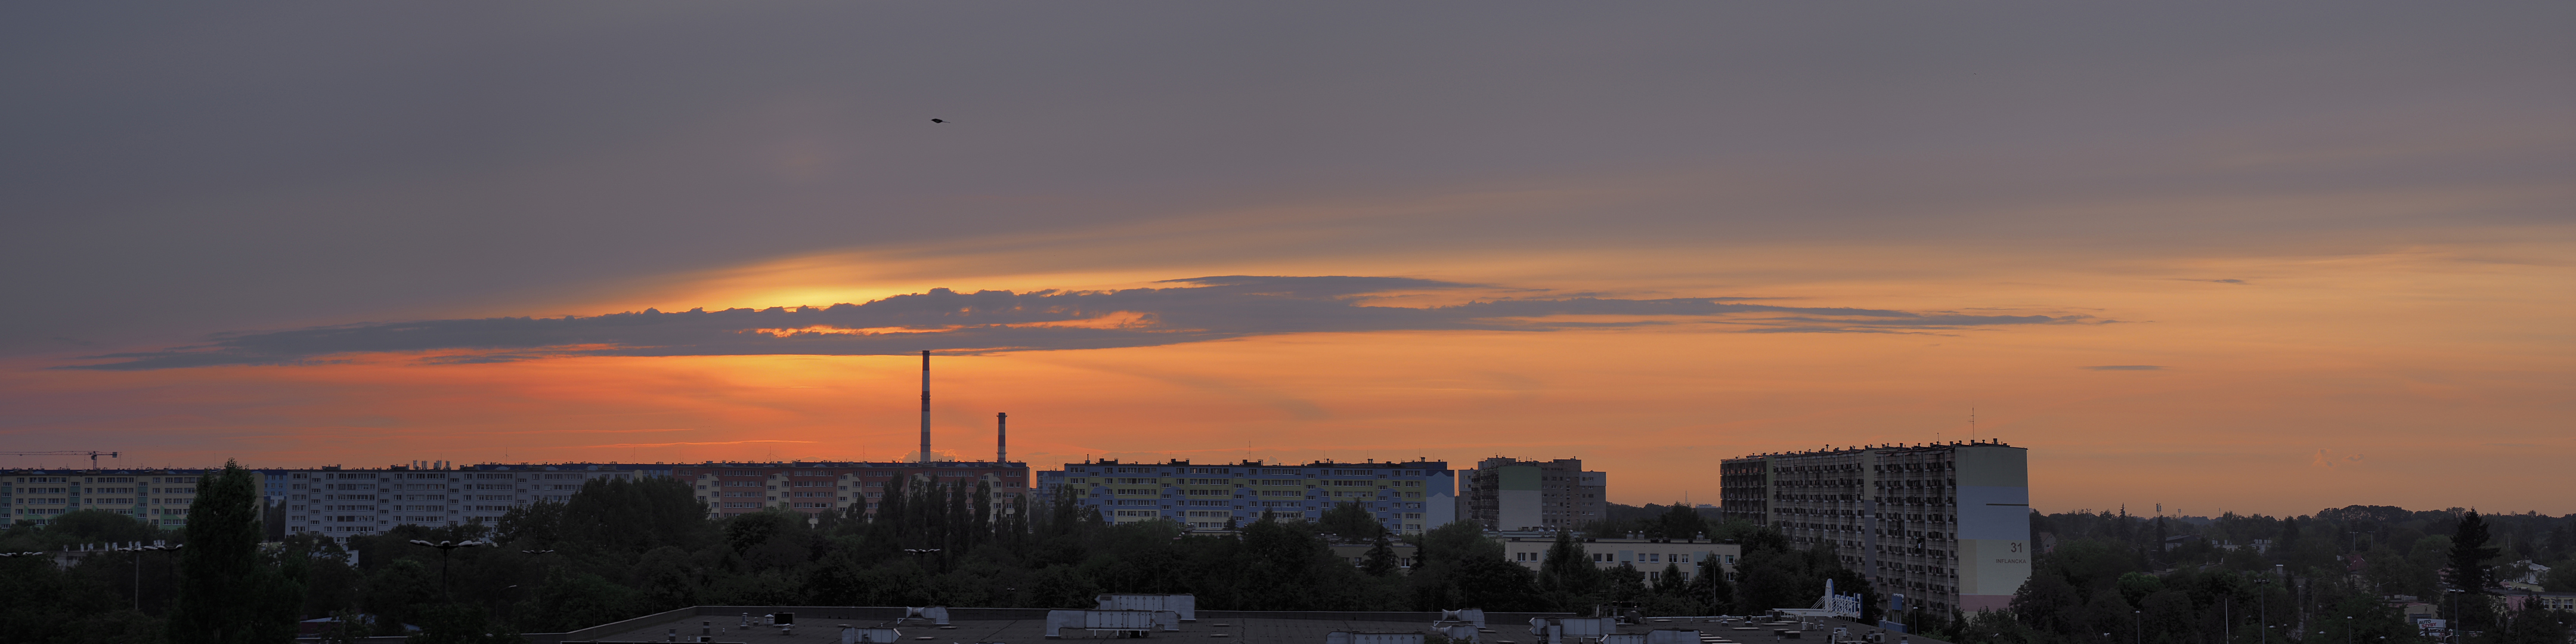
What's left now, is the post-stitch processing. With sunsets you have more freedom than with most other subjects, so let me show you three different takes.
As they say, there are many ways to skin a cat. Pick one. |

Extended stitch, Final Version #1 |
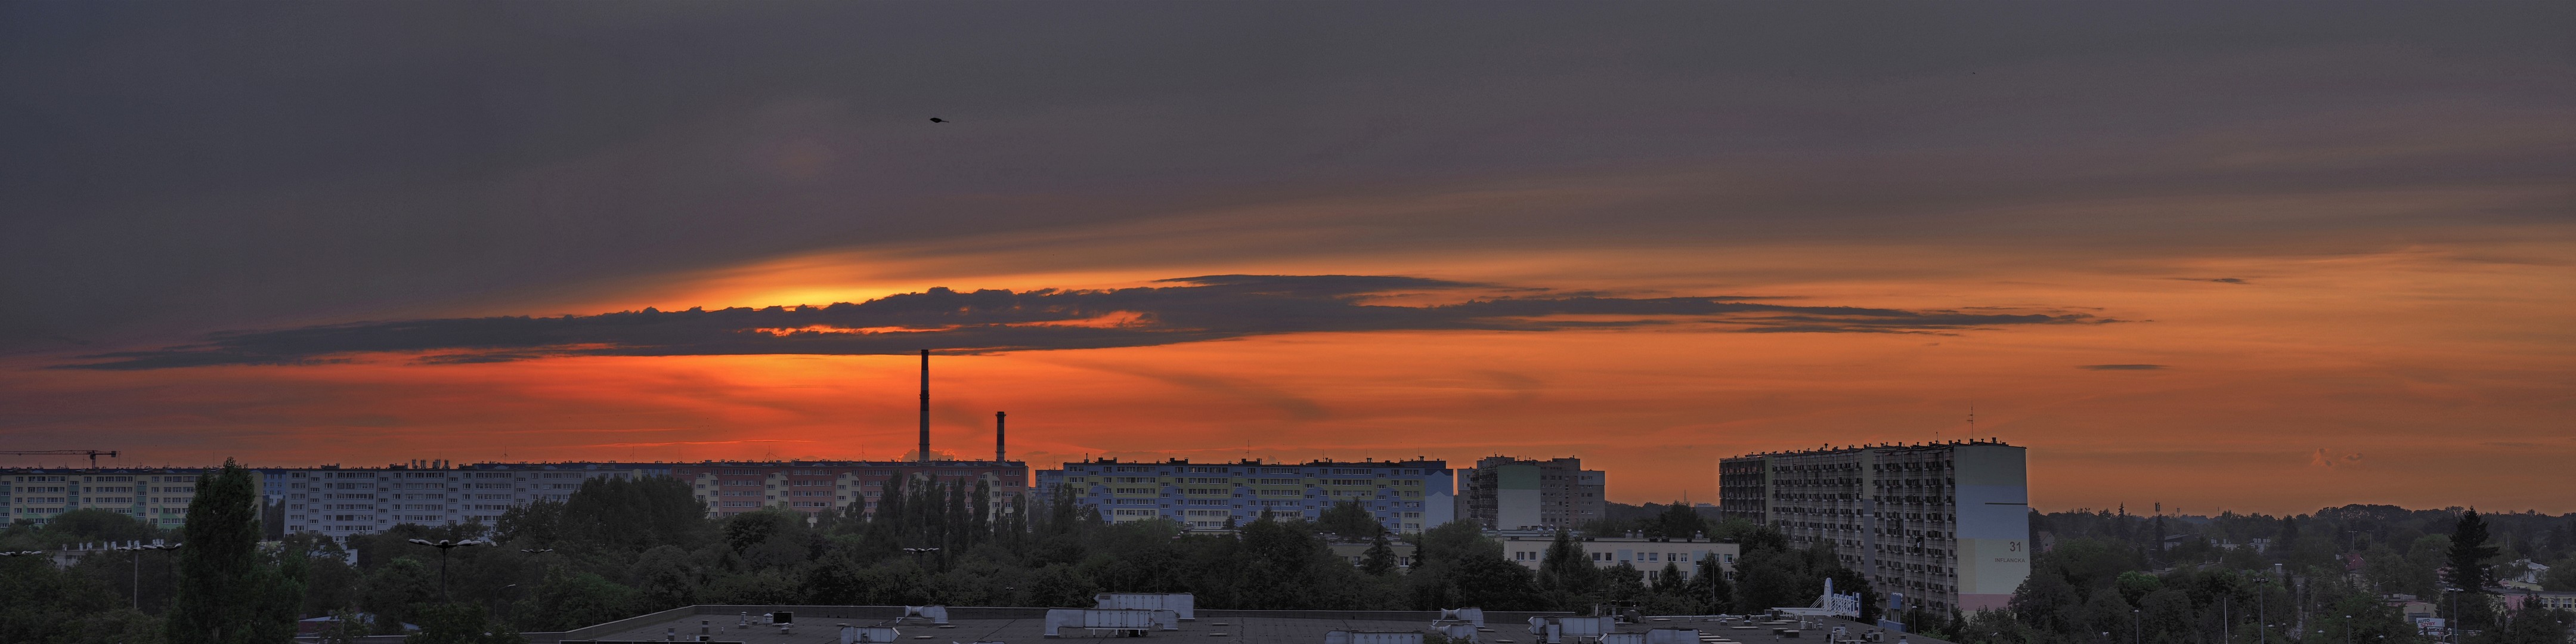
Extended stitch, Final Version #2 |
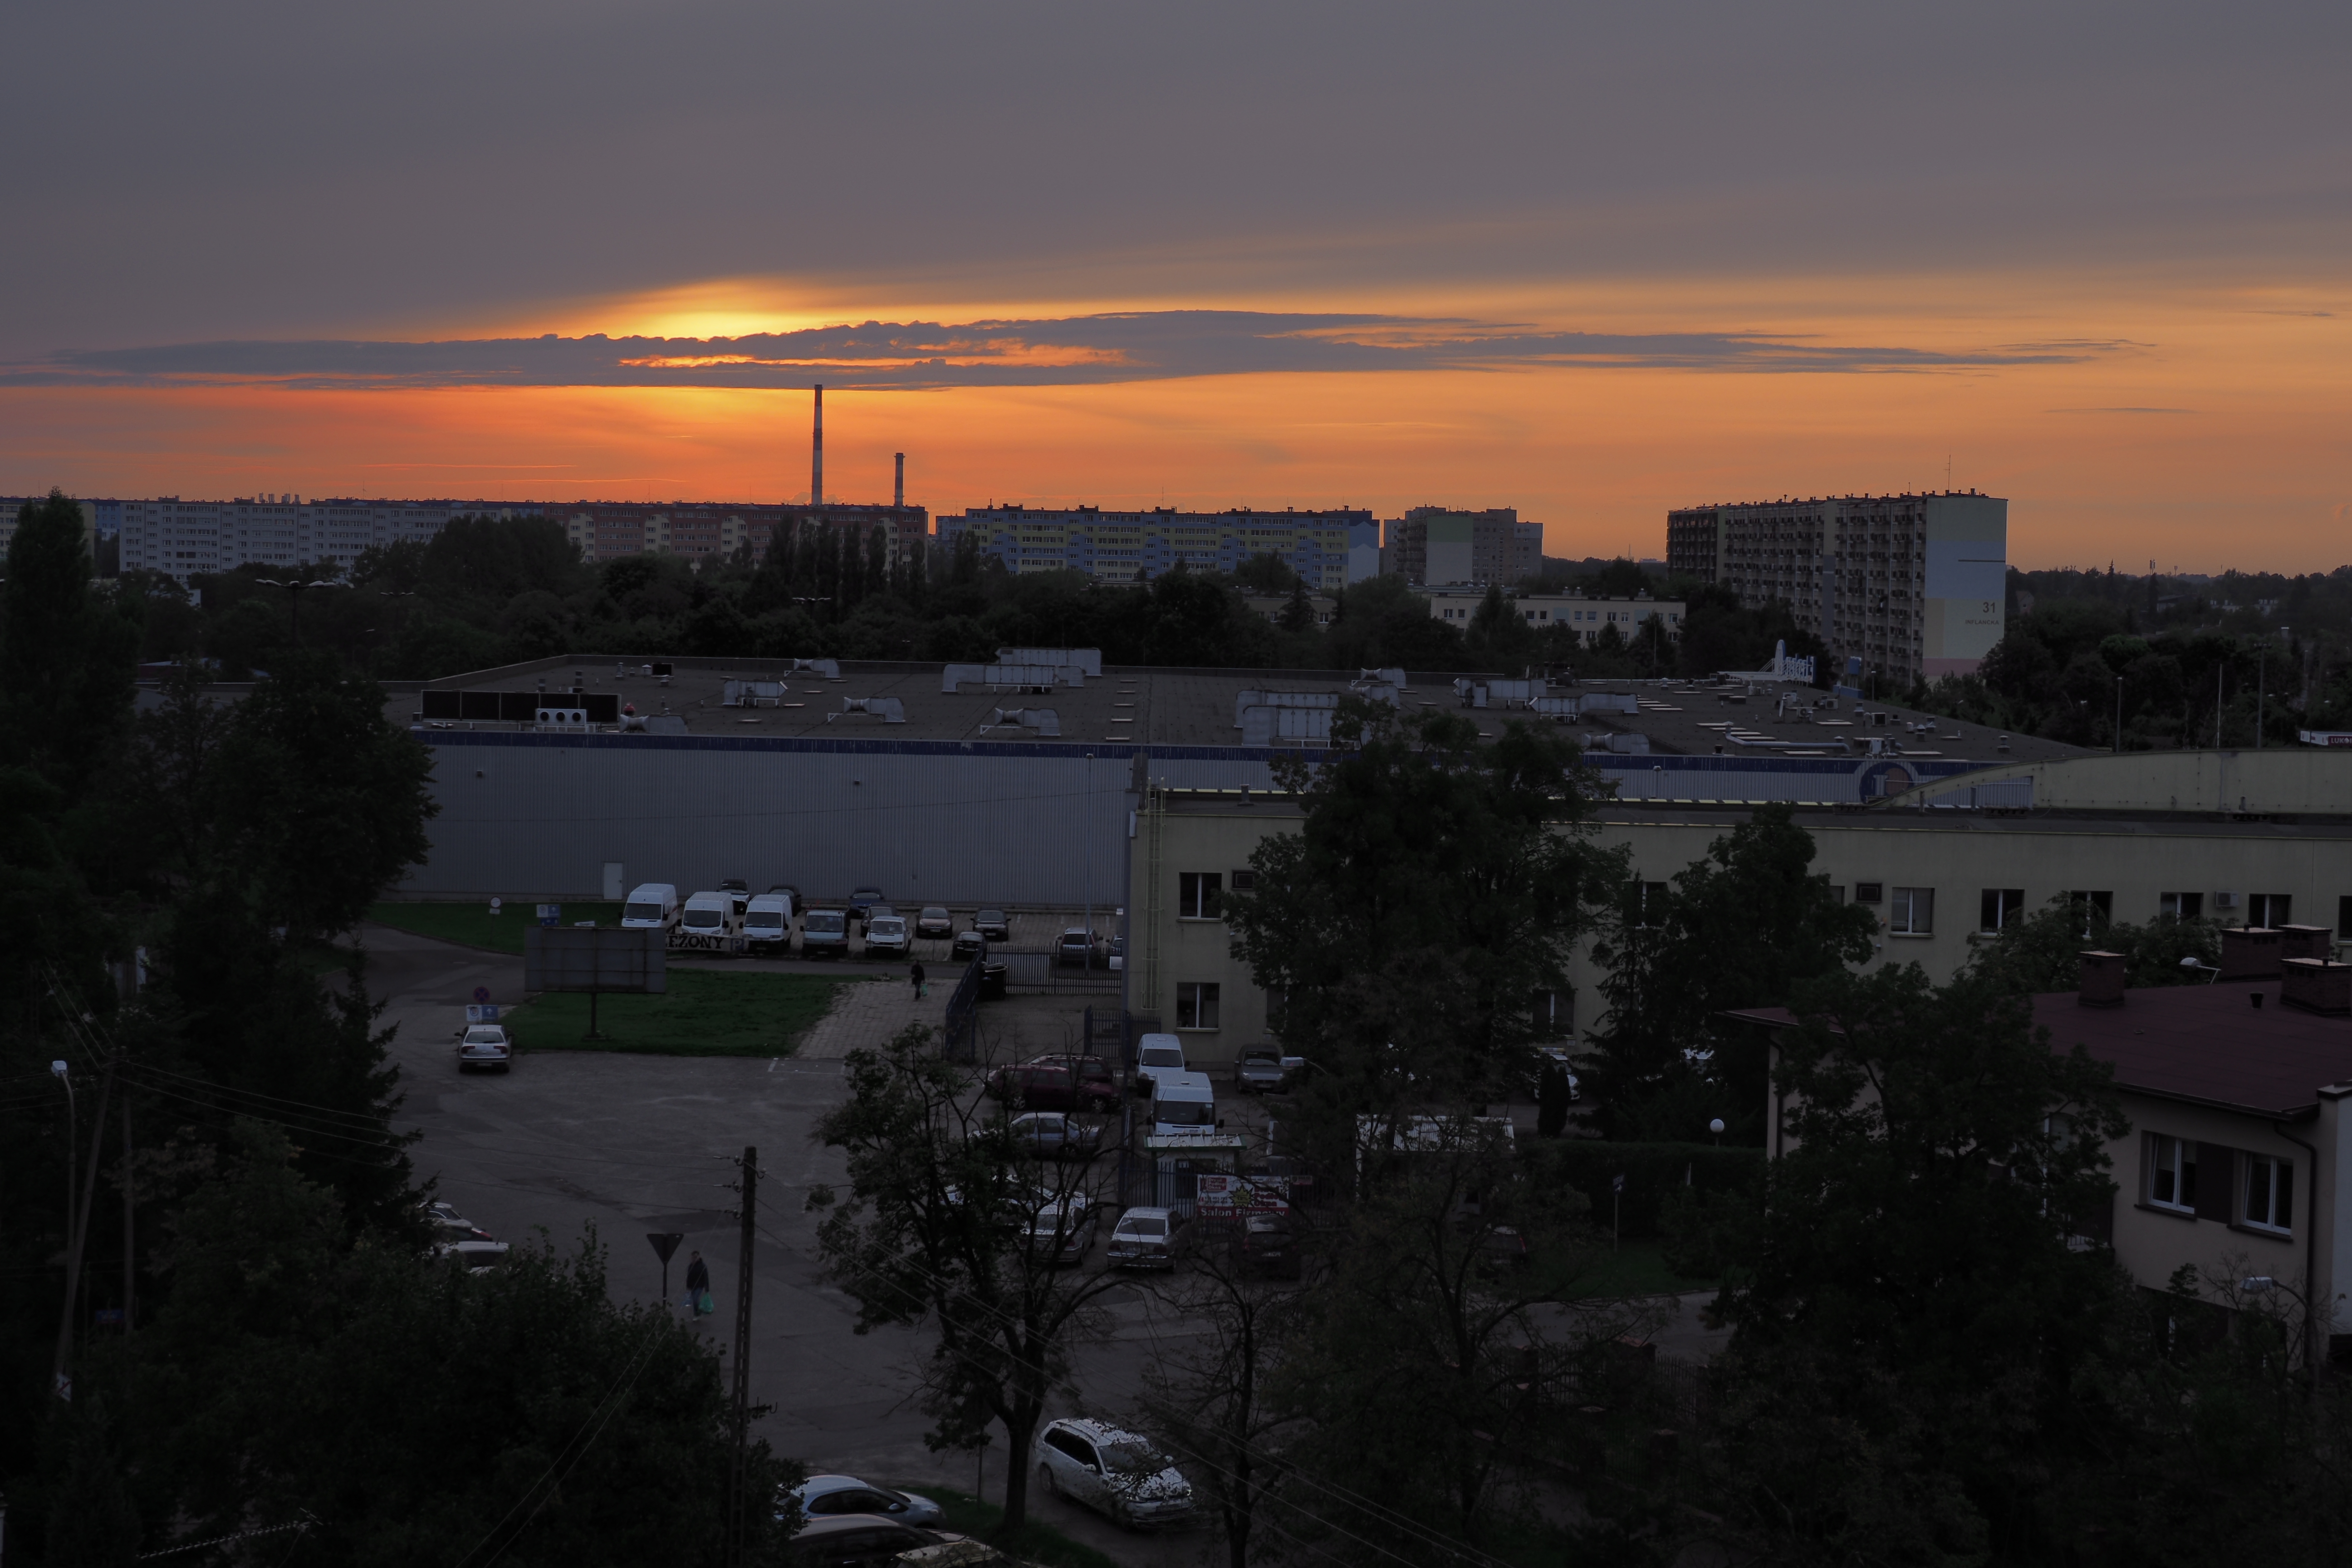
Extended stitch, Final Version #3 |
|
Massive stitch, no HDR This panorama consists of 11 frames, shot handheld and without HDR. The two rows of thumbnails below show RGB images (just five, not all) generated by Olympus Viewer from original ORF files "as shot" (Row 1) and with the shadow-opening setup, Ras discussed above (Row 2, parameters as in the caption). Thumbnails in the second column link to screen-sized image versions: downsampled but otherwise unaltered. Only these really allow to judge the differences between both versions. | ||||||||||||||||||||||||||||||||||
|
Full Screen
| ||||||||||||||||||||||||||||||||||
|

|
|
|
| ||||||||||||||||||||||||||||||
|
Five frames (out of 11), converted from ORF to JPEG "as shot"
Olympus E-M1 II, 12-100/4.0 Pro @100mm; Man.Exp: 1/500s at F/8.0, ISO 400, 5300K | ||||||||||||||||||||||||||||||||||
|
|
|
|

| ||||||||||||||||||||||||||||||
|
The same frames after custom conversion: Vivid Picture Mode, Auto Gradation, +1.3 exposure correction, level adjustment (Shadows +4, Highlights -4, Midtones -2) | ||||||||||||||||||||||||||||||||||
|
While the noise, amplified by stretching of the shadows, is quite visible, it is OK for non-critical applications. The shadows need more opening, but this is best done after stitching, to avoid differences between frames. And here is the final, stitched and postprocessed result.
| 
The custom-converted set, stitched in Microsoft ICE and heavily postprocessed in PSP 2018 (see text)
| The postprocessing, again, had to differ between areas above and below the horizon and took some time, but I hope it was worth the effort. This is also when we have to decide how bright or dark the shadows have to be. While this is largely a matter of personal taste, I believe that it is better to err on the dark side (in this very picture I may be breaking this rule, too bad). When the HDR version is not available, a tweak-converted JPEG is often a passable choice; if not as the final version, then at least as a starting point for the last edit.
| 
A 16:9 crop from the above
| Panorama — HDR One more panorama example: the same subject, but this time with use of the HDR mode. Two versions of the stitched image (four frames each) are shown: before and after the final postprocessing.
| 
Four in-camera HDR frames, stitched with Microsoft ICE
| 
As above, postprocessed in PSP 2018
|
The first version is already quite presentable; actually, HDR opens the shadows quite a bit. Opening then just a little more and adding some extra impact in the sky of the second picture was rather a matter of personal preference.
See also my Urban Sunsets and More Urban Sunsets galleries | |||||||||||||||||||||||||||
|
|
My other articles related to the |
| This page is not sponsored or endorsed by Olympus (or anyone else) and presents solely the views of the author. |
| Home: wrotniak.net | Search this site | Change font size |
| Posted 2017/09/29; updated 2018/07/22 | Copyright © 2017-2018 by J. Andrzej Wrotniak |