|
Noise Filtering, Sharpness, and high ISOs in the E-3 |
|
|
My other articles related to the |
|
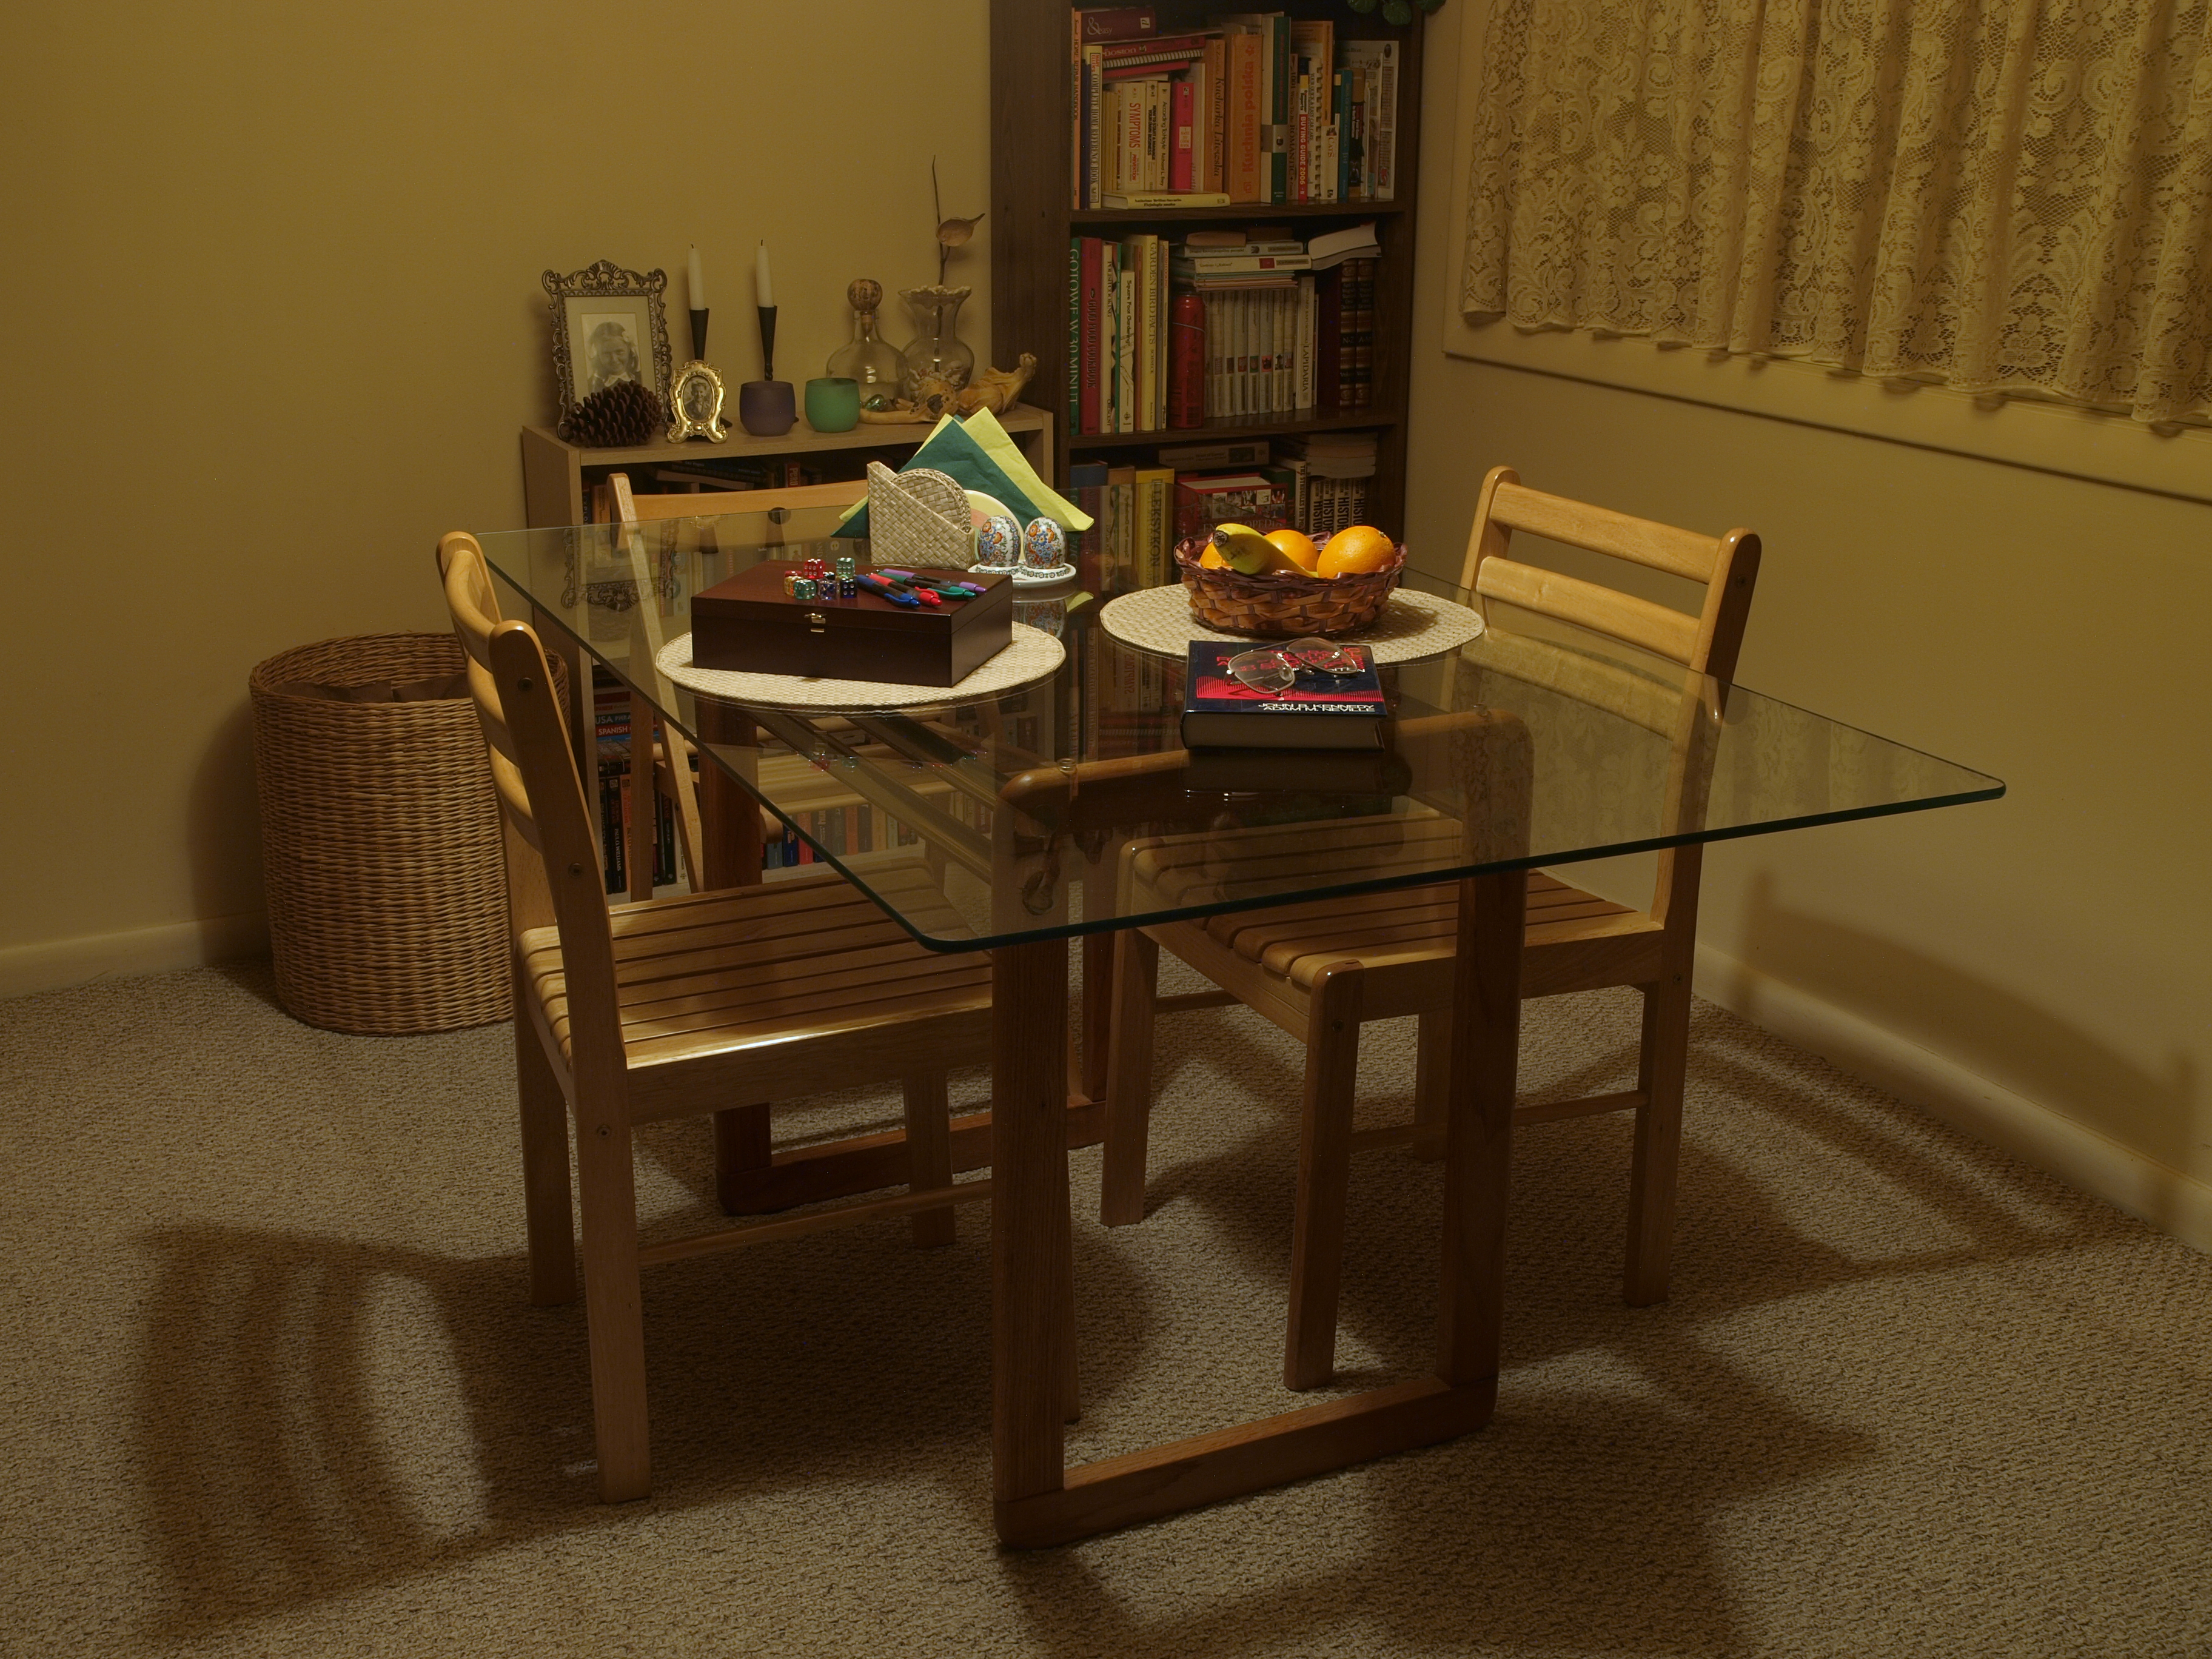
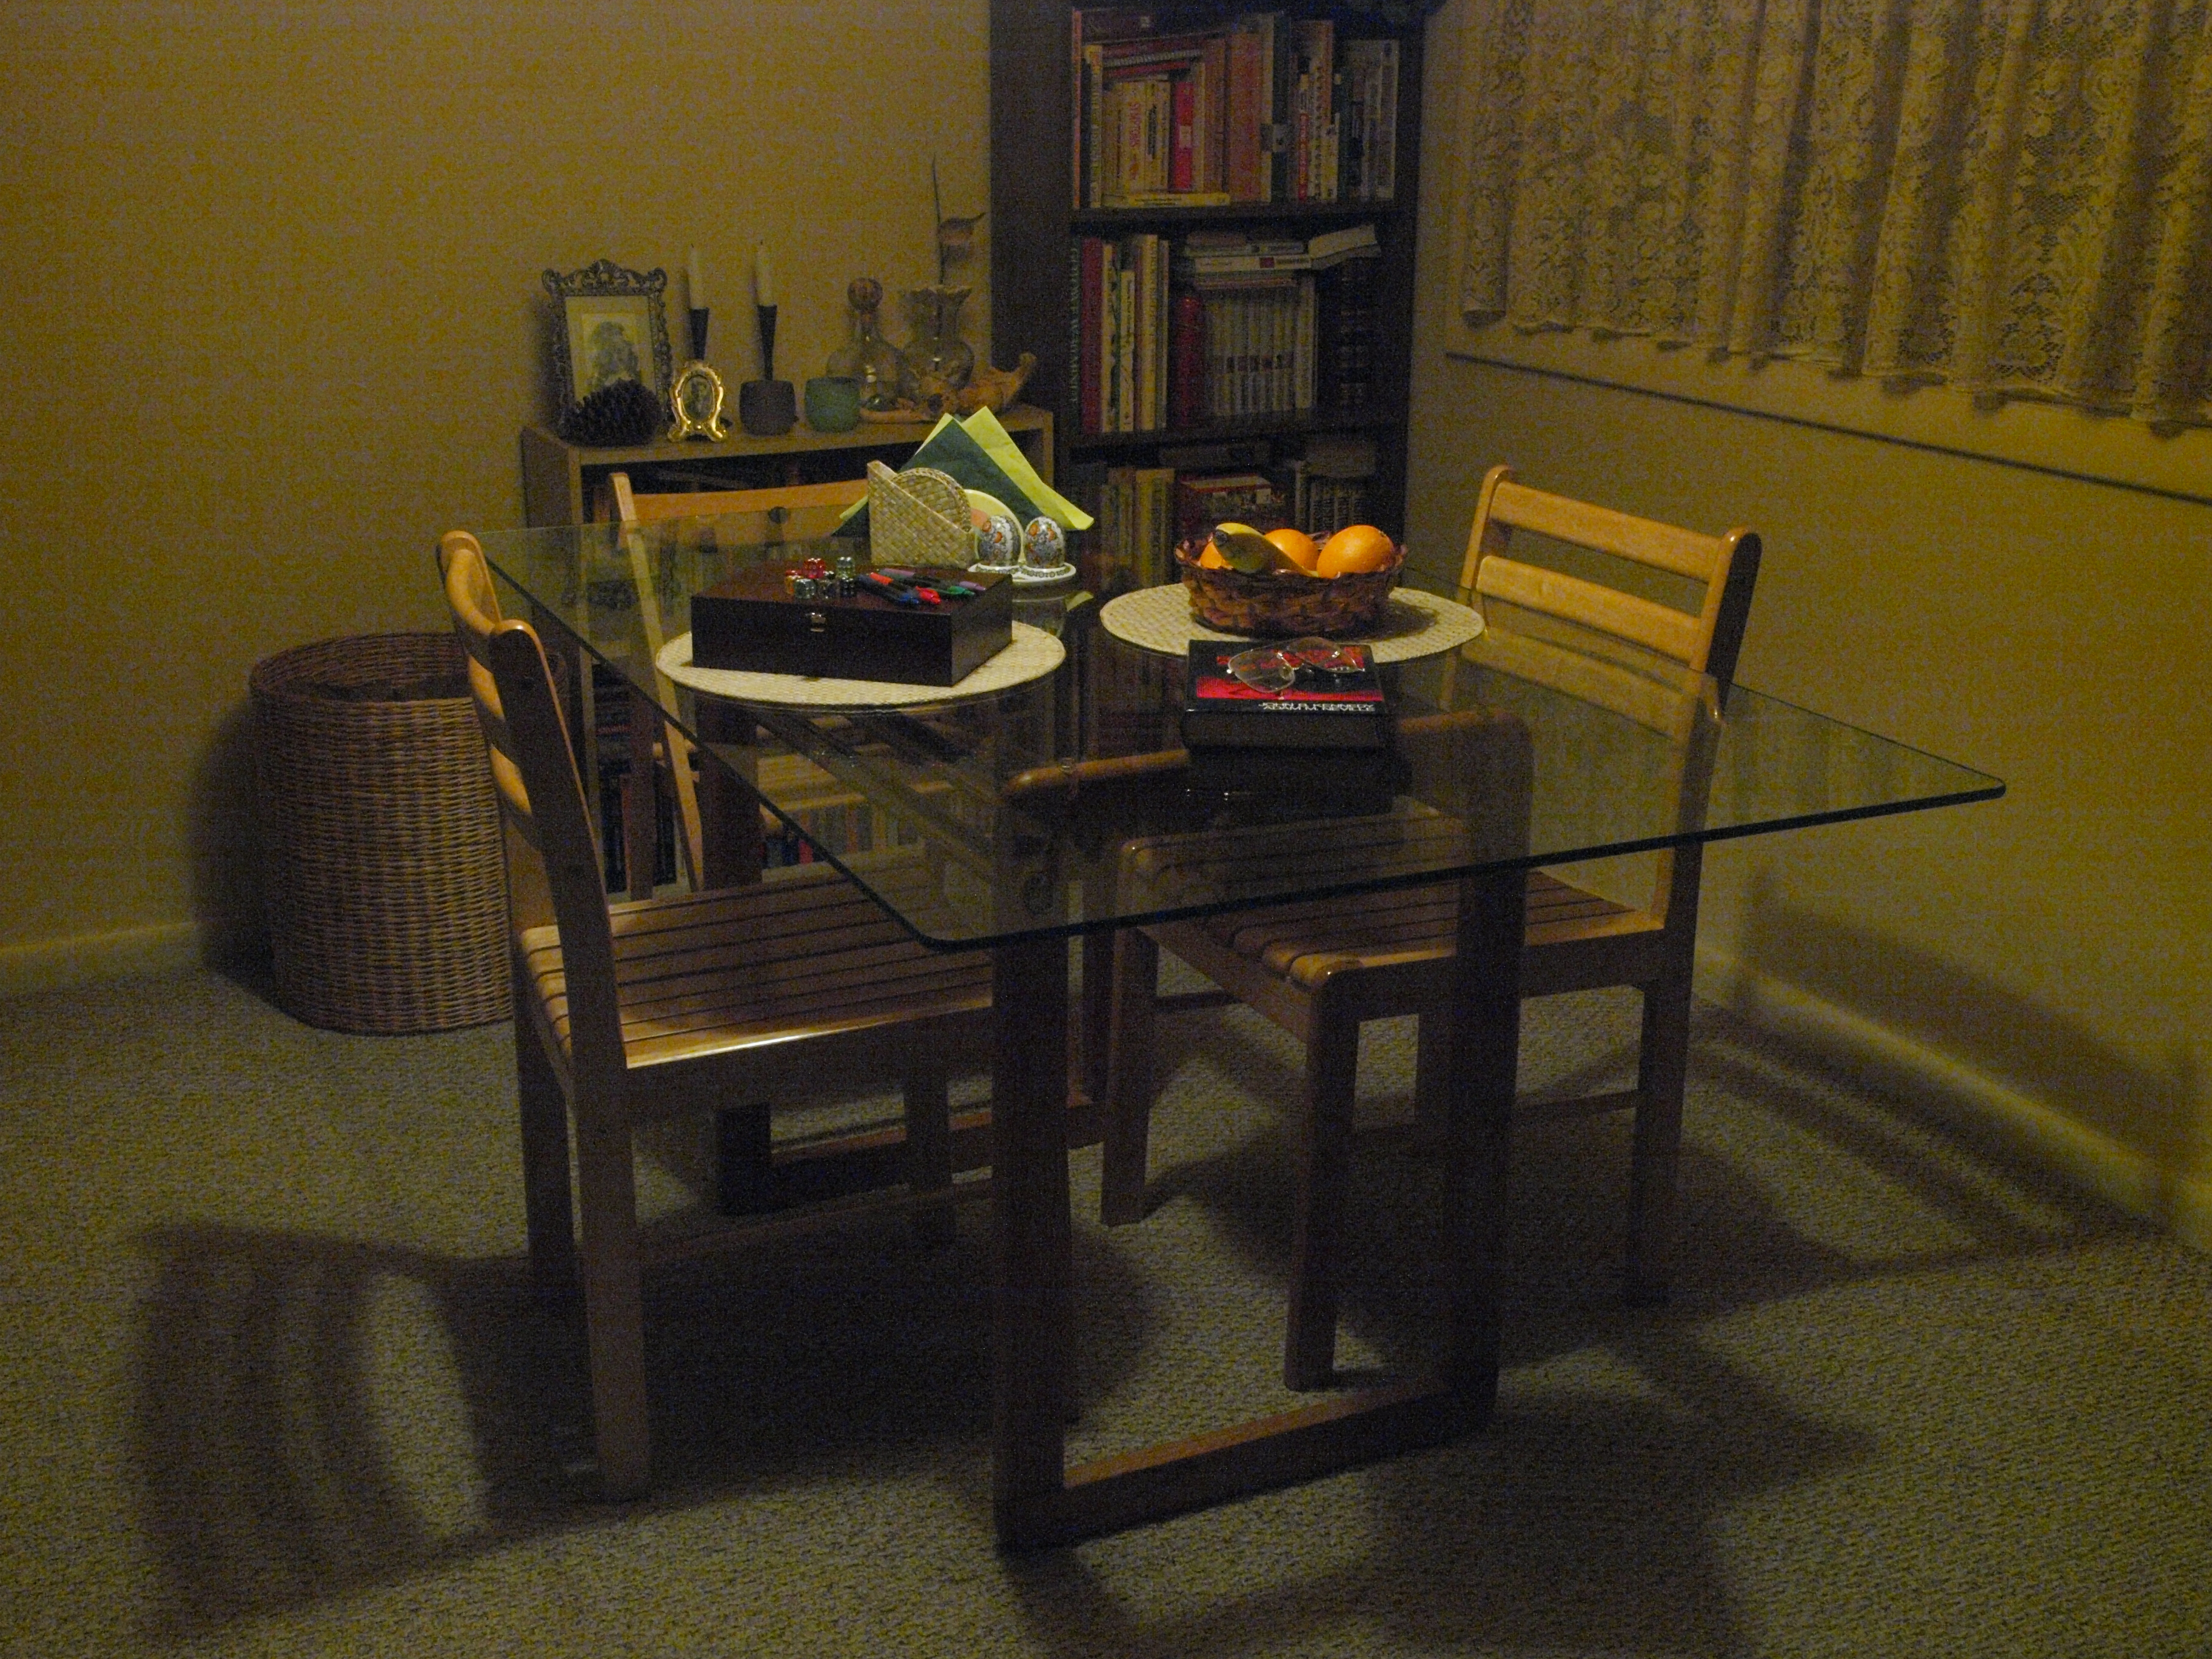
If your E-3 is set up to produce out-of-camera JPEGs, you can (and should) tweak some of the raw-to-RGB conversion parameters the camera allows you to adjust. This will affect the final image you can view, print, or use for further editing. I've heard people say "I just shoot RAW [sic!]; the images look much better that way", and some reviewers repeat this too. This stems from a lack of understanding. One has to realize that raw images are never viewable; you can view them only after a conversion to RGB (the converted image can then be saved as a JPEG or TIFF file). Those who think they are viewing raw images, really view the results of the converter built into whatever viewing (or editing) program they are using. Some of those programs, indeed, may offer better results than the conversion routines in the camera's firmware; others may not. With the exception of those offered by Olympus (in Olympus Master and, probably, Olympus Studio, although I haven't checked the latter's current version), off-camera converters do not provide the same adjustments which are available in the camera's firmware, although they may have other options, better or worse fitting Olympus image specifics. Therefore, if you are using such an external application for raw-to-RGB conversion, this article is mostly not for you: your results may differ. Another introduction The purpose of this study is to see how noise filtering affects JPEG images from the E-3. As this affects mostly the image resolution and perceived sharpness (not necessarily the same thing!), the effect has to be considered together with image sharpening, another adjustable parameter. Then, both are applied on top of the sensor gain, which directly affects the noise itself; this brings the number of control variables to three (contrast, saturation, and tonal curve are of a lesser importance here). Noise filtering deals with random noise, and it should not be confused with noise reduction, addressing the problem of static noise and occurring at longer exposures. This distinction is explained in my Noise in Digital Cameras article.) Roughly speaking, this is a software process, averaging the values between neighboring pixels. The averaging amount and direction usually depends on the local contents of the image: for example, less of it is applied to areas with fine detail (if and as recognized by the algorithm) and more to more uniform ones; its direction may depend on any detectable contours in the area. In any case, filtering always leads to some information (read: resolution) loss trading it for a "more pleasing" look, which, as usual, is in the eye of beholder. The E-3, like the E-410 and E-510 before it, offers four degrees of noise filtering: Off, Low, Standard, and High. These are just names, handles assigned to the process parameters assigned by the engineering team, and the parameters behind them may, most probably, be different for different ISOs. They may not denote the same adjustments as similarly named settings in the other cameras, and they may change from one revision of the firmware to another (although I do not consider this likely). Image sharpening works, to some extent, in the opposite direction. The algorithm finds local tonal transitions and makes them steeper. For example, if an edge transition between a bright object and dark background in the original image was spread over six pixels, sharpening may narrow it to two (increasing the local contrast), making the image look "sharper". I'm using quotes here on purpose: any detail lost in the original image will not be restored (sometimes to the contrary), but the image will look, most of the time, more pleasing than before — unless too much sharpening is applied, which often leads to unnatural cheap-looking side effects (most easy to spot are the white "bounces" just outside sharply delineated dark areas). A general rule is to apply sharpening in-camera conservatively, especially in consumer-grade cameras, which tend to have higher defaults. Once overdone, it cannot be repaired, and the right amount can be more easily (and with higher degree of control regarding both the amount and kind) added in postprocessing. Sharpening in the E-3 can be adjusted in five steps (from -2 to +2) in each of the Picture Modes. The situation is complicated by the fact that the "zero" value in each of these modes means a different thing: each mode has its own offset. A good EXIF data reader can extract not just the dialed-in value, but also the absolute one, ranging from -5 to +5, although it seems that only the range (-4,+2) is actually accessible (dialed in as Muted-2 to Vivid+2). These values do not mean the same on all cameras; the (absolute) sharpening of 0 seems to be more conservative on the E-3 than on the E-510; needless to say, the E-3 defaults are more to my liking. The main goal of this exercise is to find (or to help you to find) a combination of noise filtering and image sharpening, providing, at any chosen ISO setting, the results most to our (yours or mine) liking. We will also get a better idea how the resulting images depend on the ISO setting. I am going to present two series of images here, with all three control variables being changed. The 1:1 samples arranged in tables are extracted from the original out-of-camera JPEGs, without any other postprocessing. Be aware of the fact that, when viewed on a typical, 96 DPI monitor, they correspond to 72×96 cm (28.5×38") prints, and therefore, to avoid an accusation of pixel peeping, should be viewed from a distance close to the diagonal of that size, i.e., 120 cm (47"). At normal screen viewing distance any image flaws are greatly exaggerated. Case Study: the breakfast nook In this series of samples I wanted to check the images delivered by the E-3 under low light, at various ISO settings and with various combinations of noise filtering and image sharpening. All pictures were taken under identical, controlled conditions, using a tripod. | |
|
Lens: 12-60 mm ZD at 21 mm.
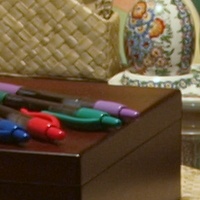
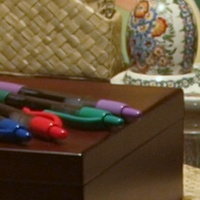
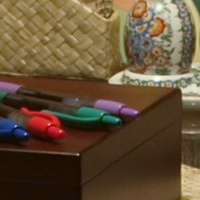
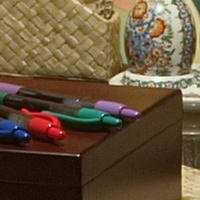
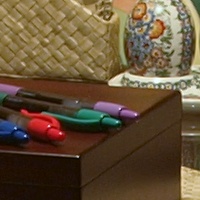
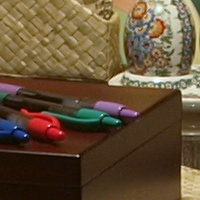
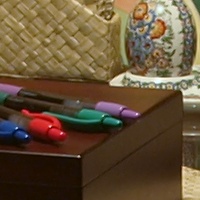
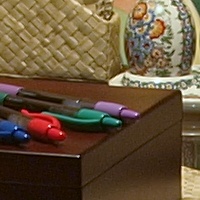
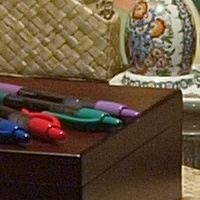
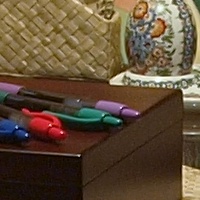
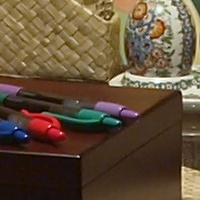
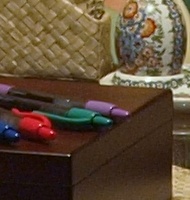
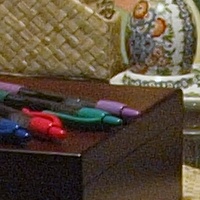
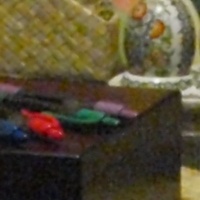
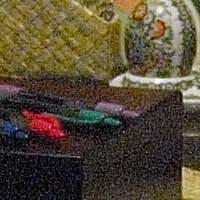
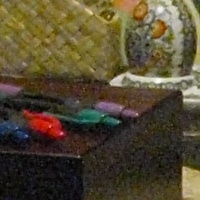
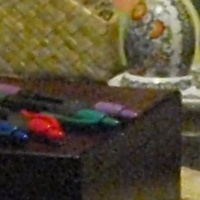
Exposure: metered manual (-0.3 EV) at F/8; from 8 seconds at ISO 100 to 1/4 s at ISO 3200 (strictly reciprocal to the ISO). White balance: manually set to 2400°K. Light source: incandescent lamp in a paper shade above the table; voltage reduced with a dimmer to provide long exposures. Focus: AF "on demand" used in MF mode before the first picture; focused at the pens in the cropped area. Processing: Natural Picture Mode, contrast at N-1, saturation at N±0, normal gradation. Sharpness and noise filtering changing from sample to sample as shown; static noise reduction off. Saved as 1:2.7 JPEG. |
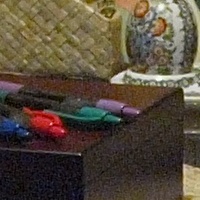
 This sample at ISO 100, sharpness N±0, NF at Low |
|
At the first glance the sample may look a bit underexposed, but this is not the case: I've chosen the manual exposure carefully to preserve detail in the straw place mats right below the light source. Similarly, while most of the image is quite warm-colored, the painted eggs show that the white balance is right on the nose or close. (Feel free to inspect the full original frame; this should give you some idea on how capable the E-3 is.) ISO 100 | |

| 
| 
| 
| |
|---|---|---|---|---|

| 
| 
| 
| 
|

| 
| 
| 
| 
|

| 
| 
| 
| 
|
|
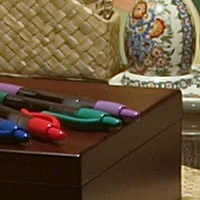
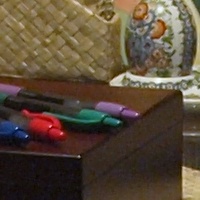
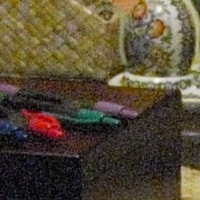
The ISO 100 samples confirm my casual observation that both noise filtering and image sharpening are less intrusive in the E-3 than they were in the E-510/E-410. This is a good thing. (Why does Olympus assume that people on a budget do not have taste or literacy?) My choice here would be N±0/Low, although any difference between Low and Off is hard to spot. ISO 200 |
|
|
|
|
| |
|---|---|---|---|---|
|
| 
| 
| 
| 
|
|
| 
| 
| 
| 
|
|
| 
| 
| 
| 
|
|
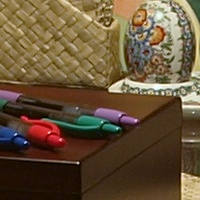
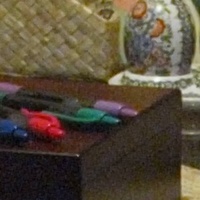
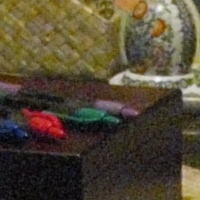
A similar impression here. There are no miracles: any gain increase beyond the "native" value (here: ISO 100) must lead to some image degradation, and I can see some traces here (see also the side-by-side ISO comparison a few screens below). This is, however, insignificant for any practical purposes. Note how sharpening (at NF set to Off) brings out the noise — although I'm more than willing to live with that amount. Once again, N±0/Low is my choice here, by a slightly wider margin than before. ISO 400 |
|
|
|
|
| |
|---|---|---|---|---|
|
| 
| 
| 
| 
|
|
| 
| 
| 
| 
|
|
| 
| 
| 
| 
|
|
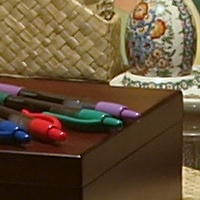
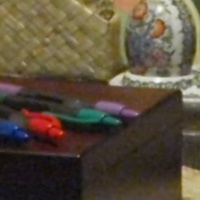
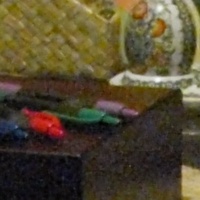
Now noise effect at NF set to Off is even more visible, although not objectionable. The N±0/Low combination still remains my favorite; increasing the noise filtering to Standard is too much for me. Actually, I find ISO 400 in this camera to perform admirably, which will be good news to those who use long telephoto lenses. ISO 800 |
|
|
|
|
| |
|---|---|---|---|---|
|
| 
| 
| 
| 
|
|
| 
| 
| 
| 
|
|
| 
| 
| 
| 
|
|
And, again, N±0/Low seems to be the best compromise here; higher filtering clearly loses some detail, and lower brings out some more noise than I would like to see. Generally, at this ISO the E-3 has some visible (if not drastic) advantage over the E-510. I found myself using this setting quite often. ISO 1600 |
|
|
|
|
| |
|---|---|---|---|---|
|
| 
| 
| 
| 
|
|
| 
| 
| 
| 
|
|
| 
| 
| 
| 
|
|
Here moving from Low to Standard noise filtering (still at the N±0 sharpness setting) has some advantage in reduced noise, while the price paid in terms of lower resolution is minimal. Going to High BF is, however, way too much: that looks like vegetable soup. This is why my recommendation would be to use N±0/Standard. ISO 3200 |
|
|
|
|
| |
|---|---|---|---|---|
|
| 
| 
| 
| 
|
|
| 
| 
| 
| 
|
|
| 
| 
| 
| 
|
|
Let's smell the coffee: there is no room for maneuver left at this ISO between the Scilla of creeping noise and the Charibdis of detail loss; whatever we do here will be wrong one way or another (or both). The best advice is not to use this ISO at all; if you are really desperate, then the previous combination, N±0/Standard, seems to be the least evil. Another option is just to give up, use N-2/Off, and handle the noise/sharpening issue in a third-party, external application like Neat Image. It may be interesting, or at least entertaining, to see a side-by-side comparison of samples at various ISO settings. Here it is, using slightly larger crops from the same images as before, with the adjustable parameters set to the values chosen above. The 1:1 samples link to full-image files, as taken off the camera. If you would like to compare one against another, the best way is through "flipping" — rapid switching between them is your image browser, with both zoom and pan (position within the frame) locked. This reveals much more than a simple side-by-side comparison, and this is the method I've used in analyzing the images presented here. If your image browser does not offer these capabilities, consider getting one that does. |
| 
| |
| ISO 100, N±0/Low | ISO 200, N±0/Low | |

| 
| |
| ISO 400, N±0/Low | ISO 800, N±0/Low | |

| 
| |
| ISO 1600, N±0/Standard | ISO 3200, N±0/Standard |
|
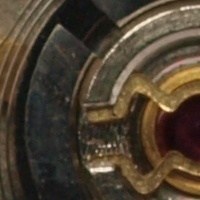
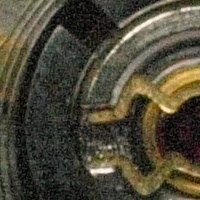
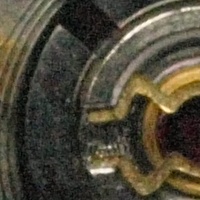
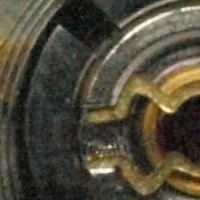
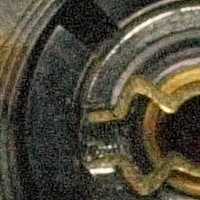
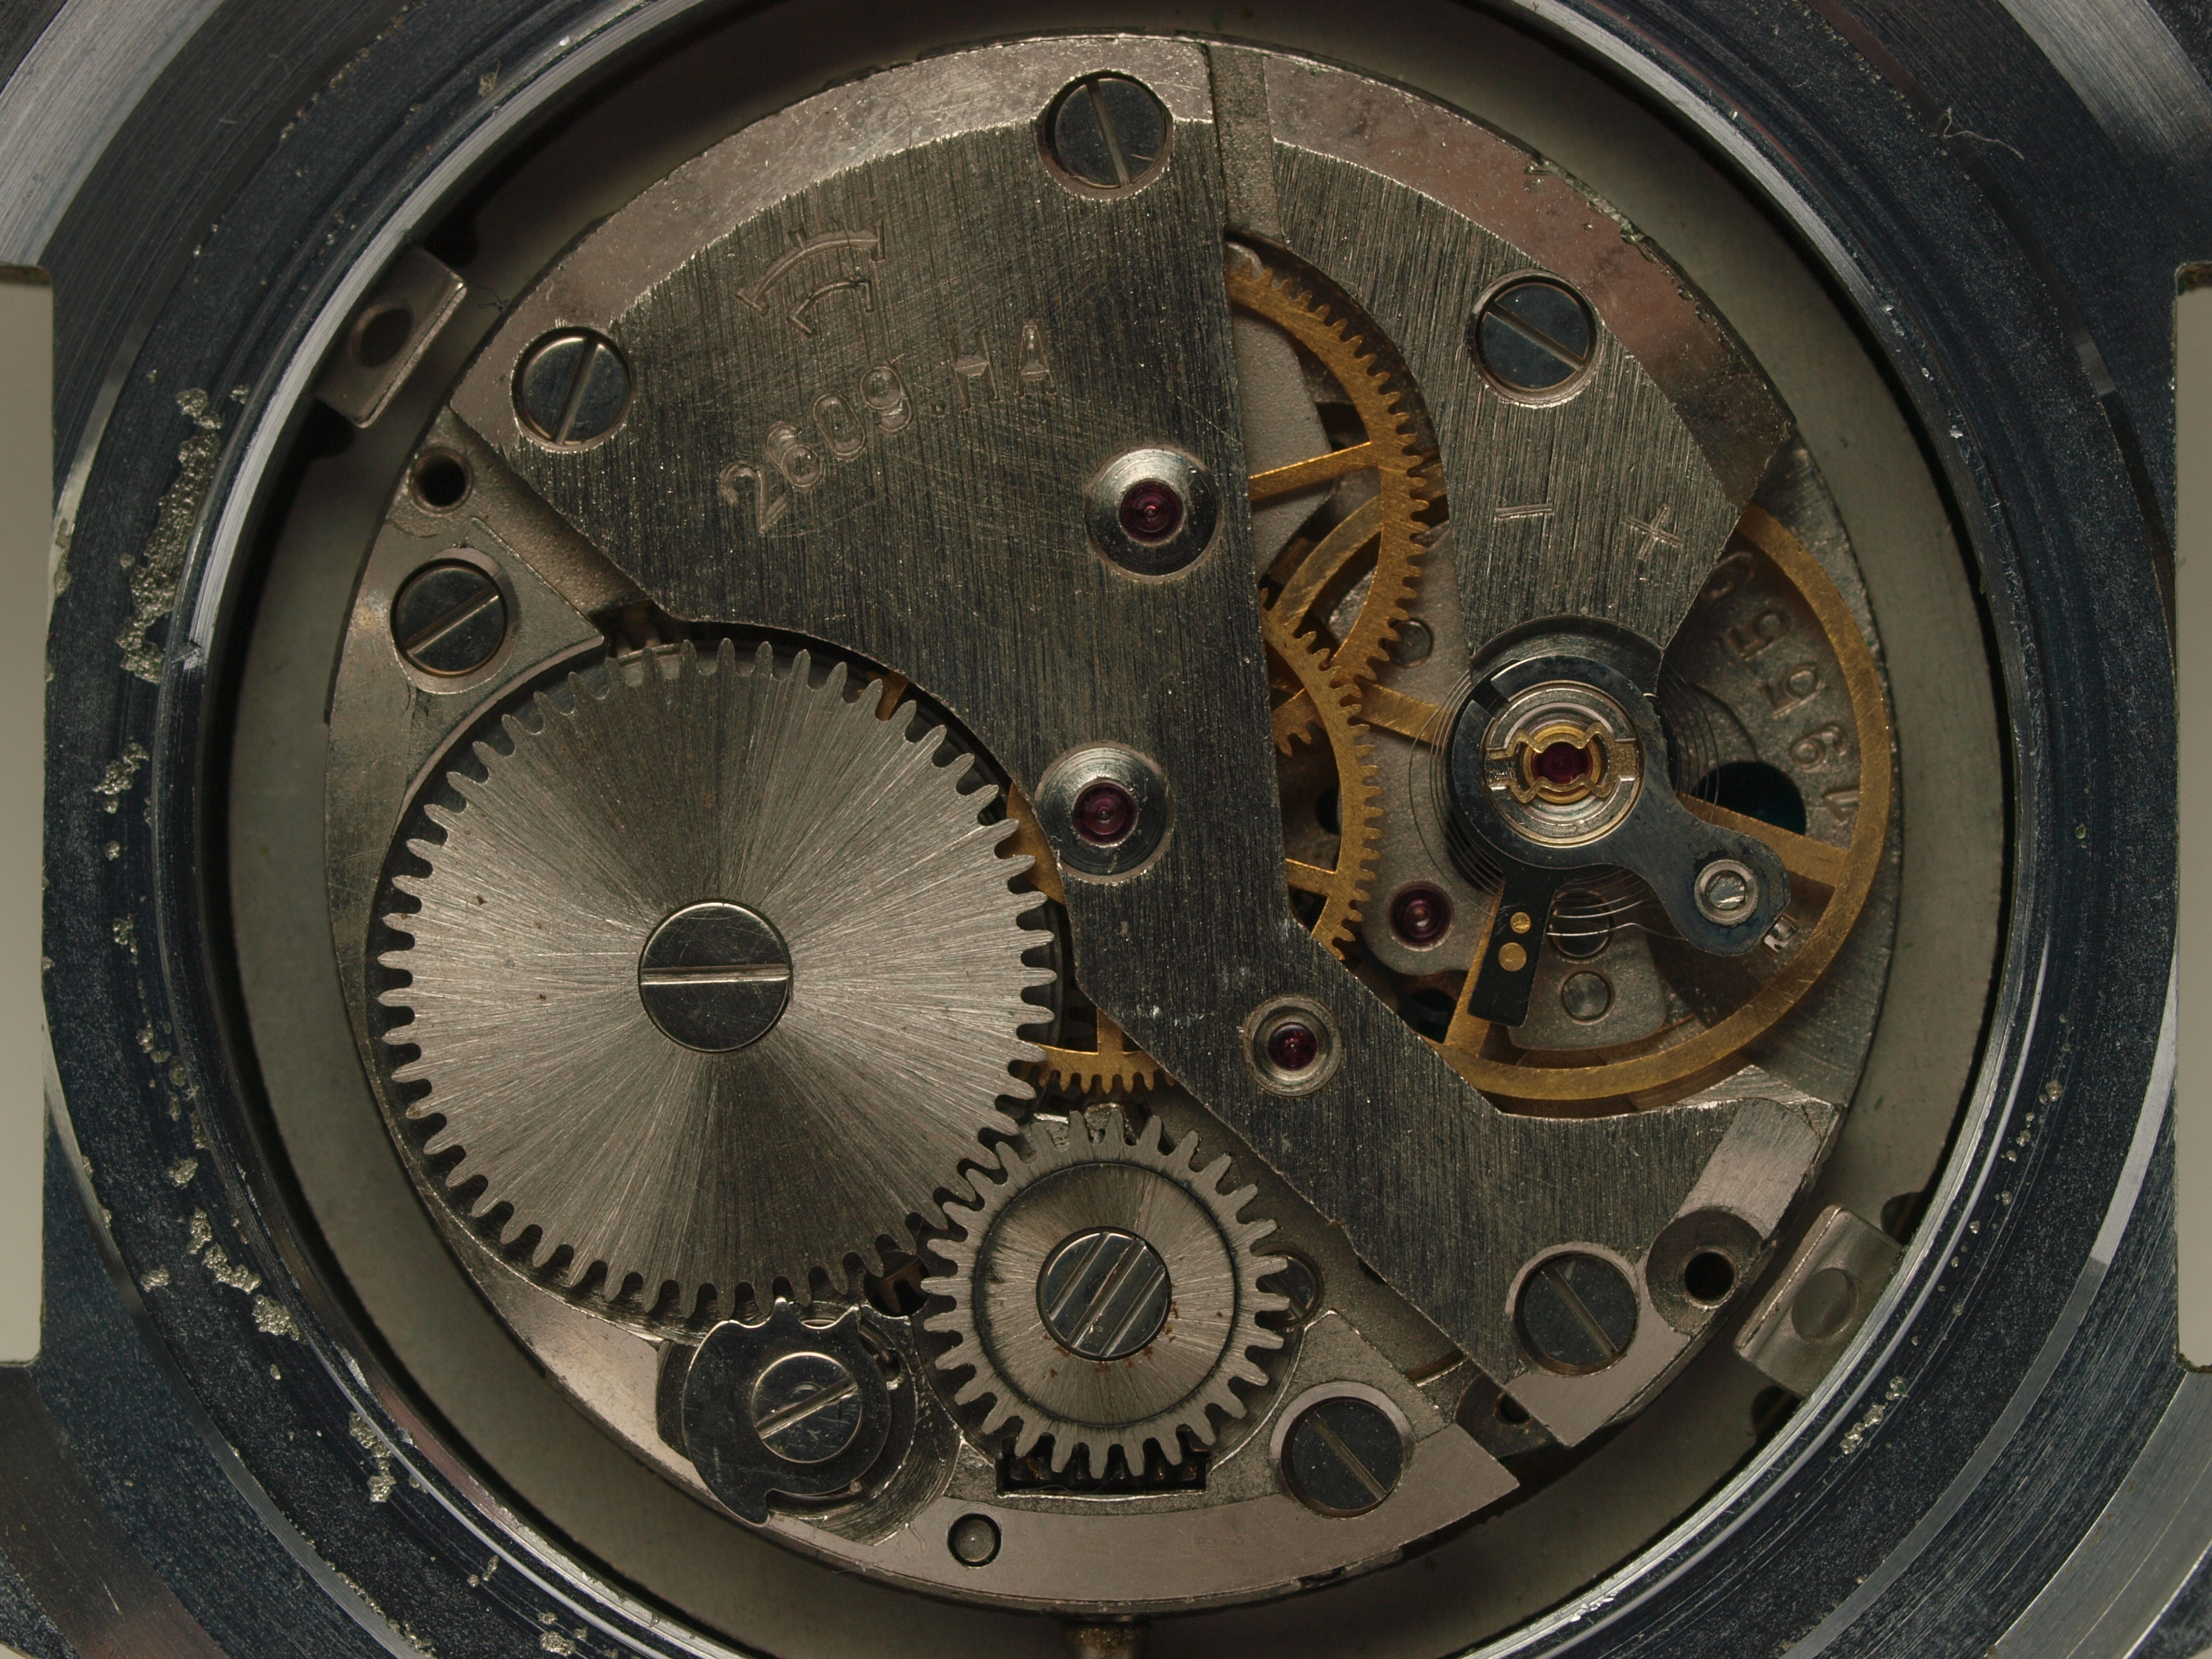
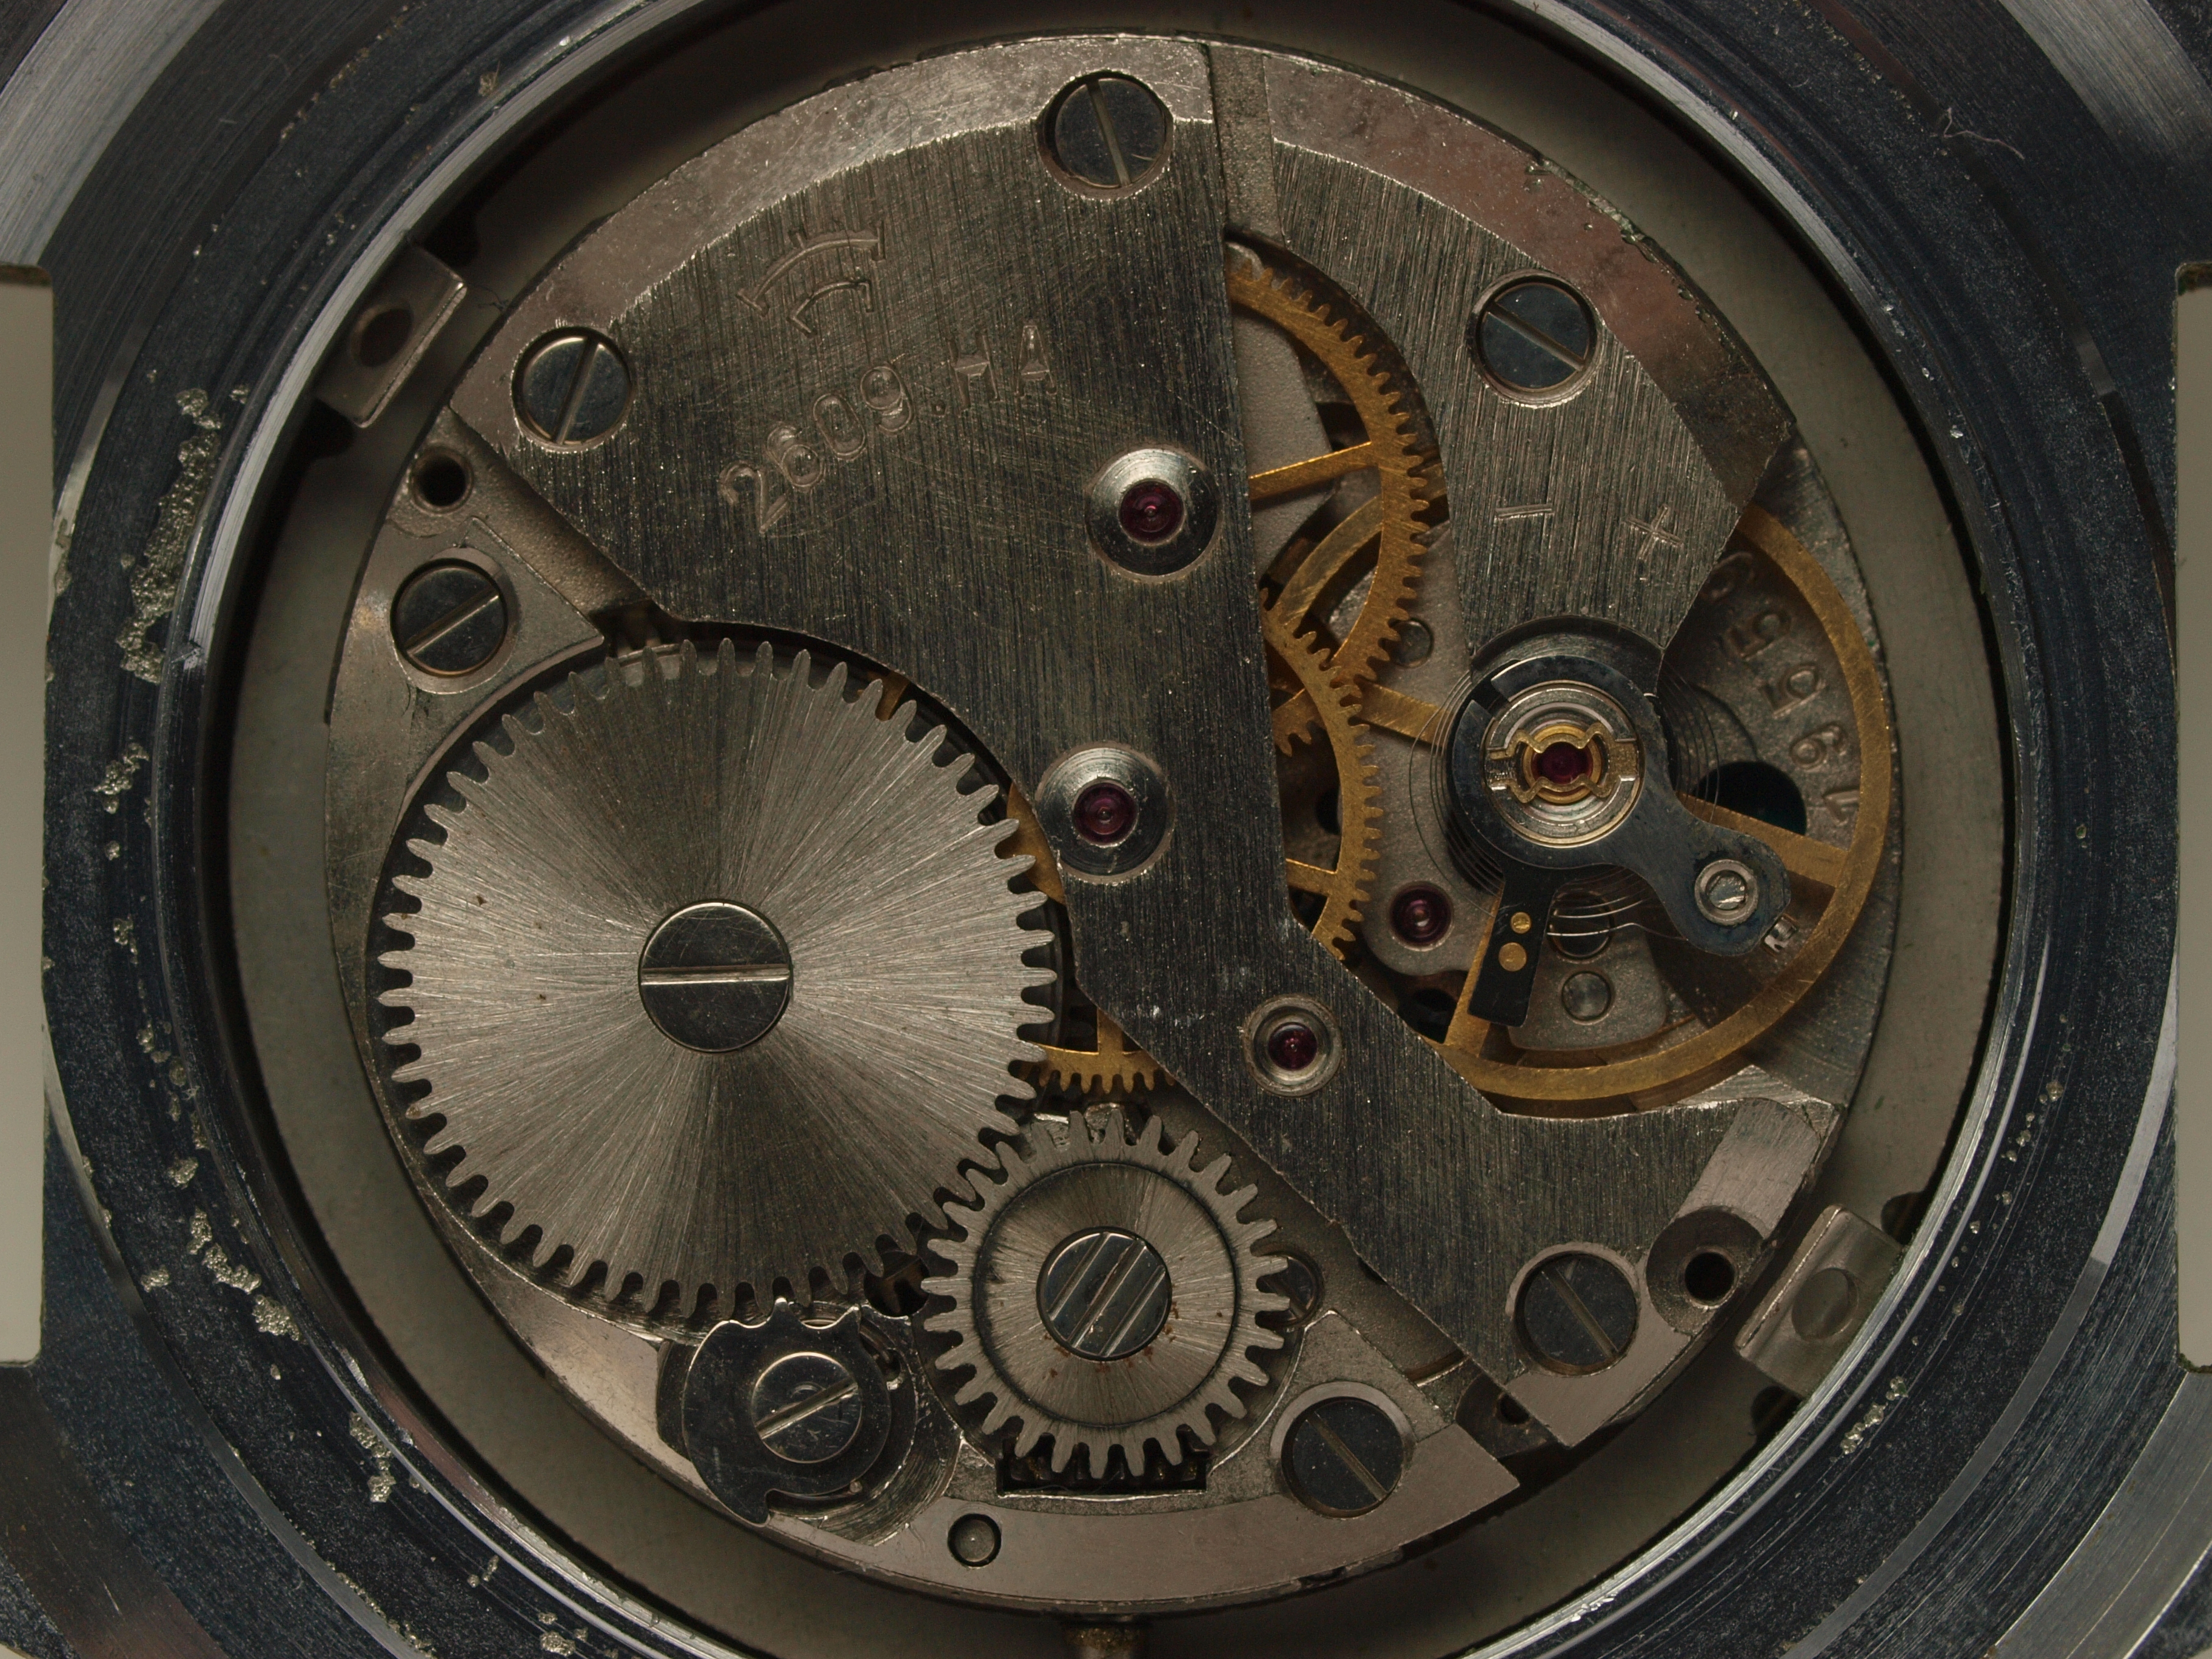
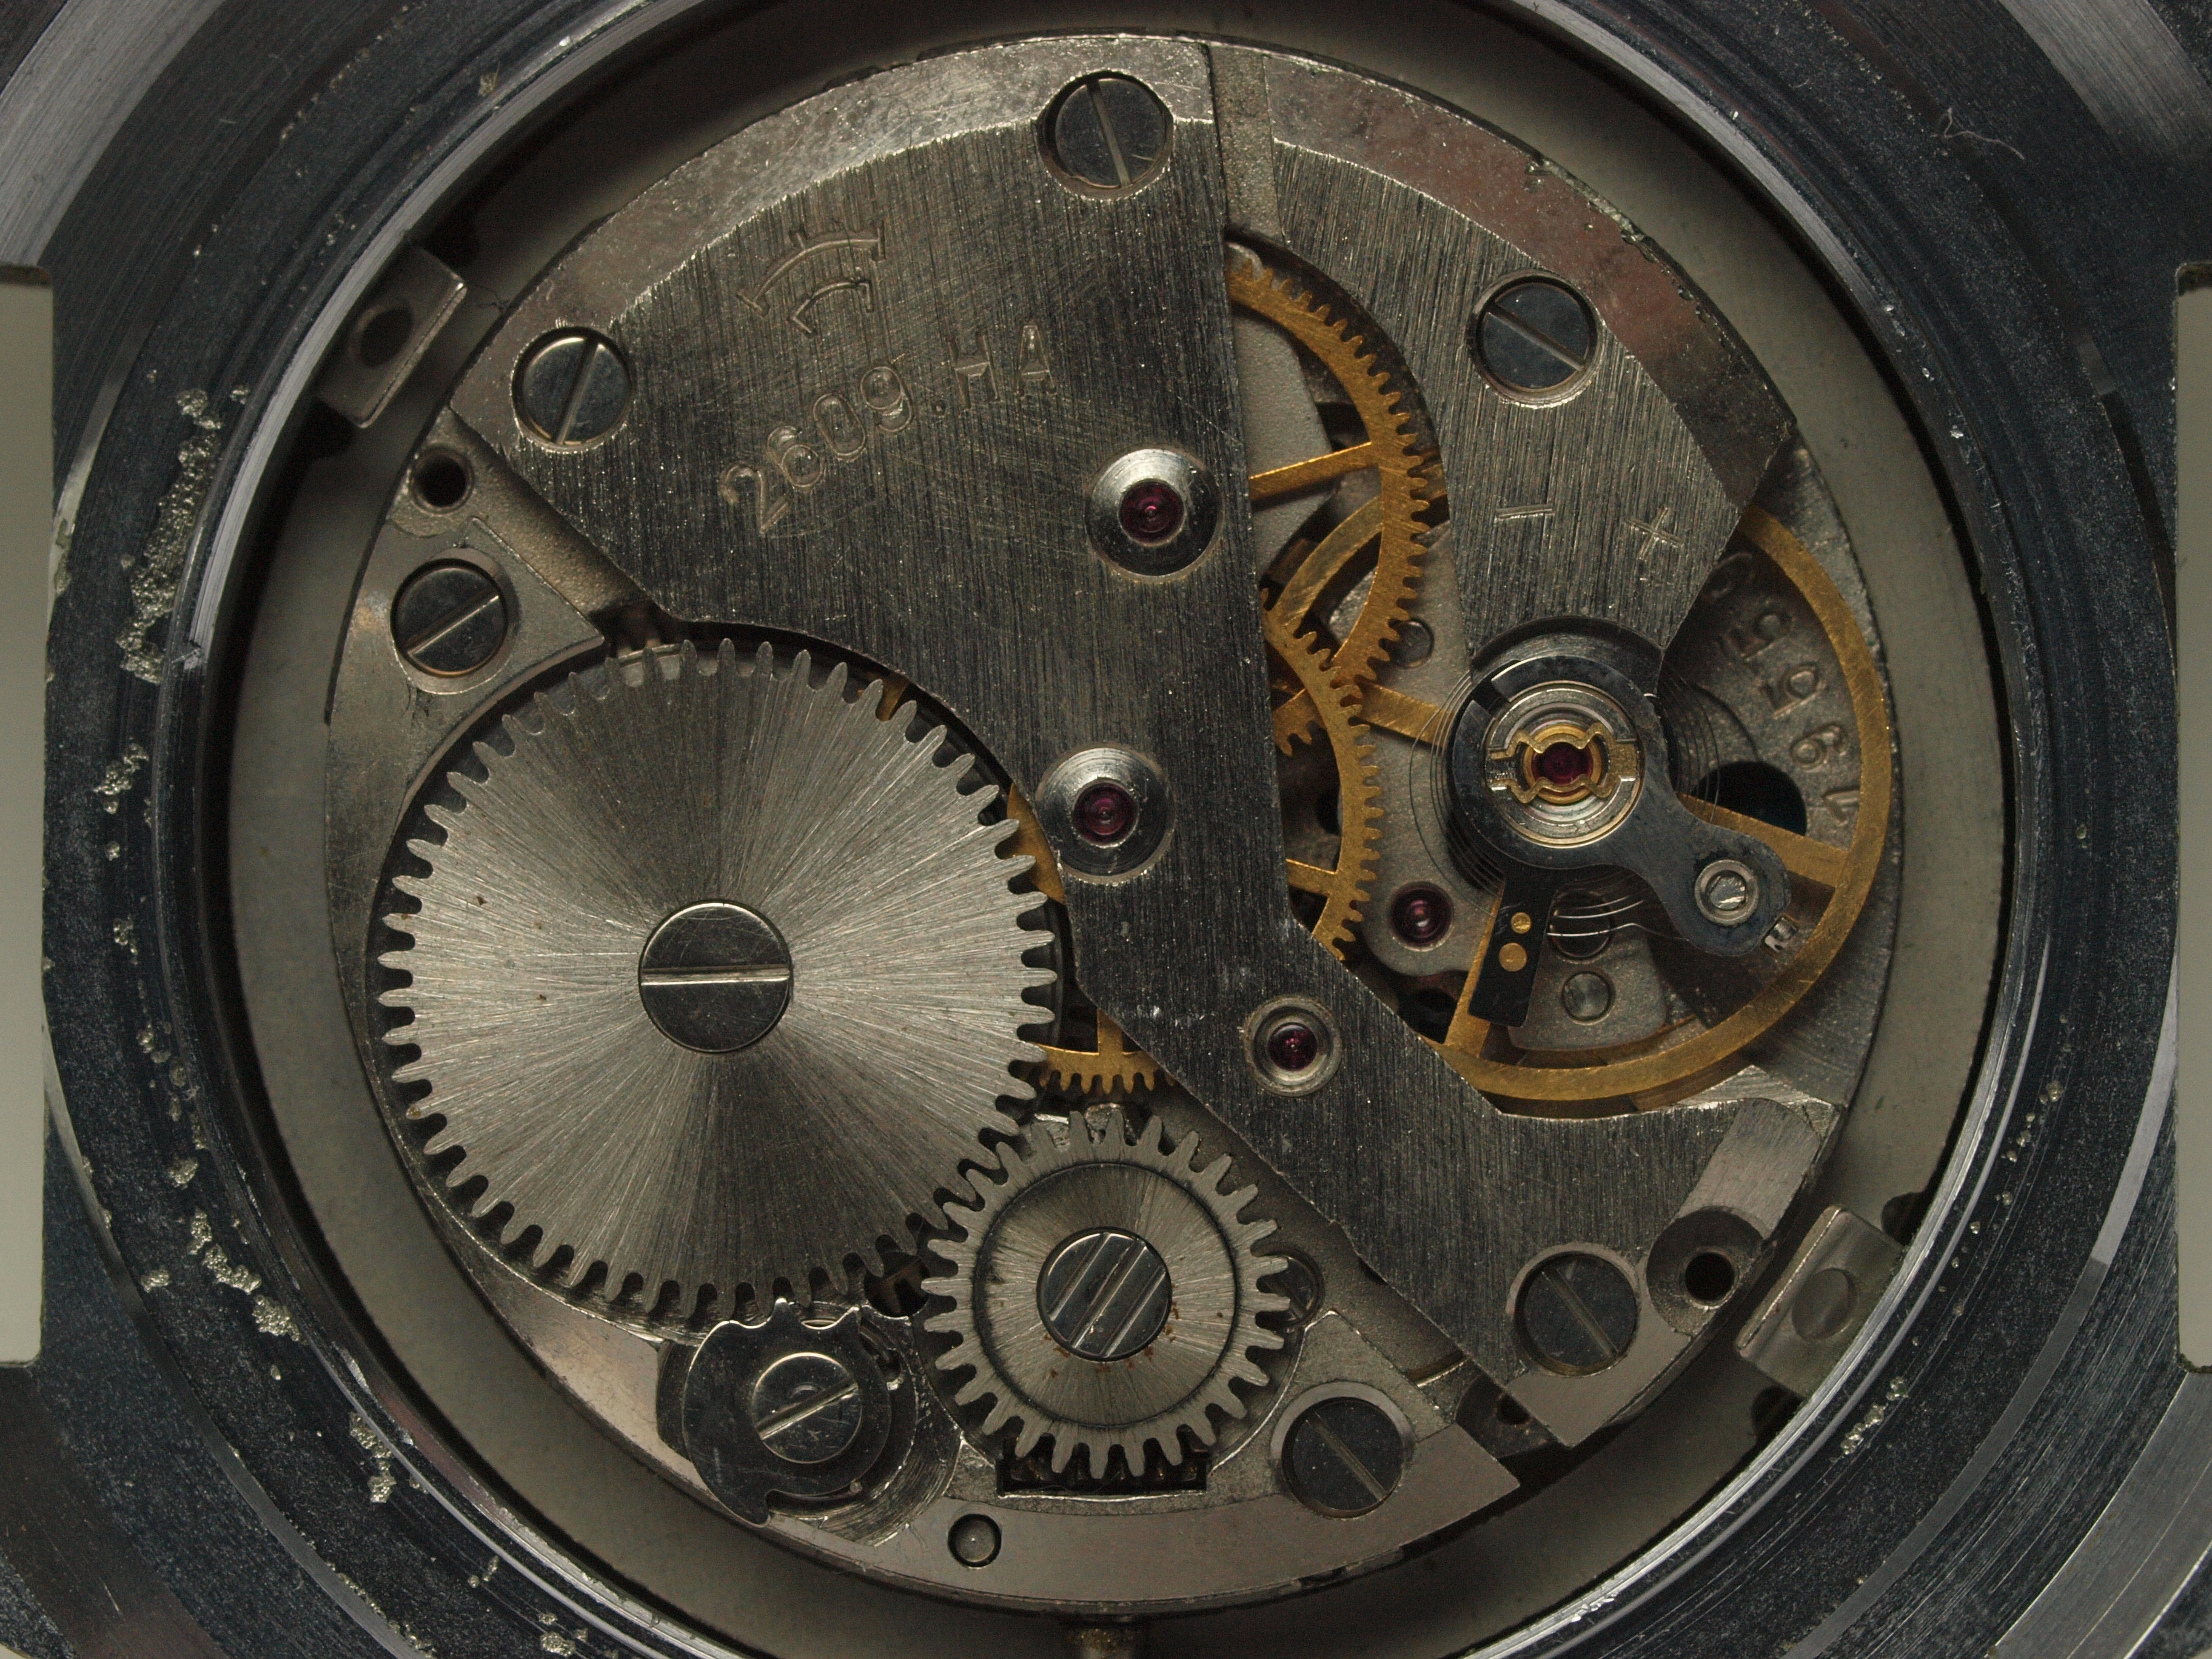
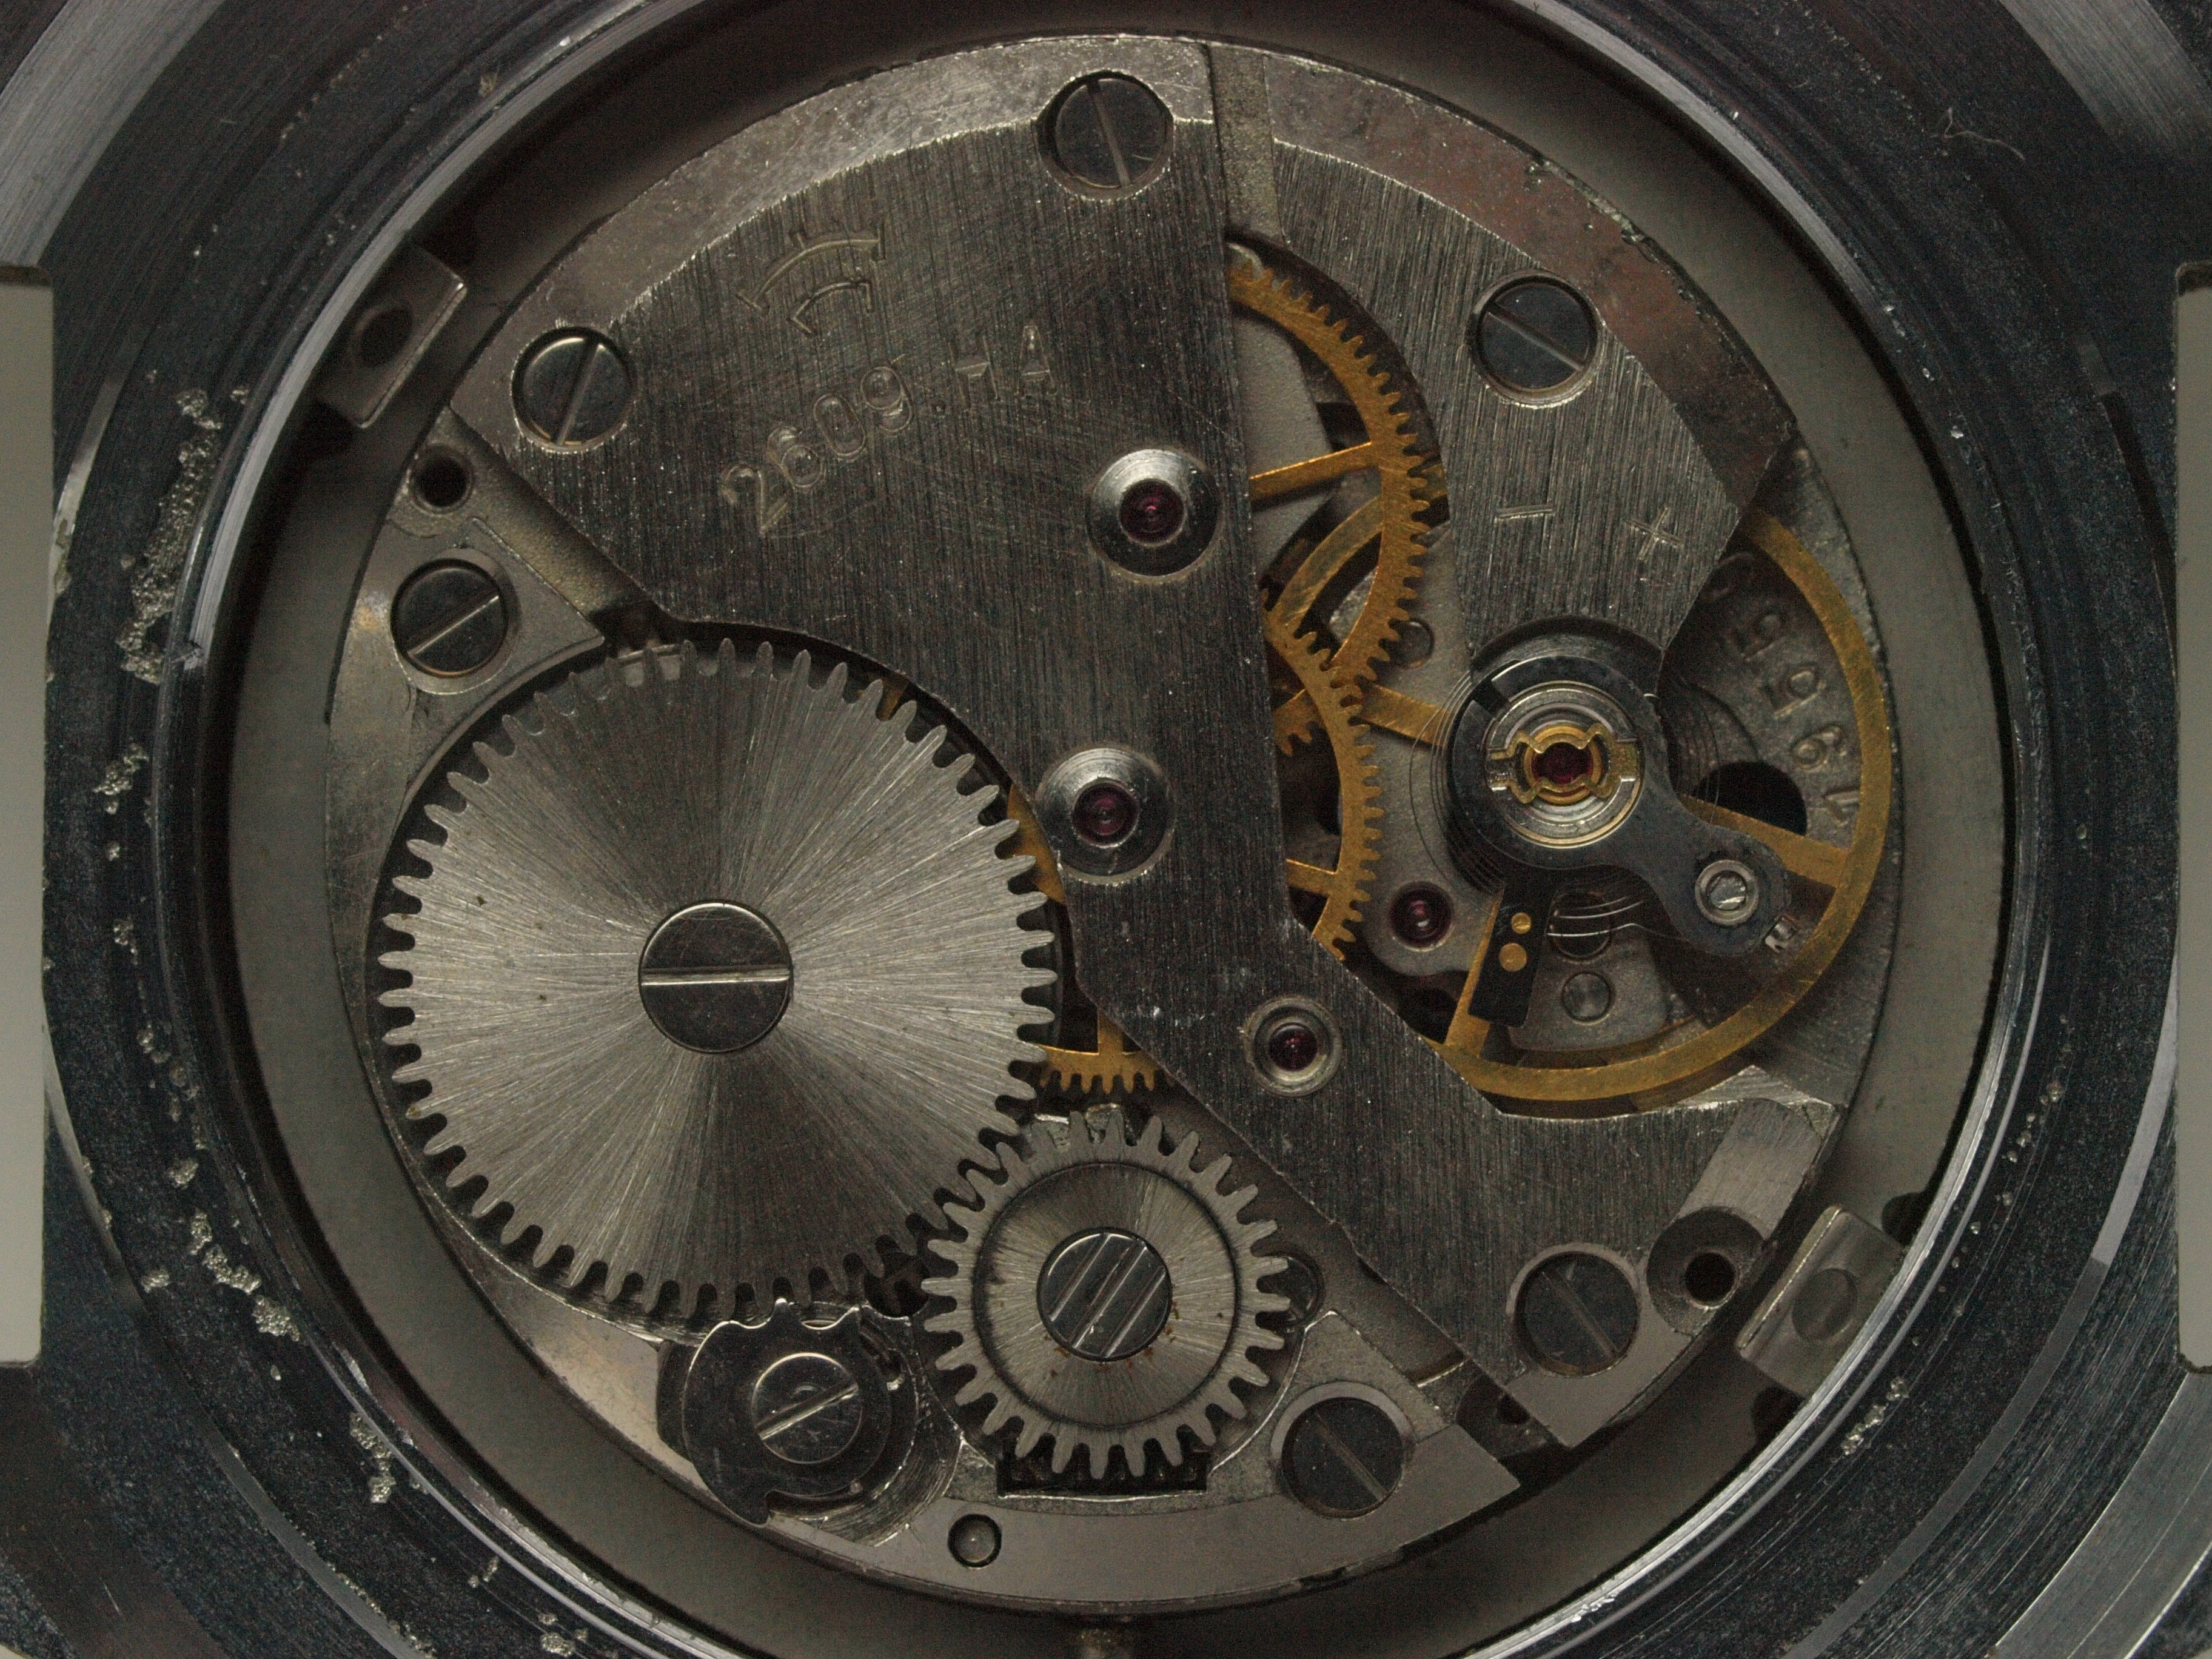
Indeed, I'm most pleased with the ISO 100 sample (note the more vivid brown on the box top), but ISO 200 and 400 are not far behind. I would also use ISO 800 with only a slight hesitation: it is quite decent. The image quality starts dipping more rapidly at ISO 1600: this is not just the noise, but also detail and color. While I may still occasionally use ISO 1600 if and when I need it, ISO 3200 is for use in a dire need only. Note that the colors start veering off above ISO 400, becoming quite off at ISO 3200. Another observation: the effective sensor sensitivity follows the nominal geometric progression very accurately; any deviations would be easily visible in the manual exposure mode I've used. (In the E-510 ISO 100 was actually a bit higher, or all others lower.) Case Study Two: the old watch While the first series of samples answered my basic questions on sharpness and noise filter settings, two is better than one. This time I wanted to see how the pictures come out if the subject is more busy with detail, also having more contrast. For this study I chose my old, brain-dead Russian watch, which I use just once a year, exactly for such purposes.
| |
|
Lens: 50 mm Macro ZD.
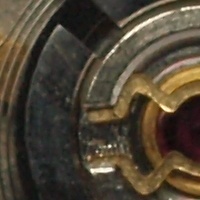
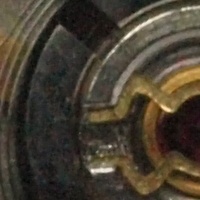
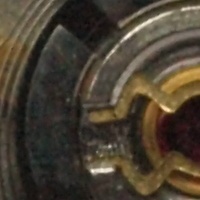
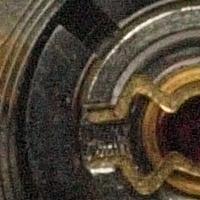
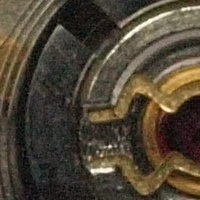
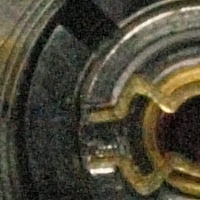
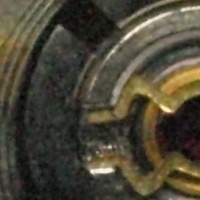
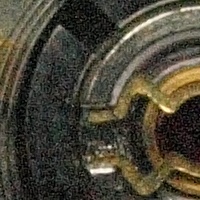
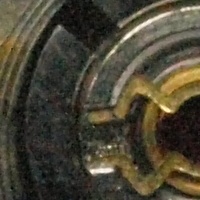
Exposure: metered manual (-0.7 EV) at F/11; from 1/2 second at ISO 100 to 1/60 s at ISO 3200 (changing as per ISO setting). White balance: by reference. Light source: diffused noon daylight, heavily overcast, seeping in through my glass patio door.. Focus: AF before the first frame, then unchanged. Processing: Natural Picture Mode, contrast at N-1, saturation at N±0, normal gradation. Sharpness and noise filtering as shown in individual samples; static noise reduction off. Saved as 1:2.7 JPEG. |
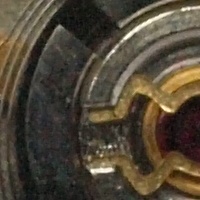
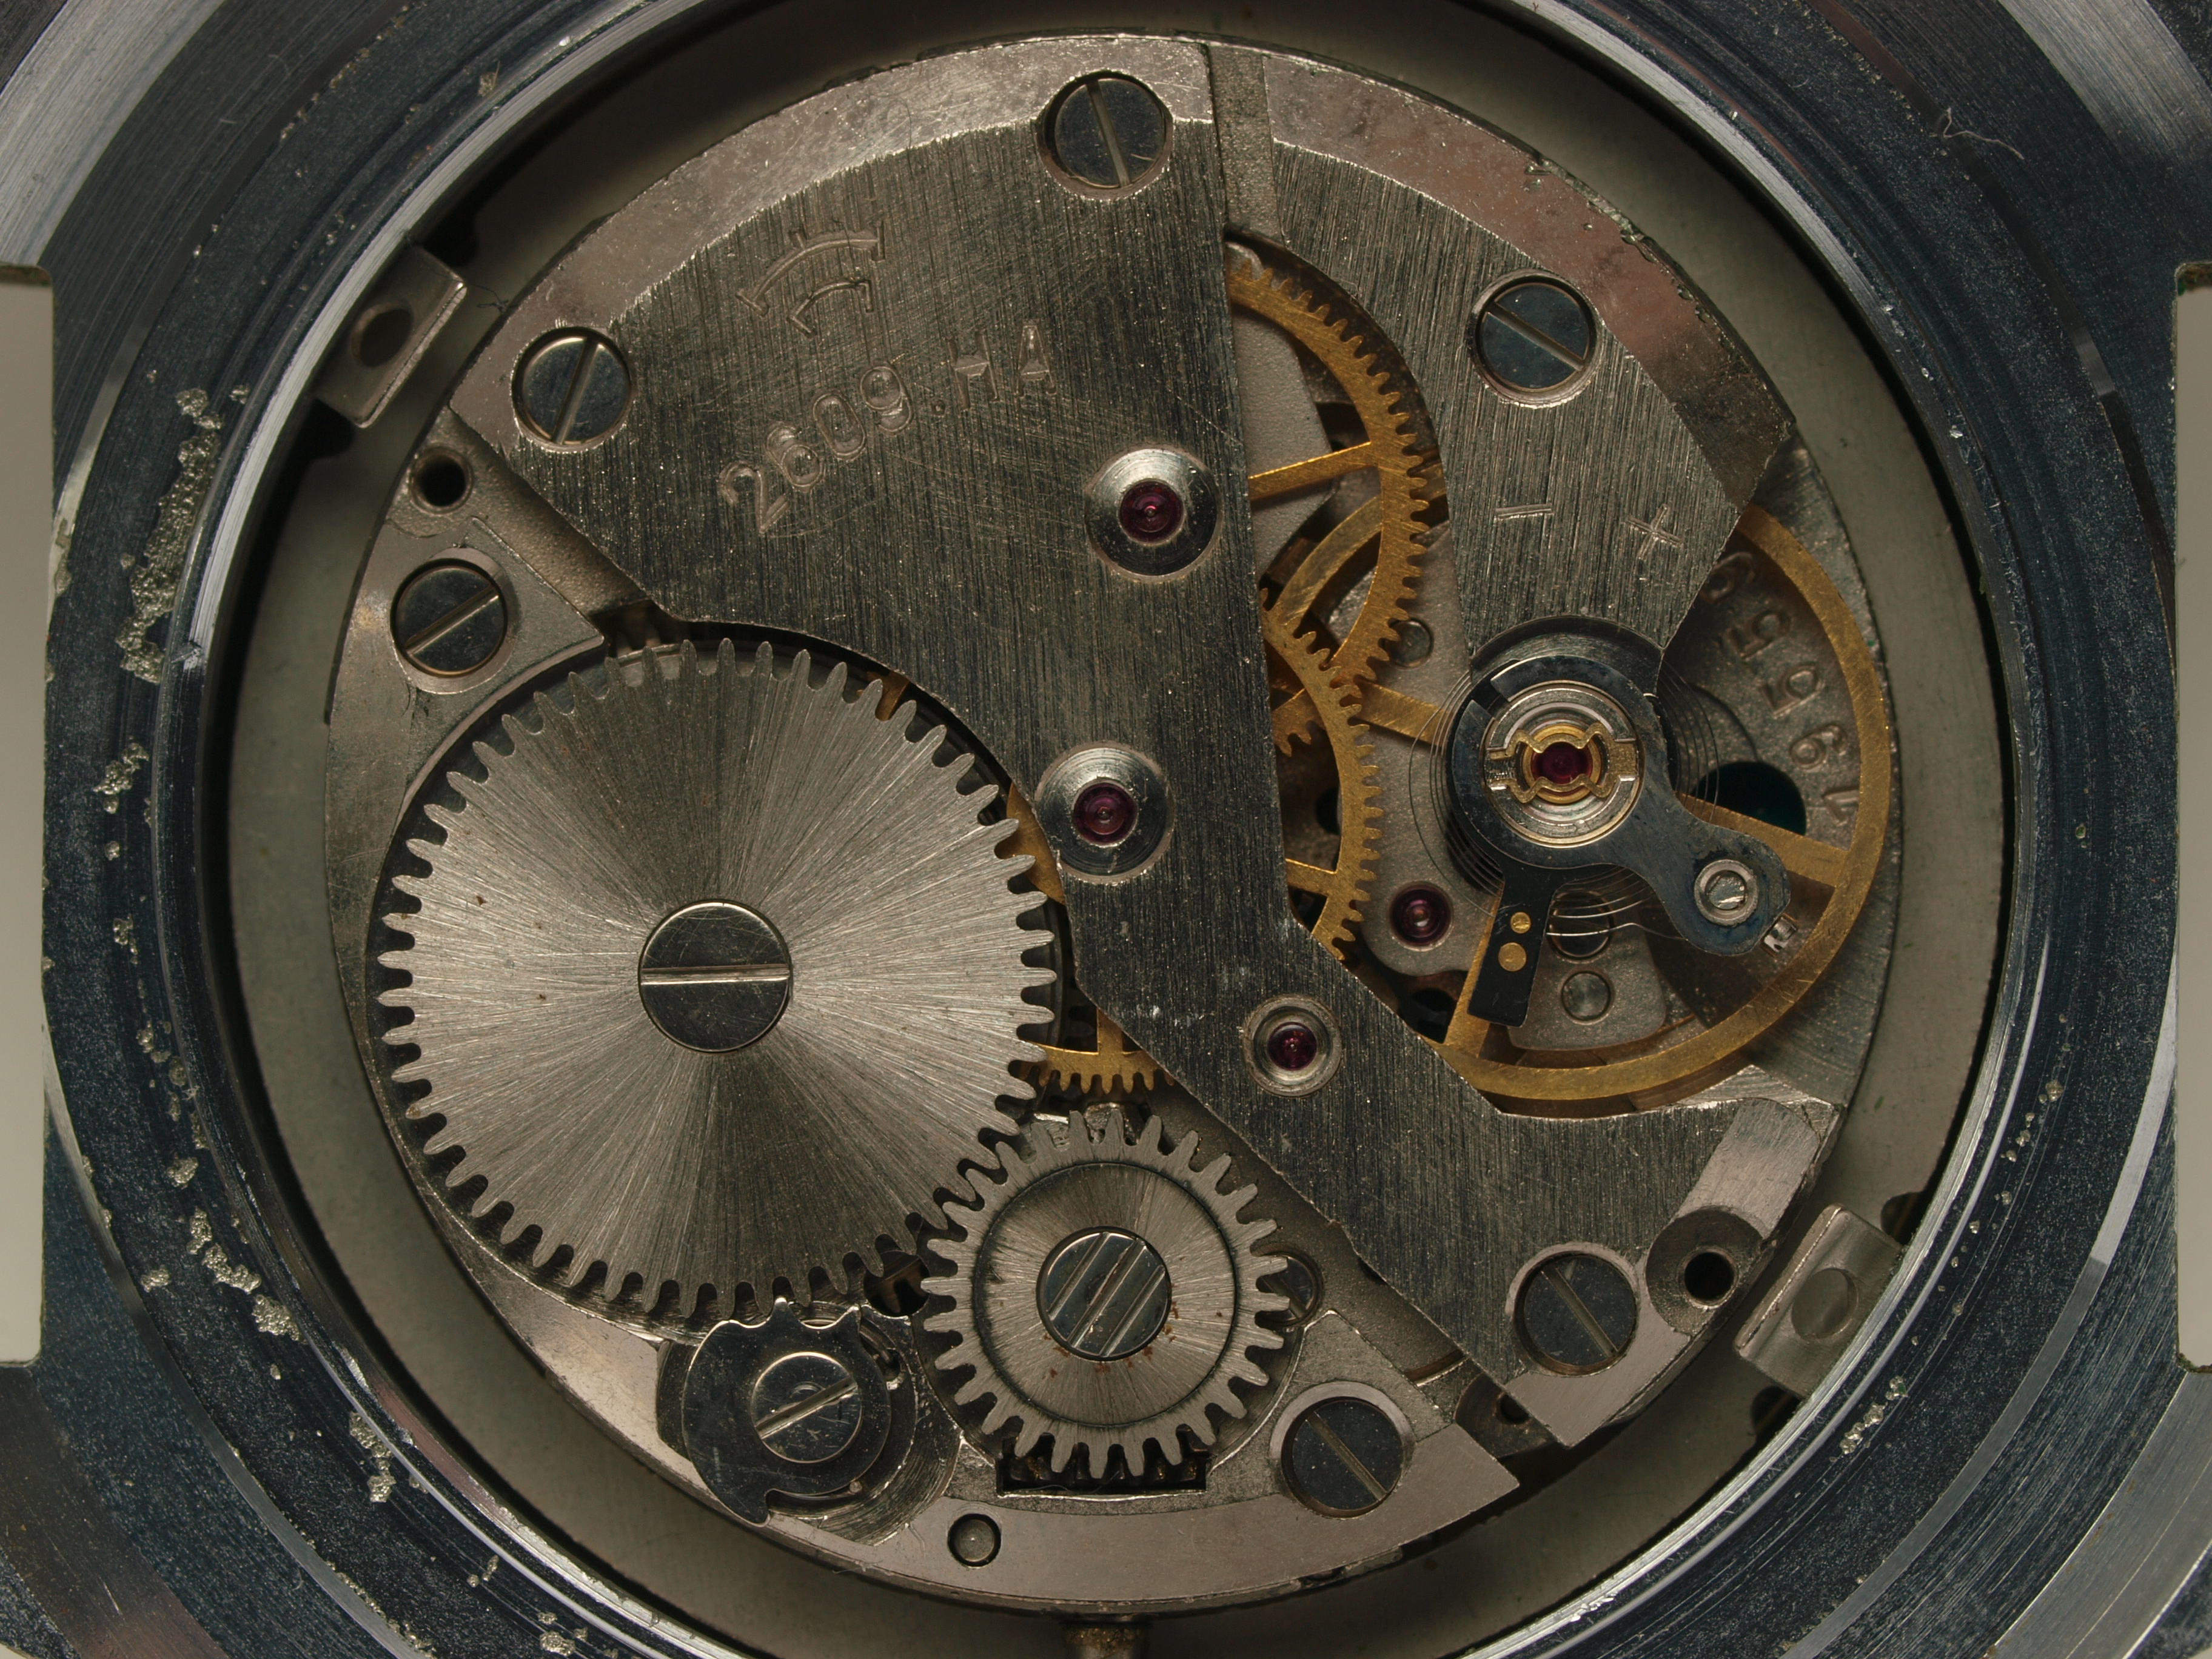 This sample at ISO 100, sharpness N±0, NF at Low |
|
Because of the very close subject distance, I was worried about differences in focusing from one frame to another. Auto- or manual focus before the first shot would not work here, as touching the camera's controls may change its position; even very small changes may get the arrangement off focus. This is why I hooked the camera to a laptop running Olympus Studio (the newest Version 2.11) and operated it remotely. Autofocus was performed before the first frame and verified, then the camera was shooting without refocusing. In a similar fashion the exposure was determined up front and then set manually. This might have led to slight changes from one image to another, as the daylight might have fluctuated, Such changes are very small during this type of weather (and within a reasonably small time span), but the effect may still be visible under scrutiny. In this series I've also included the N-1 and N+1 sharpness settings, if just to check whether my sweet spot of N±0 from the previous one will move to one of these positions. We'll see. ISO 100 | |
|
|
|
|
| |
|---|---|---|---|---|
|
| 
| 
| 
| 
|

| 
| 
| 
| 
|
|
| 
| 
| 
| 
|

| 
| 
| 
| 
|
|
The N±0/Off and N±0/Low are my favorites here, at least when no sharpening in postprocessing is applied, like shown. The latter was my selection before, so be it. Sharpness at N+1 seems already too much; it may look crisp, but the local contrast is exaggerated in places. A link to the full frame of one of these samples is given above. If you are a frequent visitor to my pages, you may already know what I think of this lens. ISO 200 |
|
|
|
|
| |
|---|---|---|---|---|
|
| 
| 
| 
| 
|
|
| 
| 
| 
| 
|
|
| 
| 
| 
| 
|
|
| 
| 
| 
| (Oops! One sample is missing! I'm not going to re-shoot the whole sequence of 96 frames...) |
|
Once again, N±0/Low does the job best. Note that with a busy subject you cannot see the traces of noise which were visible in the breakfast table samples at the same ISO. ISO 400 |
|
|
|
|
| |
|---|---|---|---|---|
|
| 
| 
| 
| 
|
|
| 
| 
| 
| 
|
|
| 
| 
| 
| 
|
|
| 
| 
| 
| 
|
|
I may be hairsplitting, but N-1/Low may be a bit better for a high-contrast subject than N±0/Low I've chosen for the breakfast table series. A visual inspection of whole frames confirms this impression. Like before, I can't see a real difference between NF set to Off and Low. ISO 800 |
|
|
|
|
| |
|---|---|---|---|---|
|
| 
| 
| 
| 
|
|
| 
| 
| 
| 
|
|
| 
| 
| 
| 
|
|
| 
| 
| 
| 
|
|
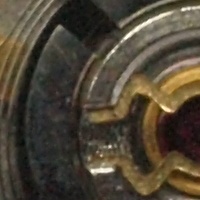
Same as before: N±0/Low. Note how the image detail hides the noise. Also, it looks like noise filtering is having problems with differentiating the noise from image detail in the dark crescent left of center. Still, my choice is probably the best compromise here; moving NR to Standard cleans that crescent of some of the detail it had. ISO 1600 |
|
|
|
|
| |
|---|---|---|---|---|
|
| 
| 
| 
| 
|
|
| 
| 
| 
| 
|
|
| 
| 
| 
| 
|
|
| 
| 
| 
| 
|
|
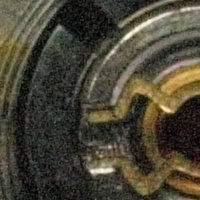
Now we are getting into the danger zone. Still, the busy image comes out quite fine, certainly usable. With noise being masked by detail, I would tune the filtering a notch down from my previous preference for this ISO, to N±0/Low. ISO 3200 |
|
|
|
|
| |
|---|---|---|---|---|
|
| 
| 
| 
| 
|
|
| 
| 
| 
| 
|
|
| 
| 
| 
| 
|
|
| 
| 
| 
| 
|
|
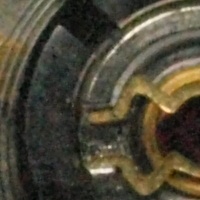
I'm having a tough choice here, but, again, I would apply less noise filtering than before, but also less of sharpening, therefore settling down on the combination of N-1/Low. Taking into account the viewing distance of a printed image, this may be, indeed, the best compromise. Your mileage may vary. The ISO sequence Like before, a quick side-by side comparison at various ISOs, processed as per my choices above. Like before, each 1:1 sample links to a full image (7 MB or so), so that you can have a closer look at the whole image. Just remember that if you do not want to be accused of pixel-peeping, you should view the full frames, if shown in the 1:1 scale, from a distance of 4 feet (1.2 m). This will give you a similar impression to a print sized at 18×24 cm (7.5×10" or so) inspected from a rather close reading distance of 12" (30 cm). |
|
| 
| |
| ISO 100, N±0/Low | ISO 200, N±0/Low | |
| 
| |
| ISO 400, N±0/Low | ISO 800, N±0/Low | |
| 
| |
| ISO 1600, N±0/Low | ISO 3200, N-1/Low |
|
Like before, the colors at ISO 3200 are shifted towards green, and the detail is beginning to wash out. Conclusions and recommendations A closer look at the presented images does not disappoint: the camera is capable of producing outstanding detail and the noise is well controlled. Both degrade as the ISO increases, which is just a fact of life. Still, the degradation is quite moderate up to ISO 800, and even at ISO 1600 you can still get presentable images. At this sensitivity the noise is already quite visible, if not really disturbing. What may in some cases be a problem at this ISO is not the noise amplitude itself, but the fact that it is no longer random: there is some patching and banding. (Have a look at the ring-shaped recess around the watch works in the last full-size sample to know what I mean.) Last but not least, ISO 3200, while significantly worse in both aspects, can still be used for non-critical purposes. Changing the sharpness and noise filter settings from one frame to another is inconvenient and error-prone, therefore I wouldn't recommend it. As with the E-510, I would just set these two to what usually works best and forget about the whole affair. Here are my recommendations; don't treat them literally, but they may make a good starting point to your own adjustments. First of all, the Standard and High noise filter settings seem too high, at least for my taste. For straight out-of-camera JPEGs a combination of sharpening at N±0/Low should do the best job in most cases (only at ISO 3200 I would tune the filtering up by one notch or, maybe better, sharpening down by the same amount). The same recommendation will work if you save raw images and convert them to RGB using Olympus Master or Olympus Studio: if the camera is set as per these guidelines, then you can use the As Shot settings in these applications, departing from them only when a need arises. If you do some postprocessing of your out-of-camera JPEGs, then I would rather tune the sharpening down a notch, arriving to N-1/Low — such images will be more suitable to any sharpening at that stage. At least this is what I finally settled down with on the E-3. These recommendations are not based just on the two series of comparative samples presented here; they are results of a long and (literally) painful process of scrutinizing more than a thousand images, some of them in series like these, I took over the past month. |
|
|
My other articles related to the |
| Home: wrotniak.net | Search this site | Change font size |
| Posted 2008/02/25; last updated 2008/04/13 | Copyright © 2007-2008 by J. Andrzej Wrotniak. |