|
Olympus E-M1 Mk.II in Infrared |
|
|
My other articles related to the |
|
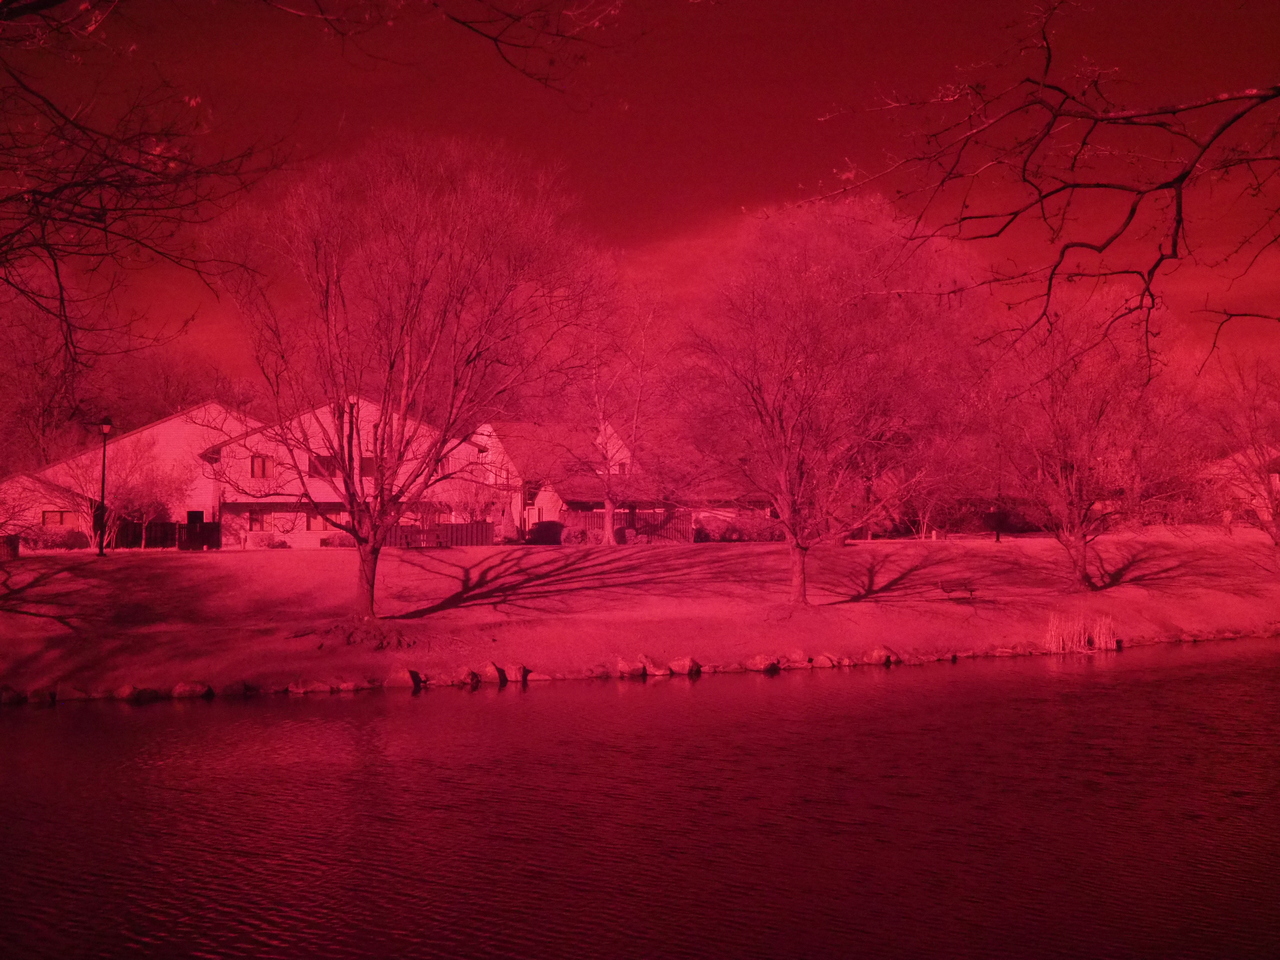
This is a quick check of sensitivity of the E-M1 Mk.II to infrared. If you are new to the subject of IR photography, check my general introduction to it. For this lake scene I used a Hoya R72 IR filter. Taking advantage of camera's good performance at high ISO, I used the setting of 6400; at my chosen aperture of F/8, the camera set the exposure of 1/6 of a second. Actually, I could have tried shooting from hand, but used a tripod, just to be safe. Postprocessing Here is the original, in-camera JPEG. Clicking on the reduced-size image will bring in a larger version for viewing; if you would like to try your own postprocessing, the full-size frame is here. After that follow three stages of postprocessing to which I submitted the recorded image. (This was done in the FastStone image browser, which has some simple but well-implemented image manipulation capabilities.)
|
| 
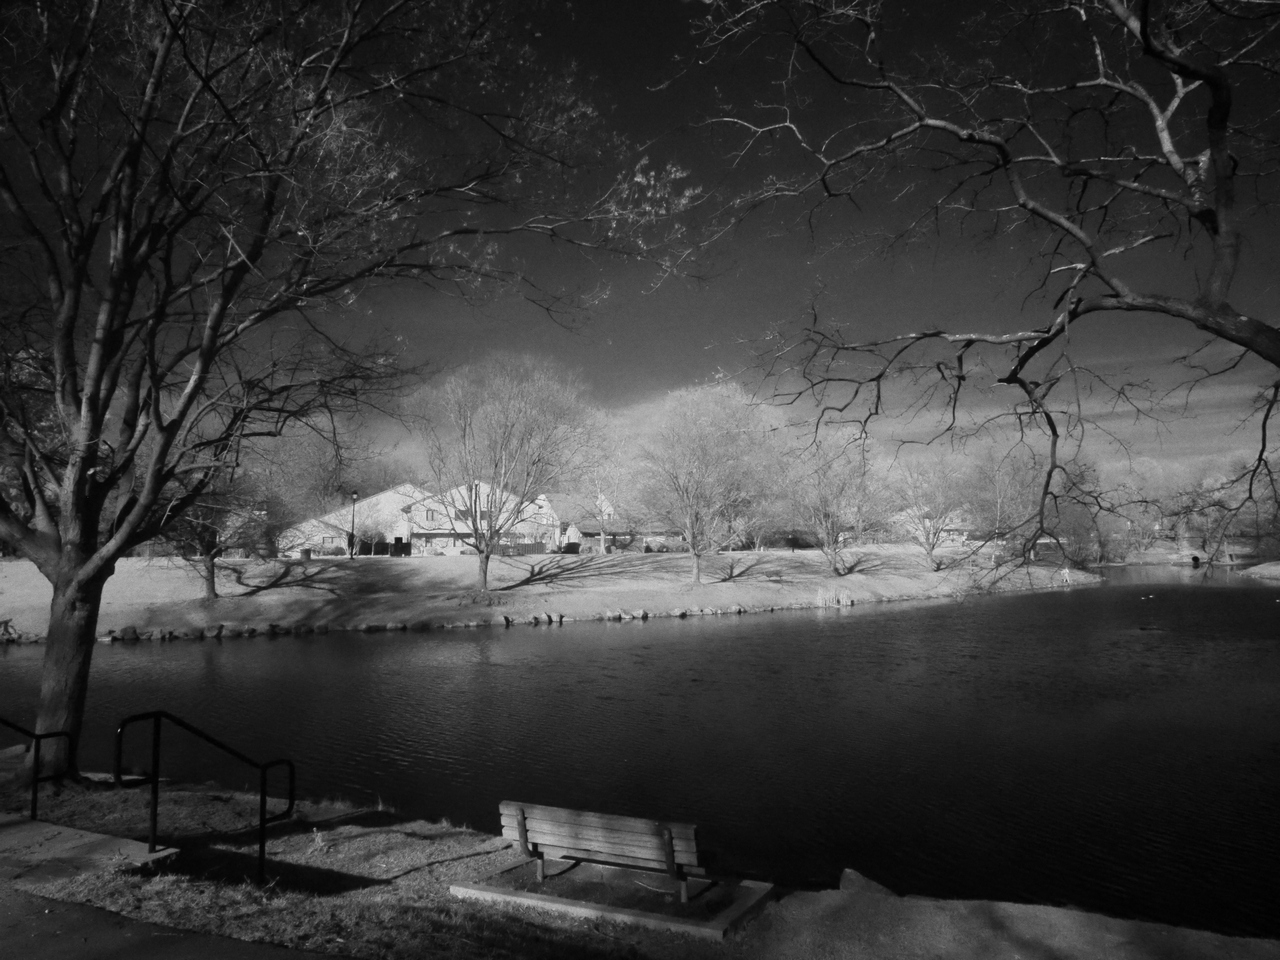
[0] EM-1 Mk.II, 12-40/2.8 PRO lens at 12 mm, Hoya R72 filter
| 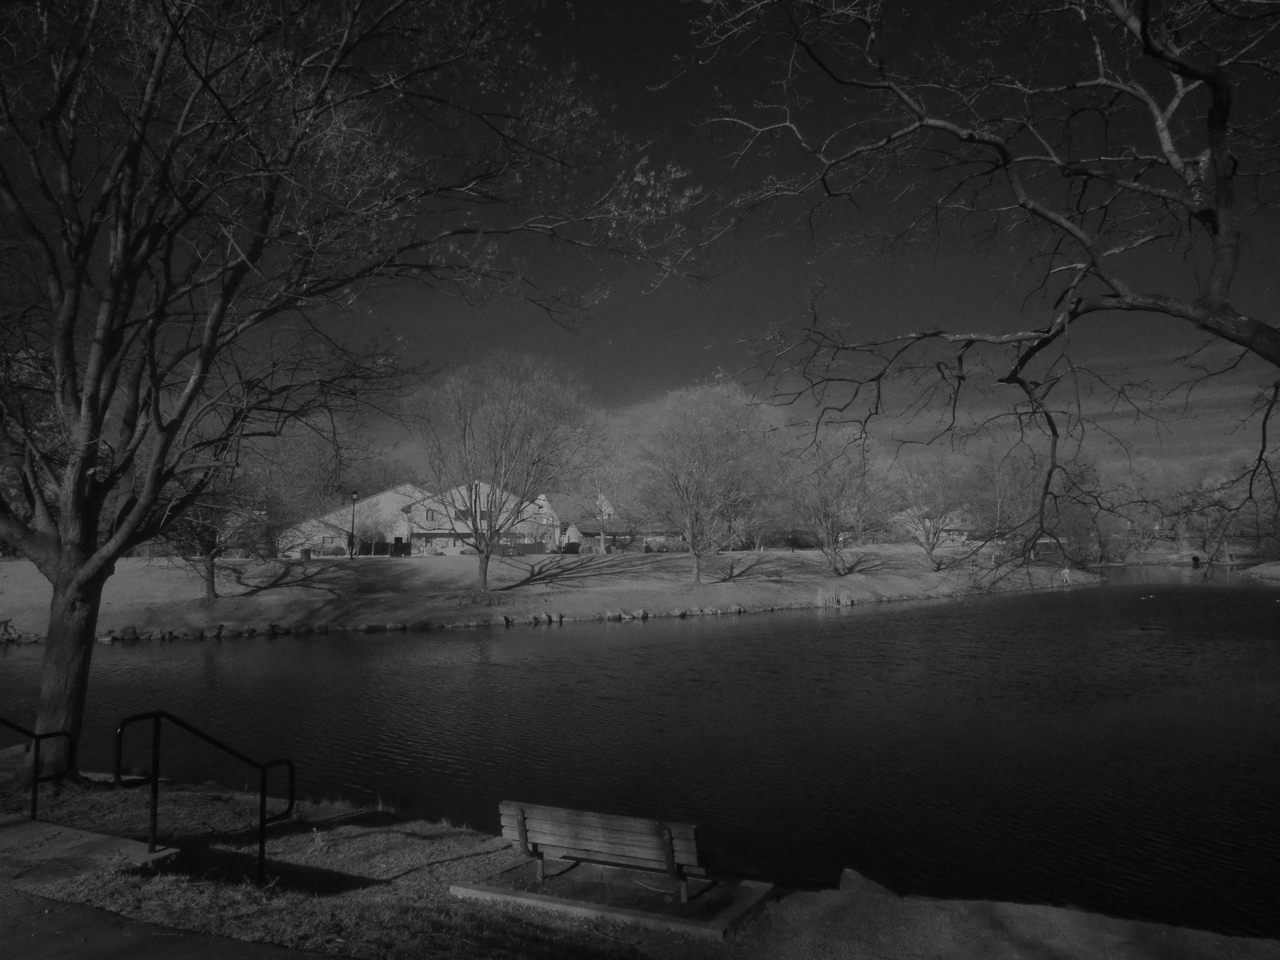
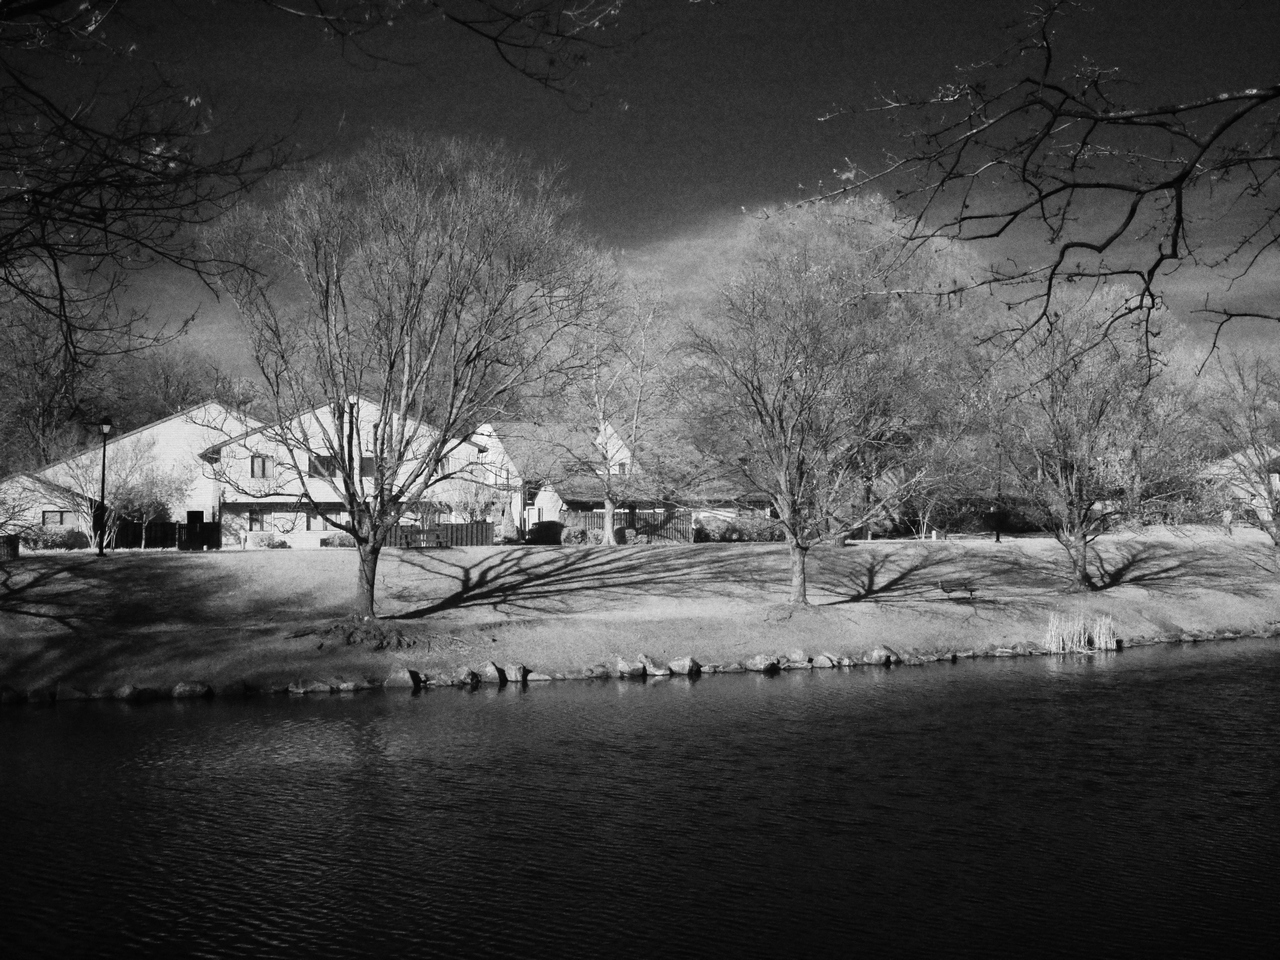
[1] Step 1: Basic monochrome conversion by setting color saturation to zero
|
| 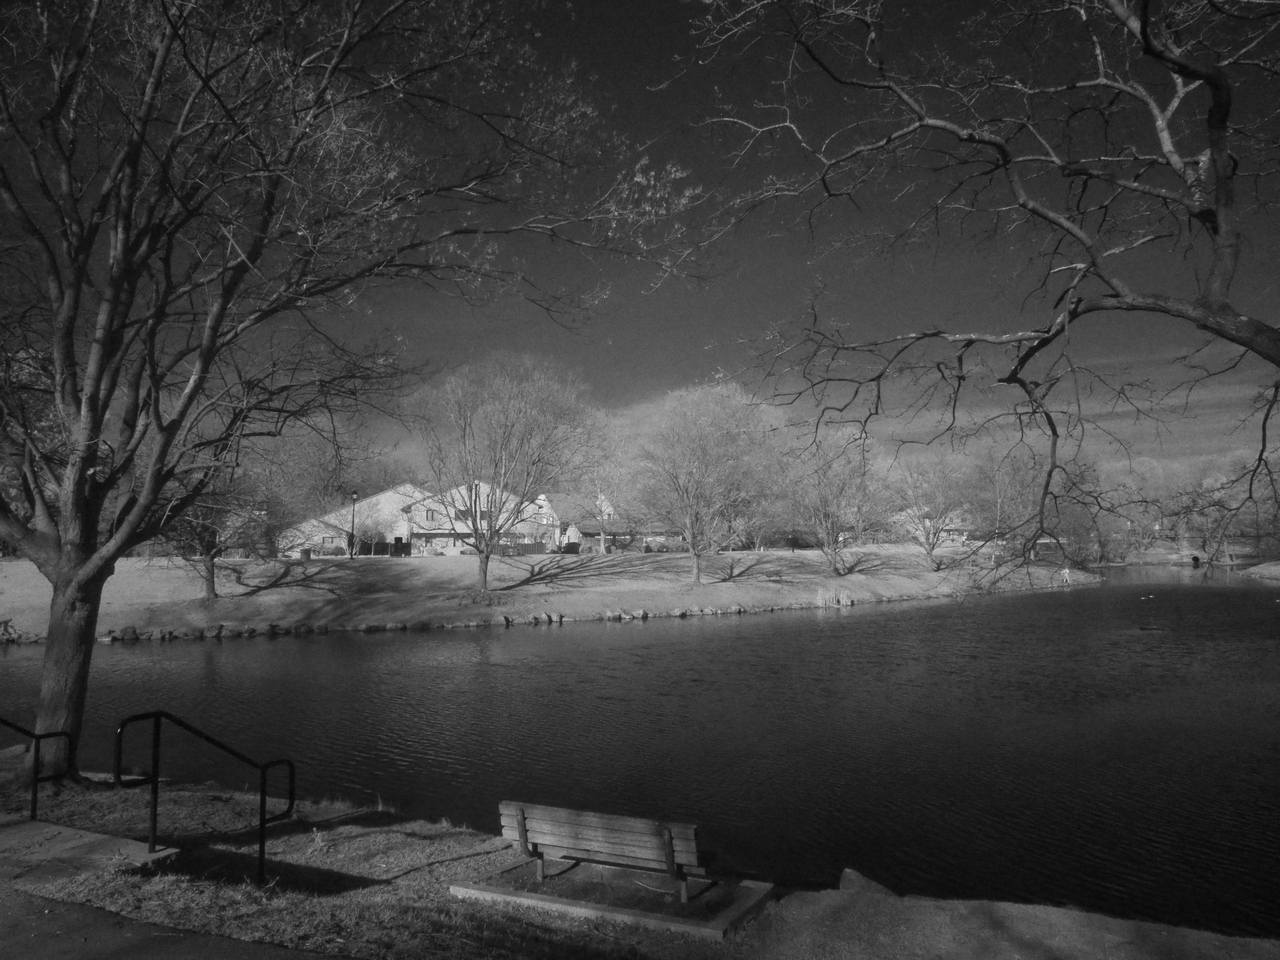
[2] Step 2: Level adjustment (stretching the histogram): the value of 180 was moved up to 255.
| 
[3] Step 3: Adjusting the tonal curve by moving it down at 1/4 and up at 3/4; effectively increasing the contrast
Some may say that Step 3 was not really needed; I won't argue. This depends on the subject, desired mood of the picture and, last but not least, personal preferences.
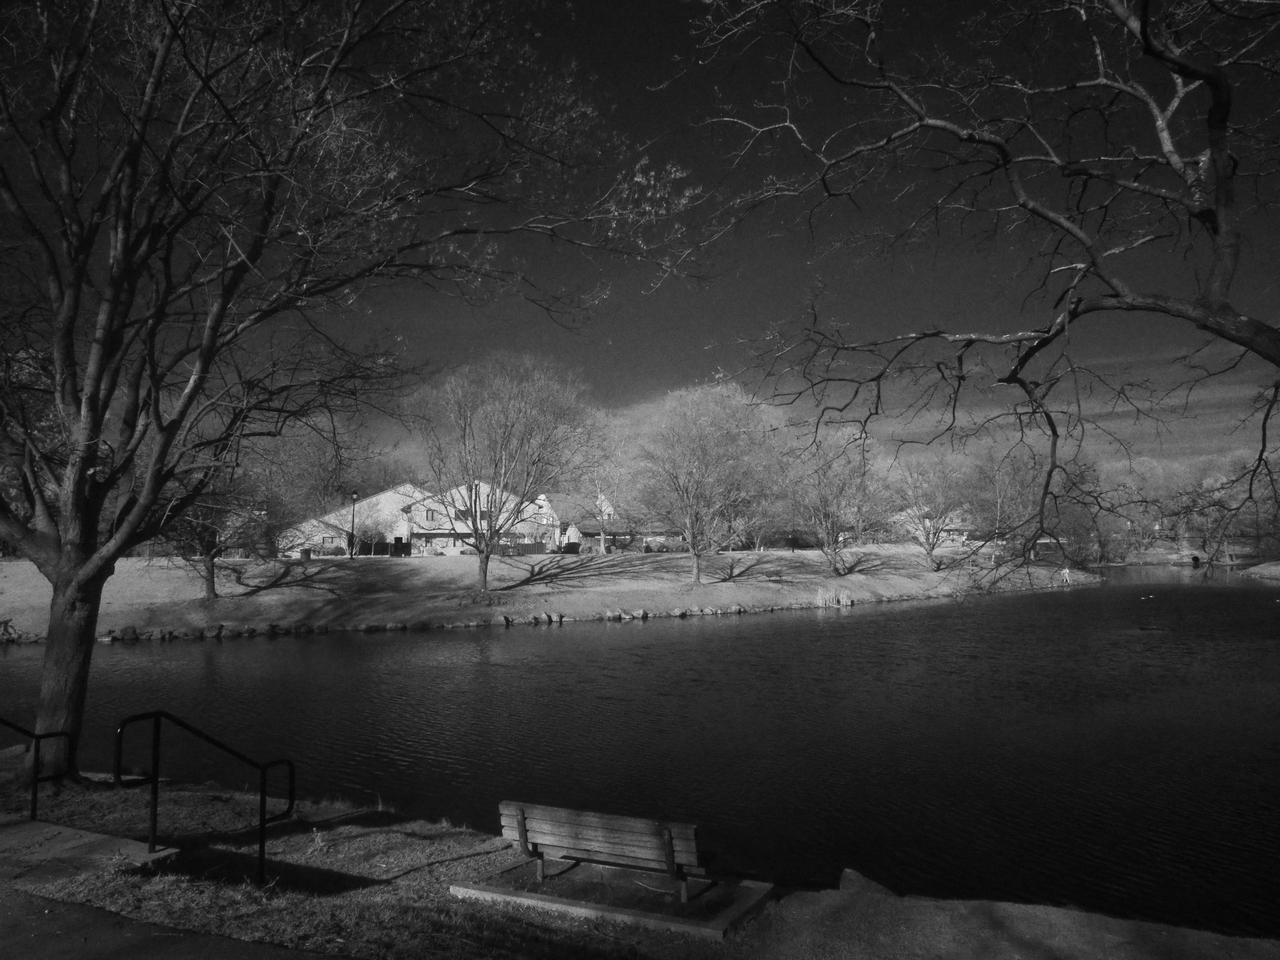
| Here is yet another take I came up with while playing with the latest version of Paint Shop Pro. I think I like this one best. Postprocessing one image on a PC takes about two minutes. This time could be saved by setting the camera's Picture Mode to Monochrome and using the built-in curve adjustment facility; I was, however, reluctant to give up the degree of control available when tweaking individual steps. Maybe one day, when I gain more familiarity with this camera.
| 
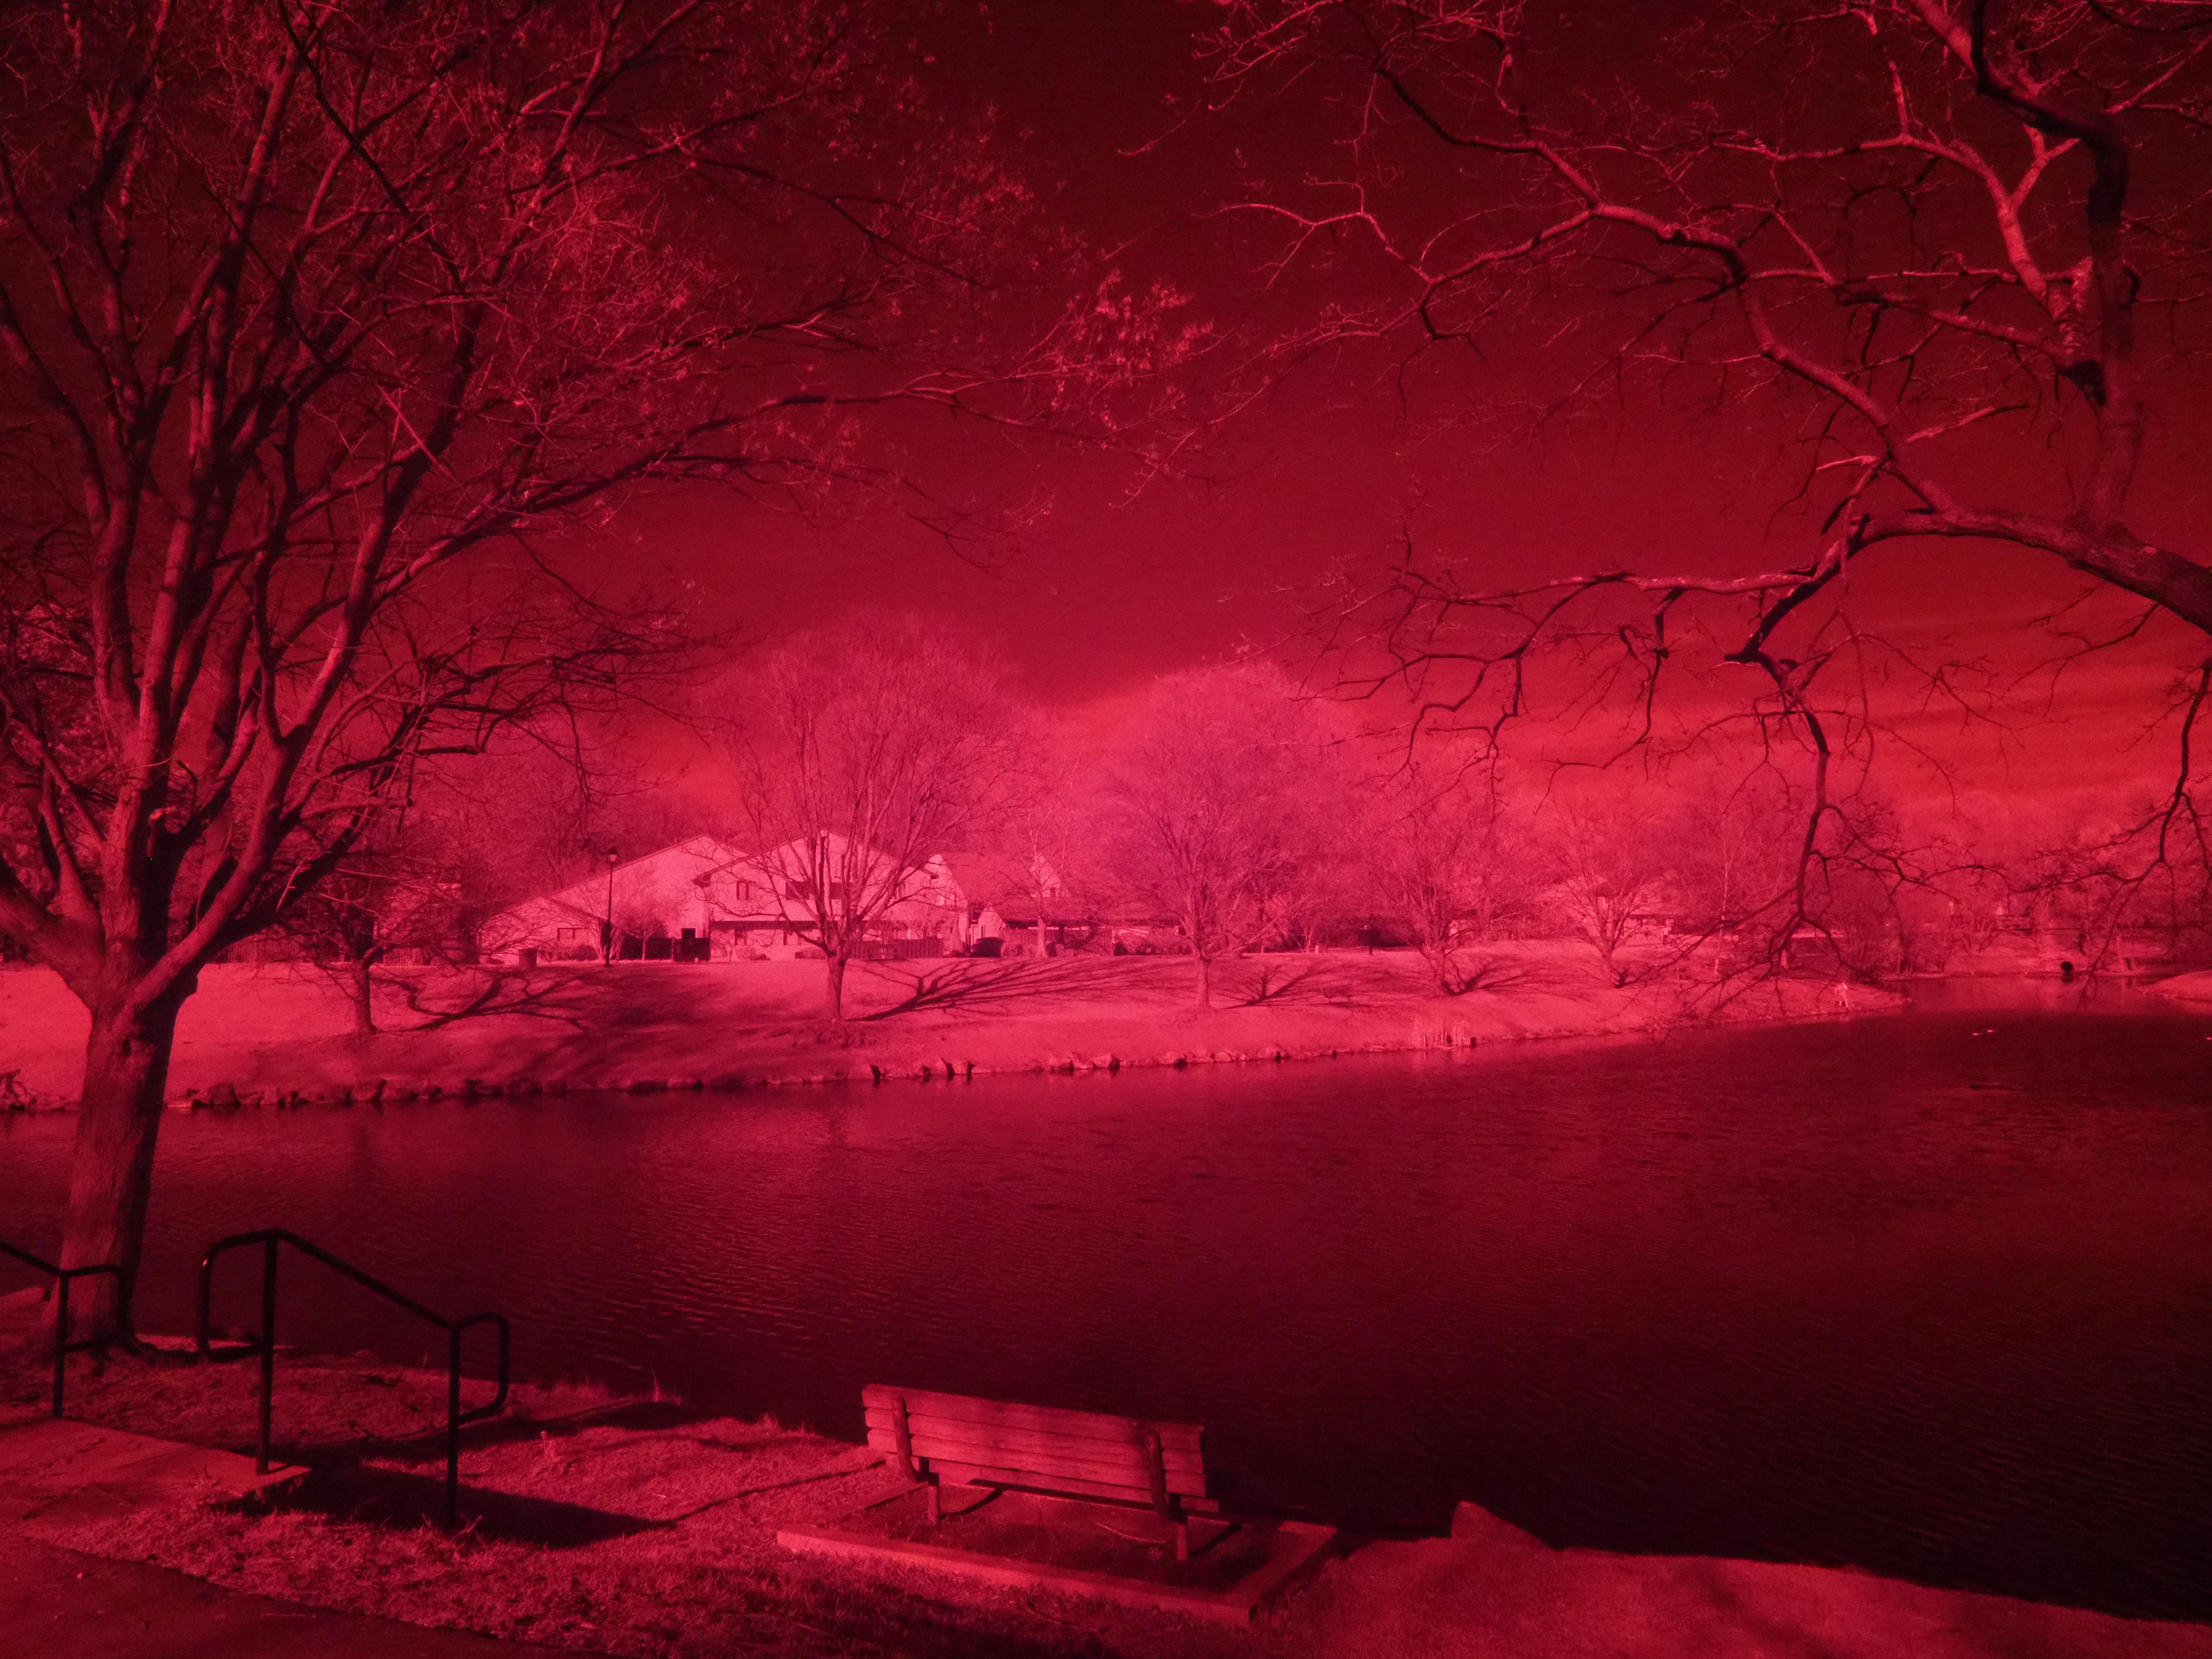
[4] An alternate take: here I was more adventurous raising the highlights
| The more I look at this picture, the more I like it. Is this the camera, or the lens, or am I doing something different than usual? Or just blind luck, maybe the wind-blurred branches? Well, whatever it is, it was not intentional. Noise and its removal Because most of the registered information is from Red photosites, our camera is effectively a 5-MP one when working in IR. Add to that unavoidable histogram stretching (level adjustment), and you can expect some serious noise.
|
| 
[4S] A 1:1 sample from [4] above
| 
[5S] A 1:1 sample from [4] after denoising it with Neat Image
| How serious? Here at left is a 1:1 sample from [4] (linking to the full frame, in case you have to see it). Indeed, we see some serious noise here, more than in visible-light ISO 6400 images. This does not bother me; noise is a part of the infrared mood, and some programs imitating IR actually add it to images. If you want to avoid it, go down to ISO 1600 and use a good noise removal plugin, like my favorite, the Neat Image. To see how effective denoising will be here (and at what price in terms of resolution it comes), I submitted [4] to the Neat Image plugin (Version 7) in Paint Shop Pro X9. A 1:1 sample from the resulting image is shown at right (linking to the full frame, again). As (almost) always, Neat Image did a very nice clanup job here, and there is no substantial loss in contour sharpness, and just a little in texture detail (to verify this, compare full frames). Still, I usually prefer the noisy version of my IR pictures. Your choice. IR sensitivity Now, the question we started from: how responsive to IR is this camera? The IR image above was exposed for 1/6 s at F/8, ISO 6400. A reference shot I took used 1/250 s at F/8, ISO 200. That's the factor of 40× in shutter speed, 32× in ISO, the total of 1280×, or 10 1/3 EV. This is how much more exposure you need for a picture taken in IR (with an R72 filter) compared to a visible-light one, shot under the same (sunny) conditions. No surprises here, this is very close to the 10 EV I got for Mark I. Which means that Mark II still has a strong anti-IR filter in front of the sensor; this improves color in visible light, but makes the camera marginally usable in IR. Oh, well. Using a camera to do things for which it was clearly not intended makes it even more fun. Try it one day. Just for the fun of it Just for the fun of it, another picture from the same session. Note that the Woods effect (bright foliage) is quite limited: leaves are still small and, I guess, have less chlorophyll than mature ones. Two weeks more to wait.
|
| 
EM-1 Mk.II, 12-40/2.8 PRO lens at 25 mm, Hoya R72 filter
| 
After desaturation, level stretch and curve adjustment in FastStone | |||||||
|
|
My other articles related to the |
| This page is not sponsored or endorsed by Olympus (or anyone else) and presents solely the views of the author. |
| Home: wrotniak.net | Search this site | Change font size |
| Posted 2017/04/09, last updated 2017/04/13 | Copyright © 2017 by J. Andrzej Wrotniak |